Project Overview
Sergei Mikhailovich Prokudin-Gorskii (1863-1944), a pioneer in color photography, traveled throughout the Russian empire in the early twentieth century to capture as much of Russian early as possible through three-image color photography. Over three thousand photographs were taken, each one represented as three RGB glass plate negatives.
The goal of this project is to take the digitized glass plate negatives, separate them into red, green, and blue channels, and align them as accurately as possible so they form a single RGB image with as few visual artifacts as possible.


Exhaustive Approach
In order to accomplish this, we start with a simple approach that works best on small image sizes (around 300px by 300px or less). We first load in our grayscale digitized plate image and split it into three separate images, each one representing the R, G, and B channels. From here, we crop the width and height of each plate by a set amount (15% for this image set) to crop out image borders, which can negatively impact alignment attempts.
Now, we exhaustively search over a set window of possible displacements, using the blue channel as the base plate and sliding the red/green plates over with respect to each possible displacement. For this implementation, a search window of [-15, 15] was found to be sufficient. To determine which (x, y) displacement is best, we choose and score how well the images match with one of four scoring metrics: Euclidean distance (SSD), normalized cross-correlation (NCC), mean squared error (MSE), and structural similarity (SSIM).
Through testing, we found SSIM to be the most accurate scoring metric, although it is the slowest as well, taking up to 15-30 seconds on larger images (which will be discussed in the section below). Although NCC is less accurate than SSIM, this can be mitigated through border cropping and edge detection filters (as discussed in the Bells and Whistles section). Thus, NCC is the optimal scoring metric, as it can perform just as accurately as SSIM and faster (at most 3 seconds on larger images).
Once the optimal displacement vectors are found for the red and green plates, we align them accordingly onto the red plate and combine the channels to form a single image.
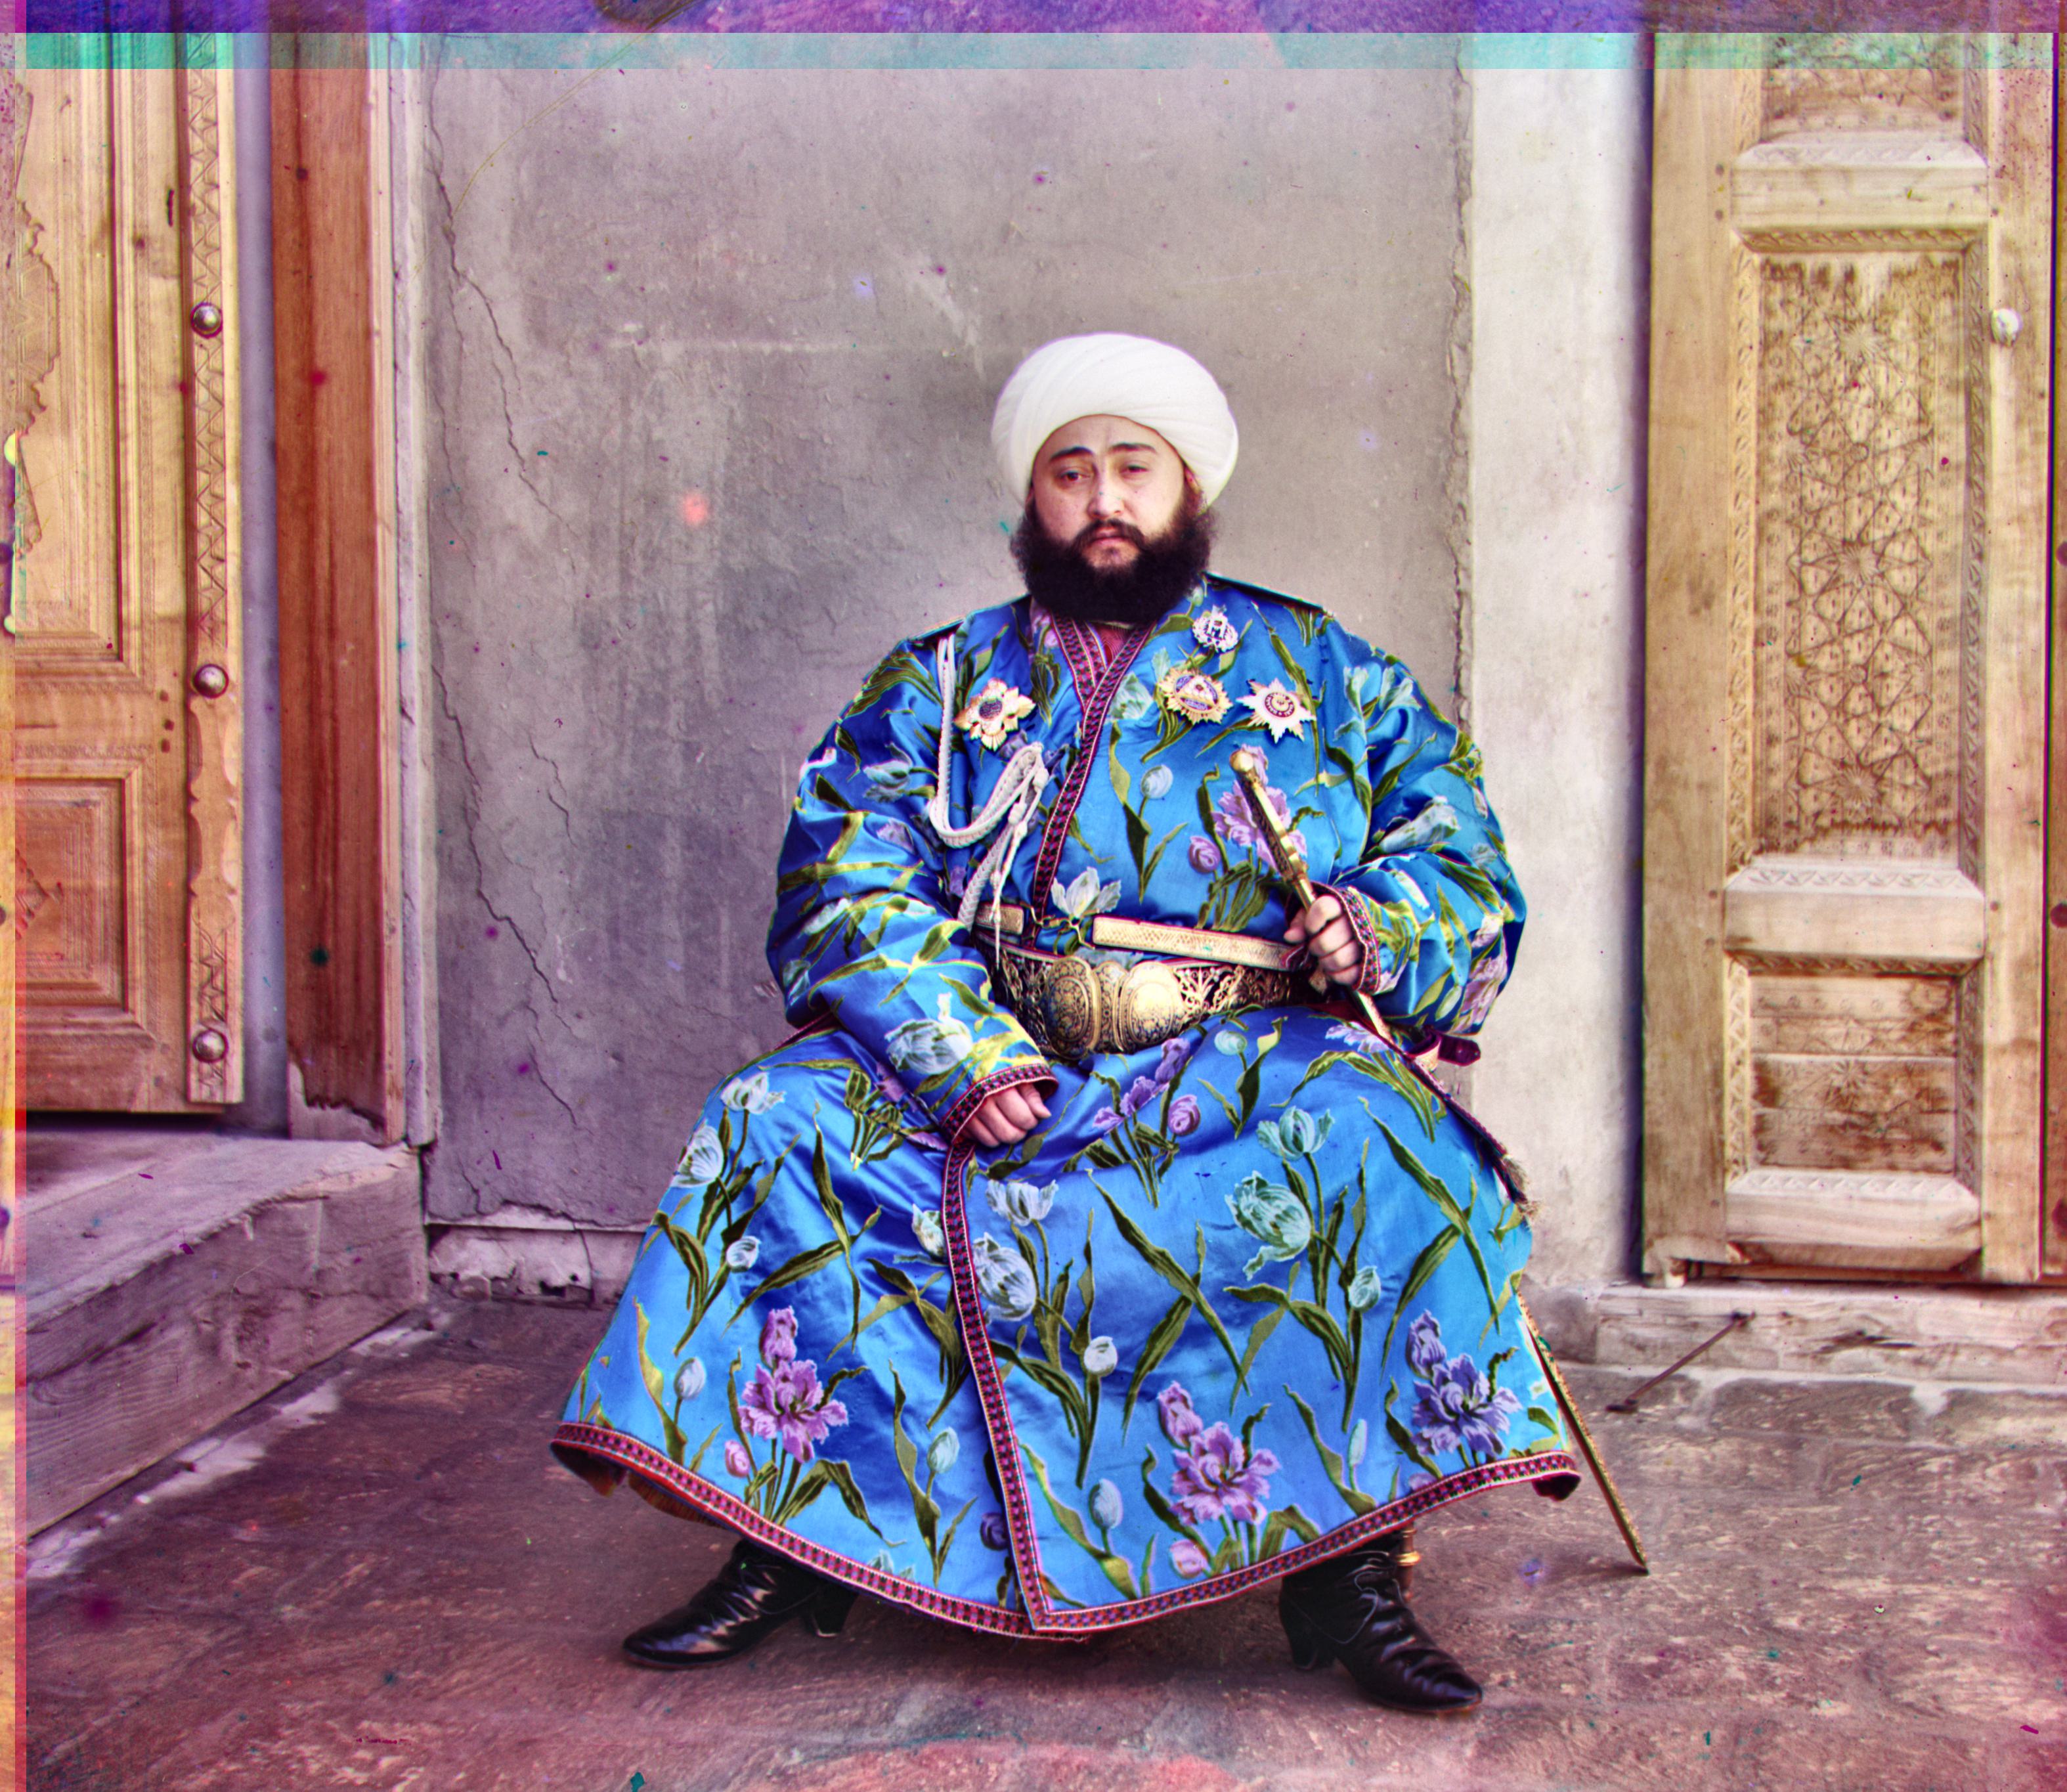
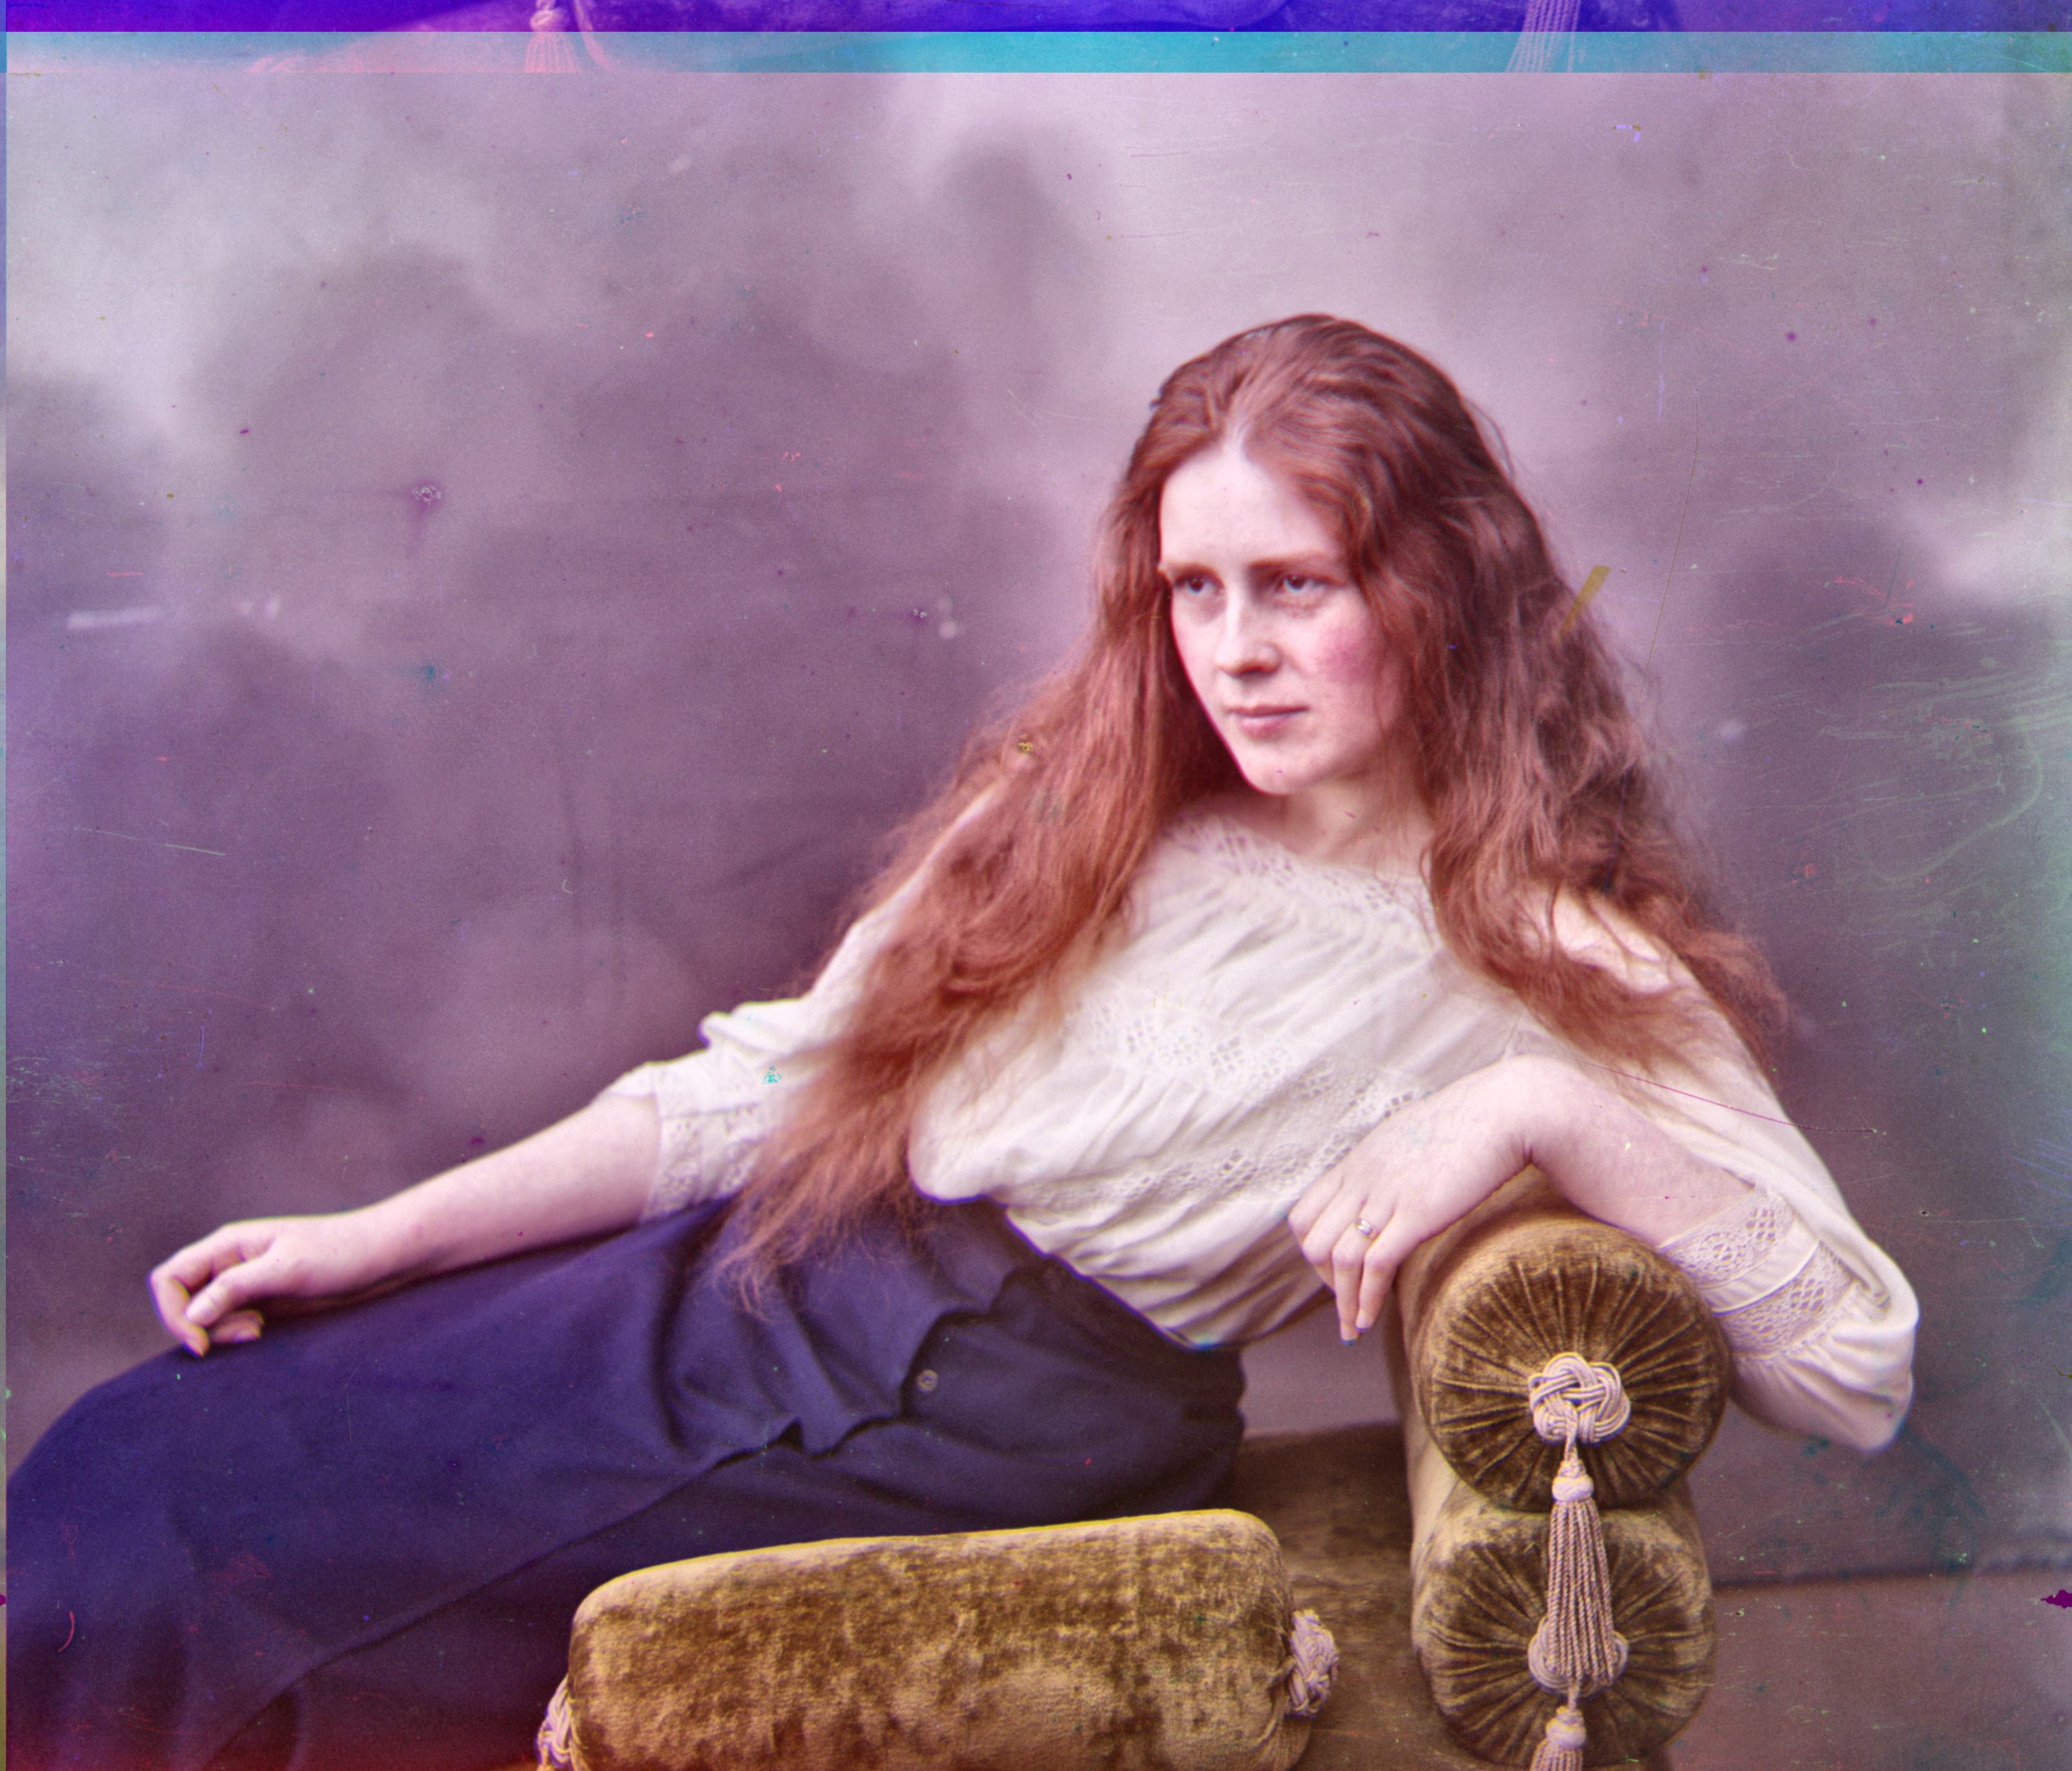
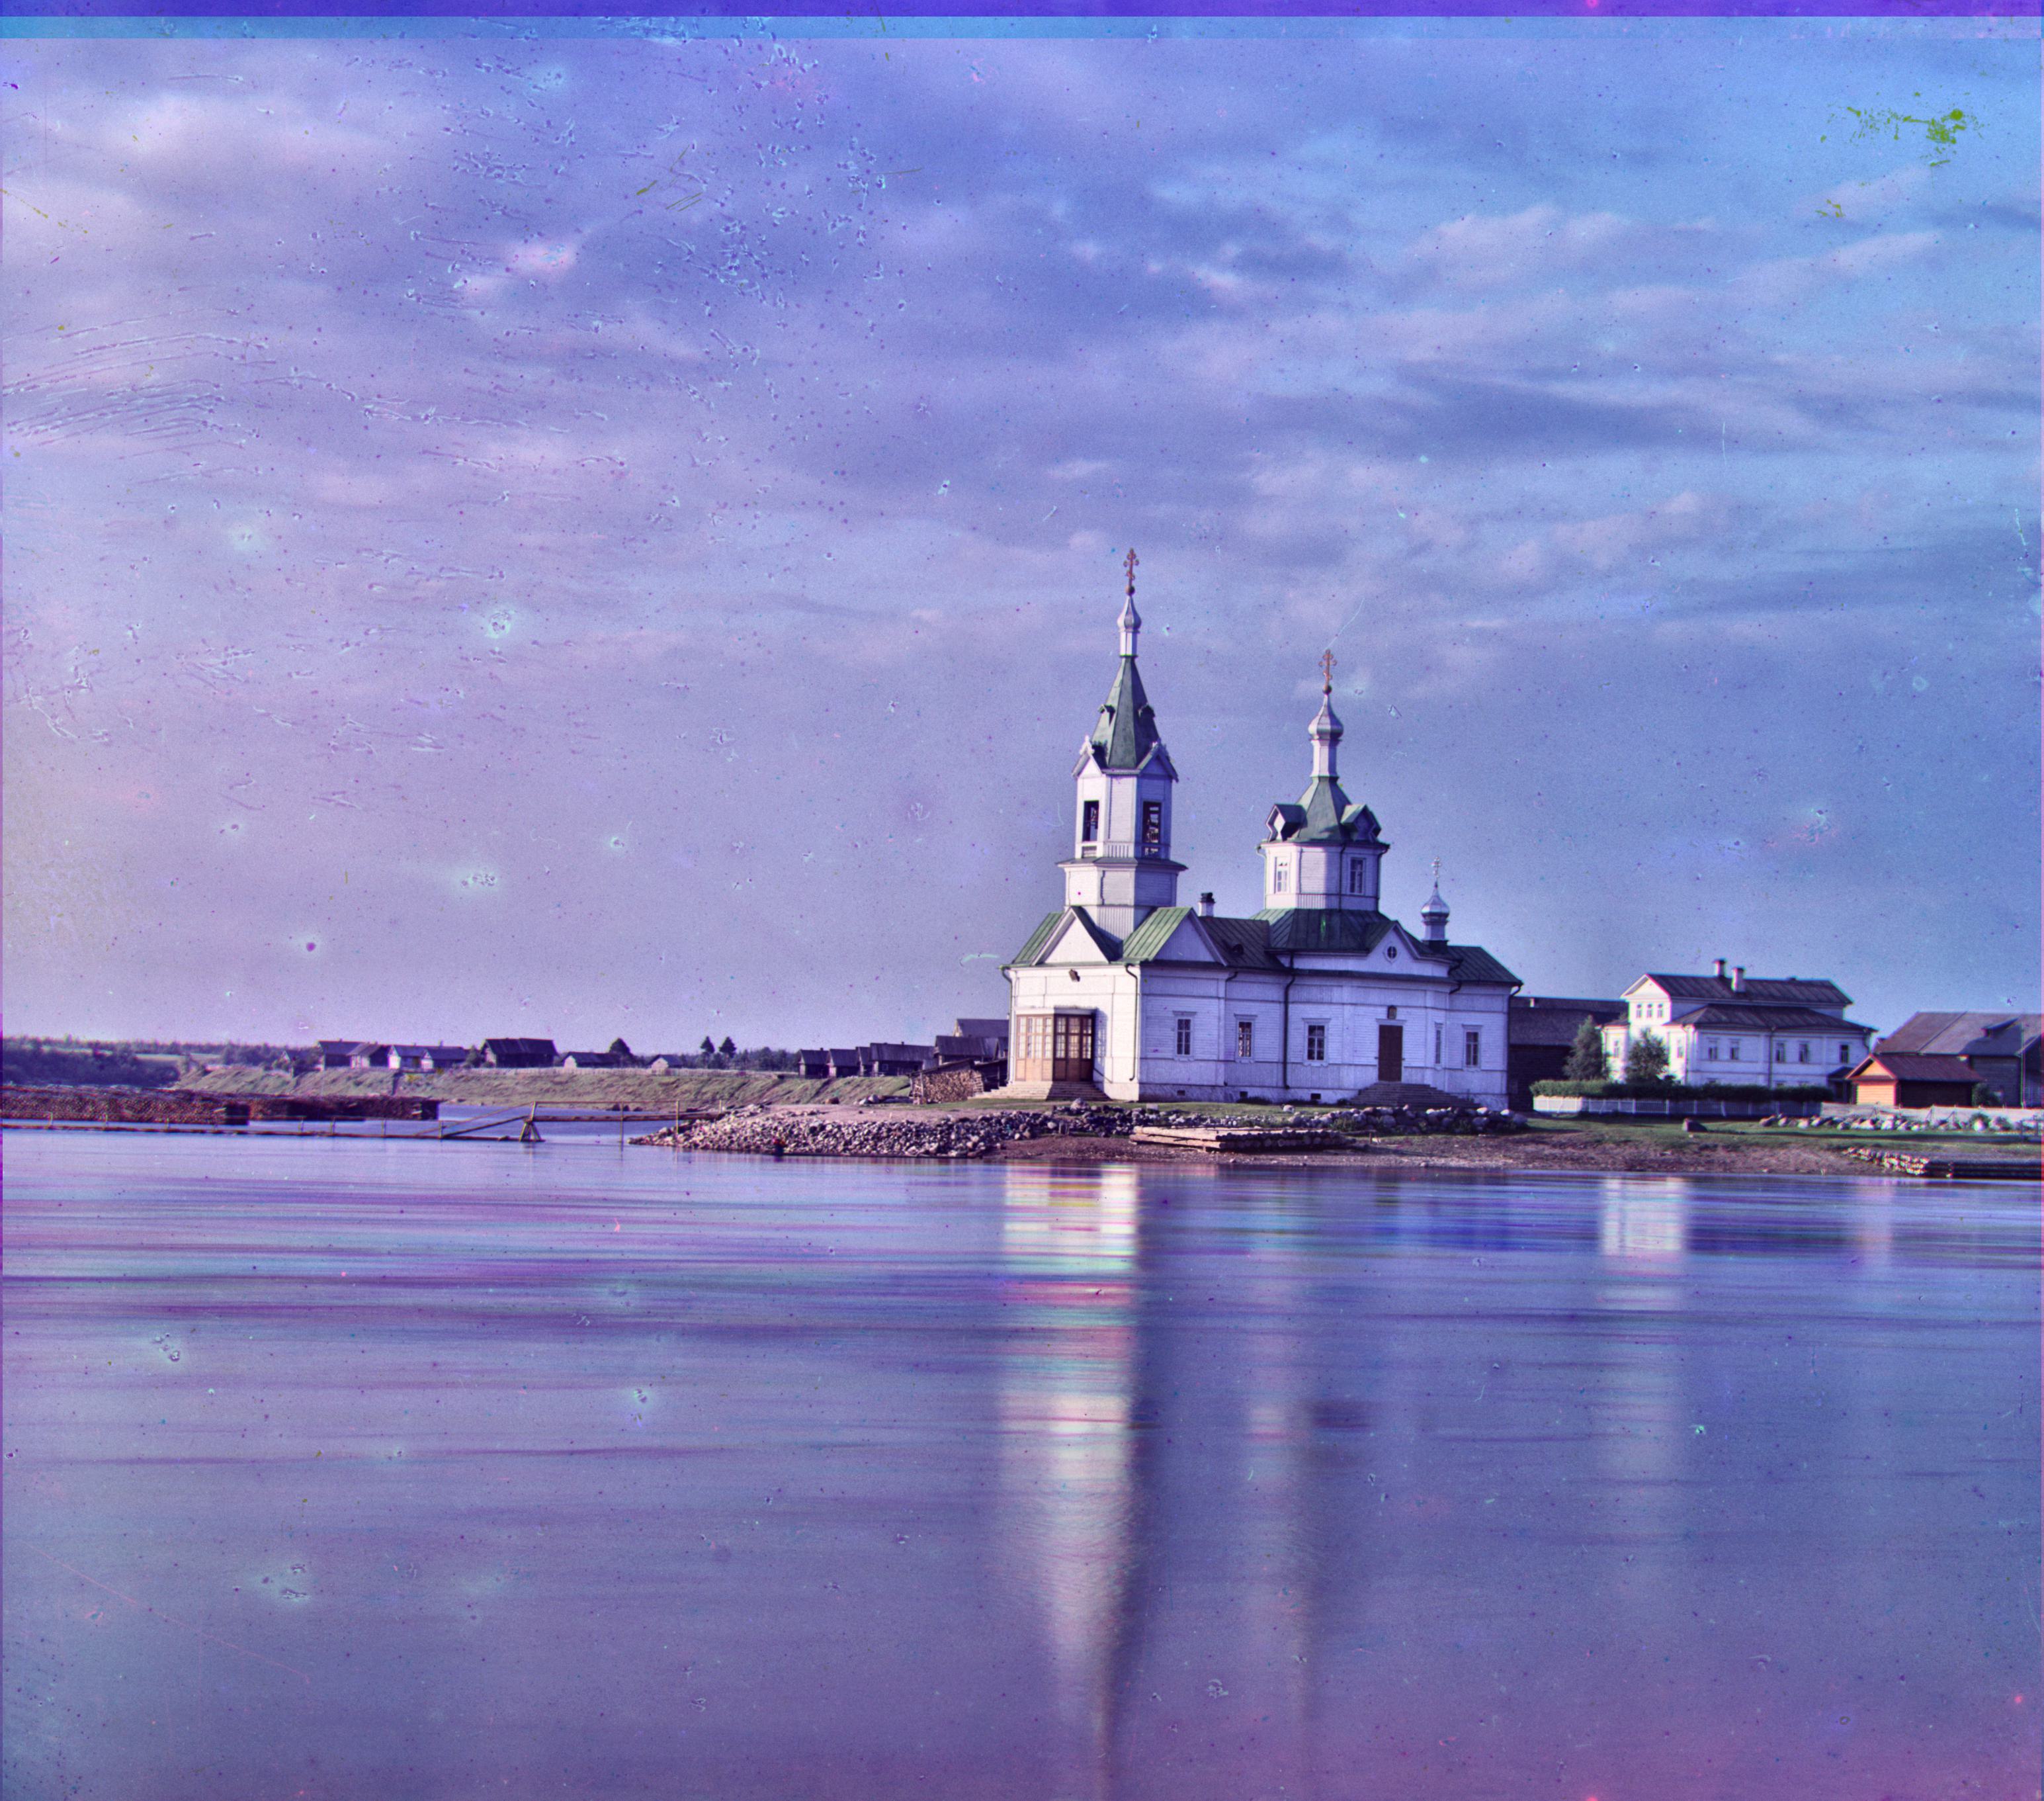
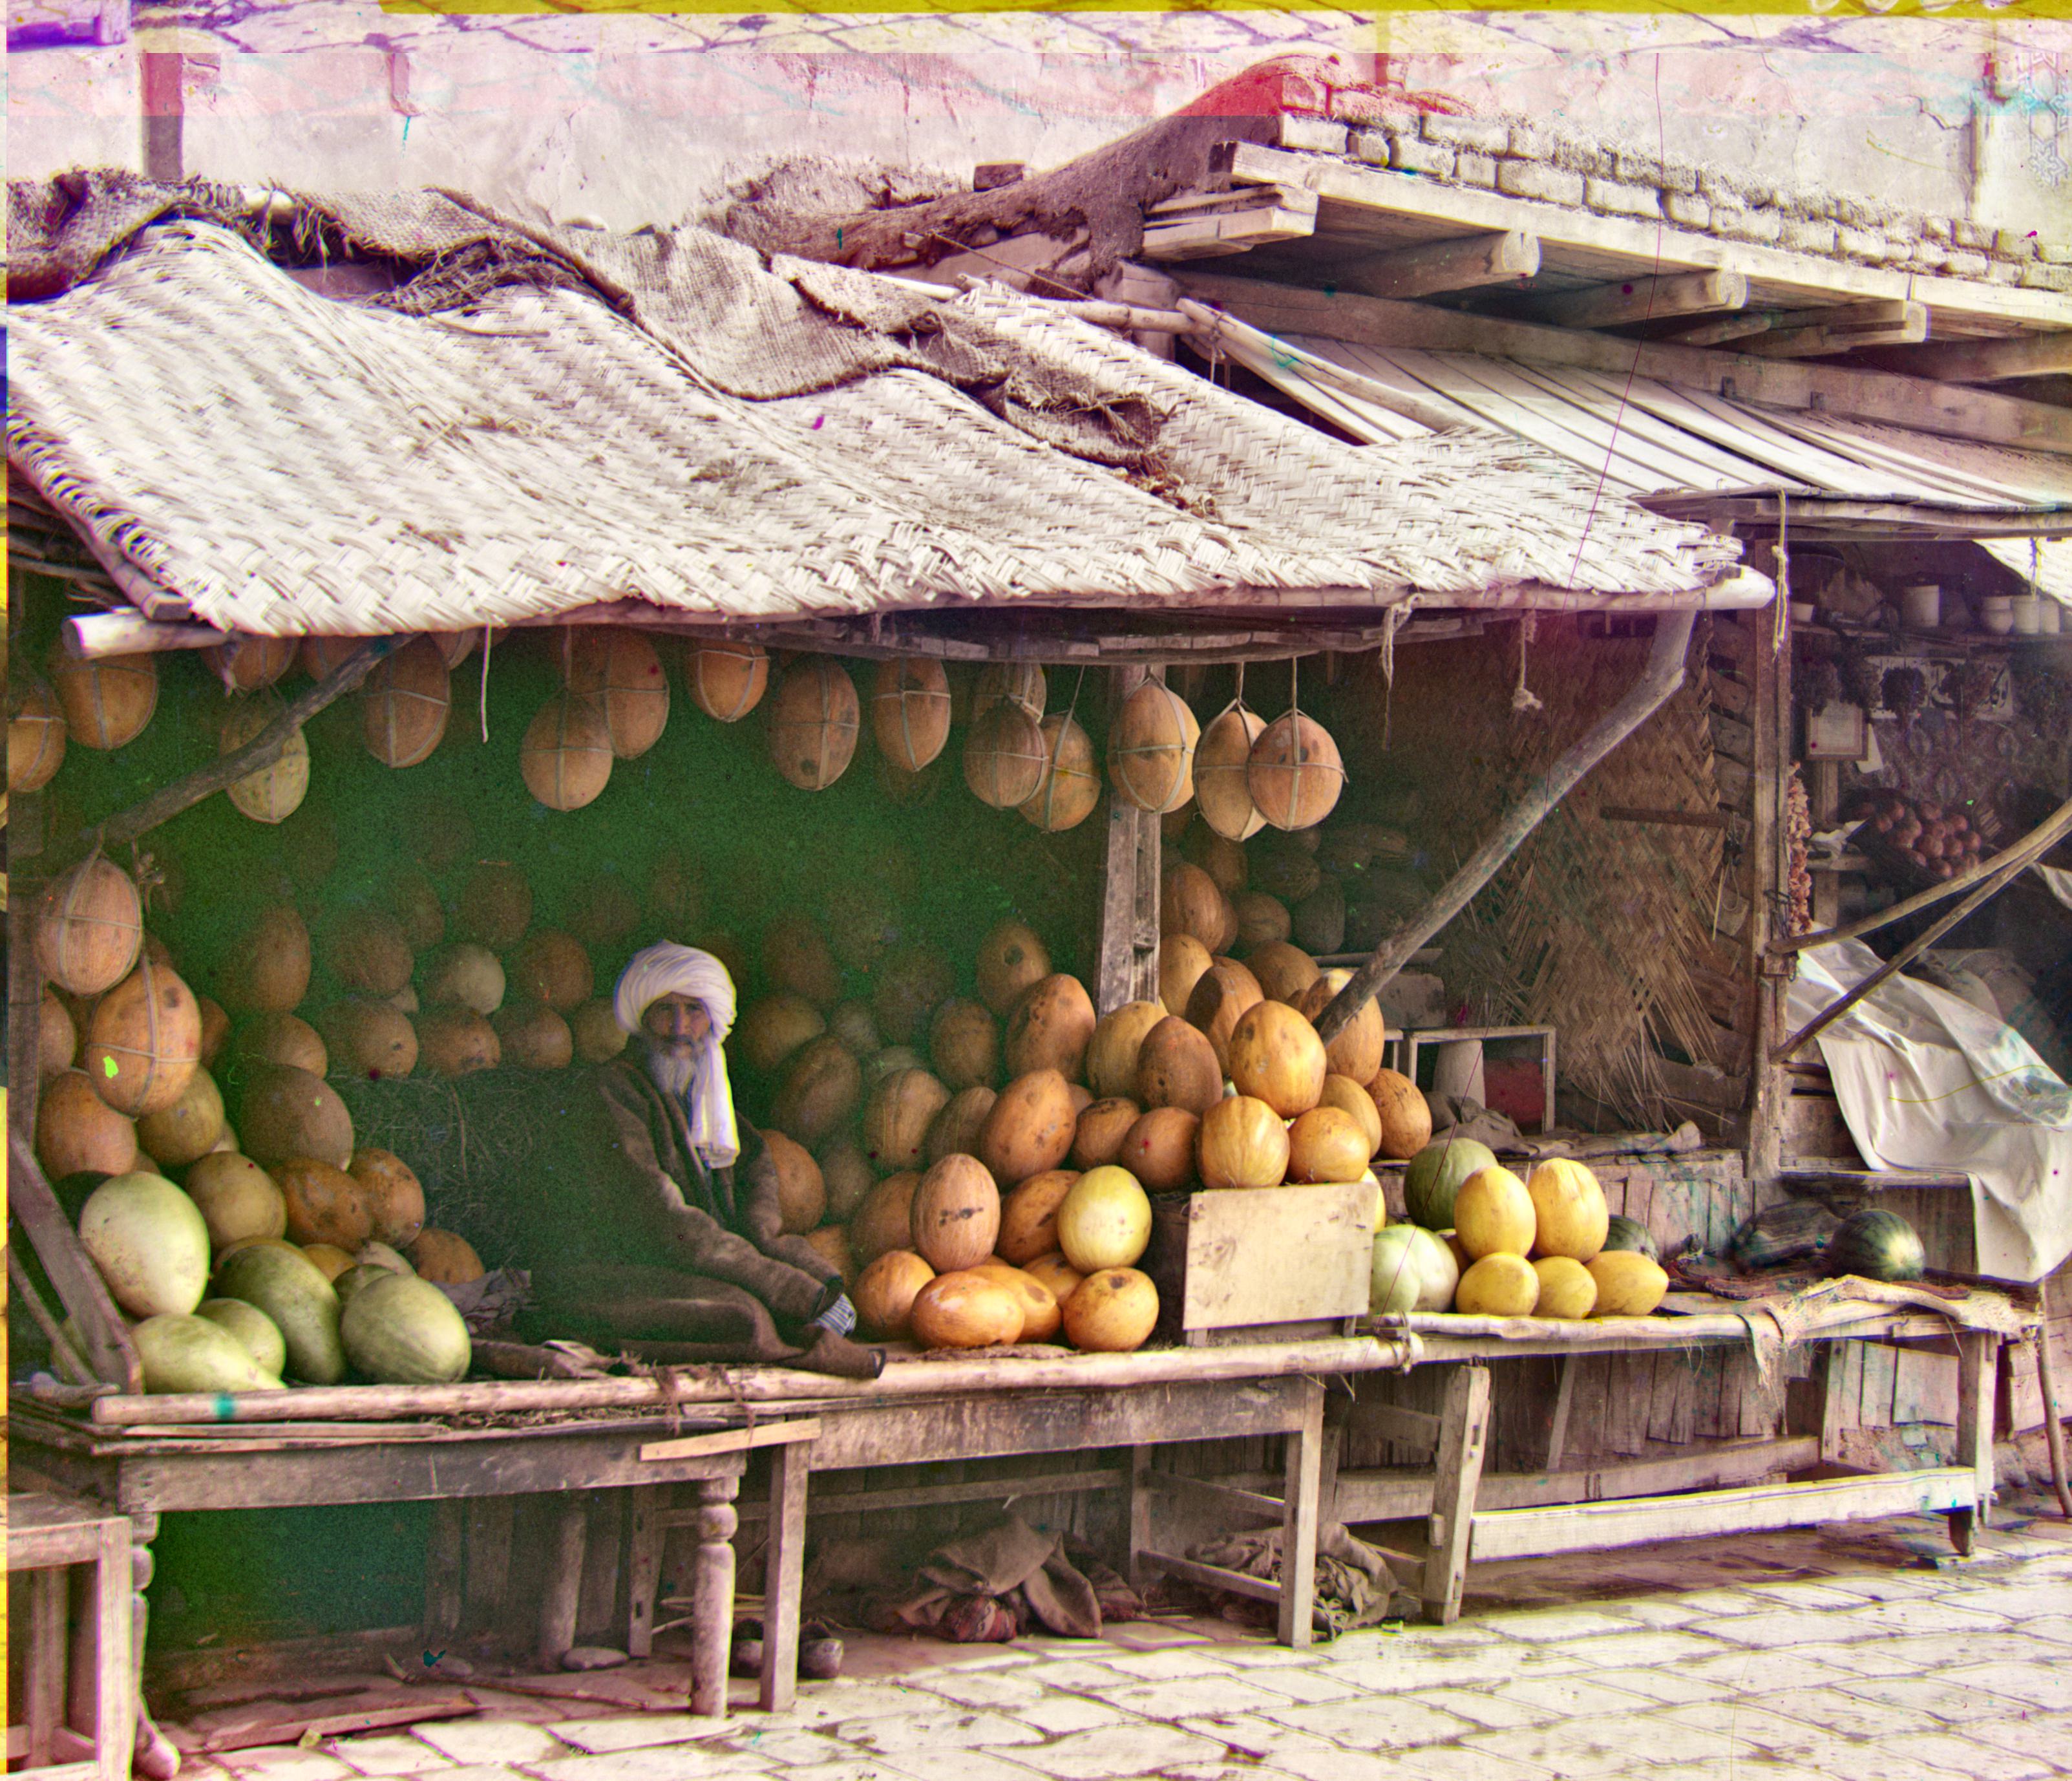
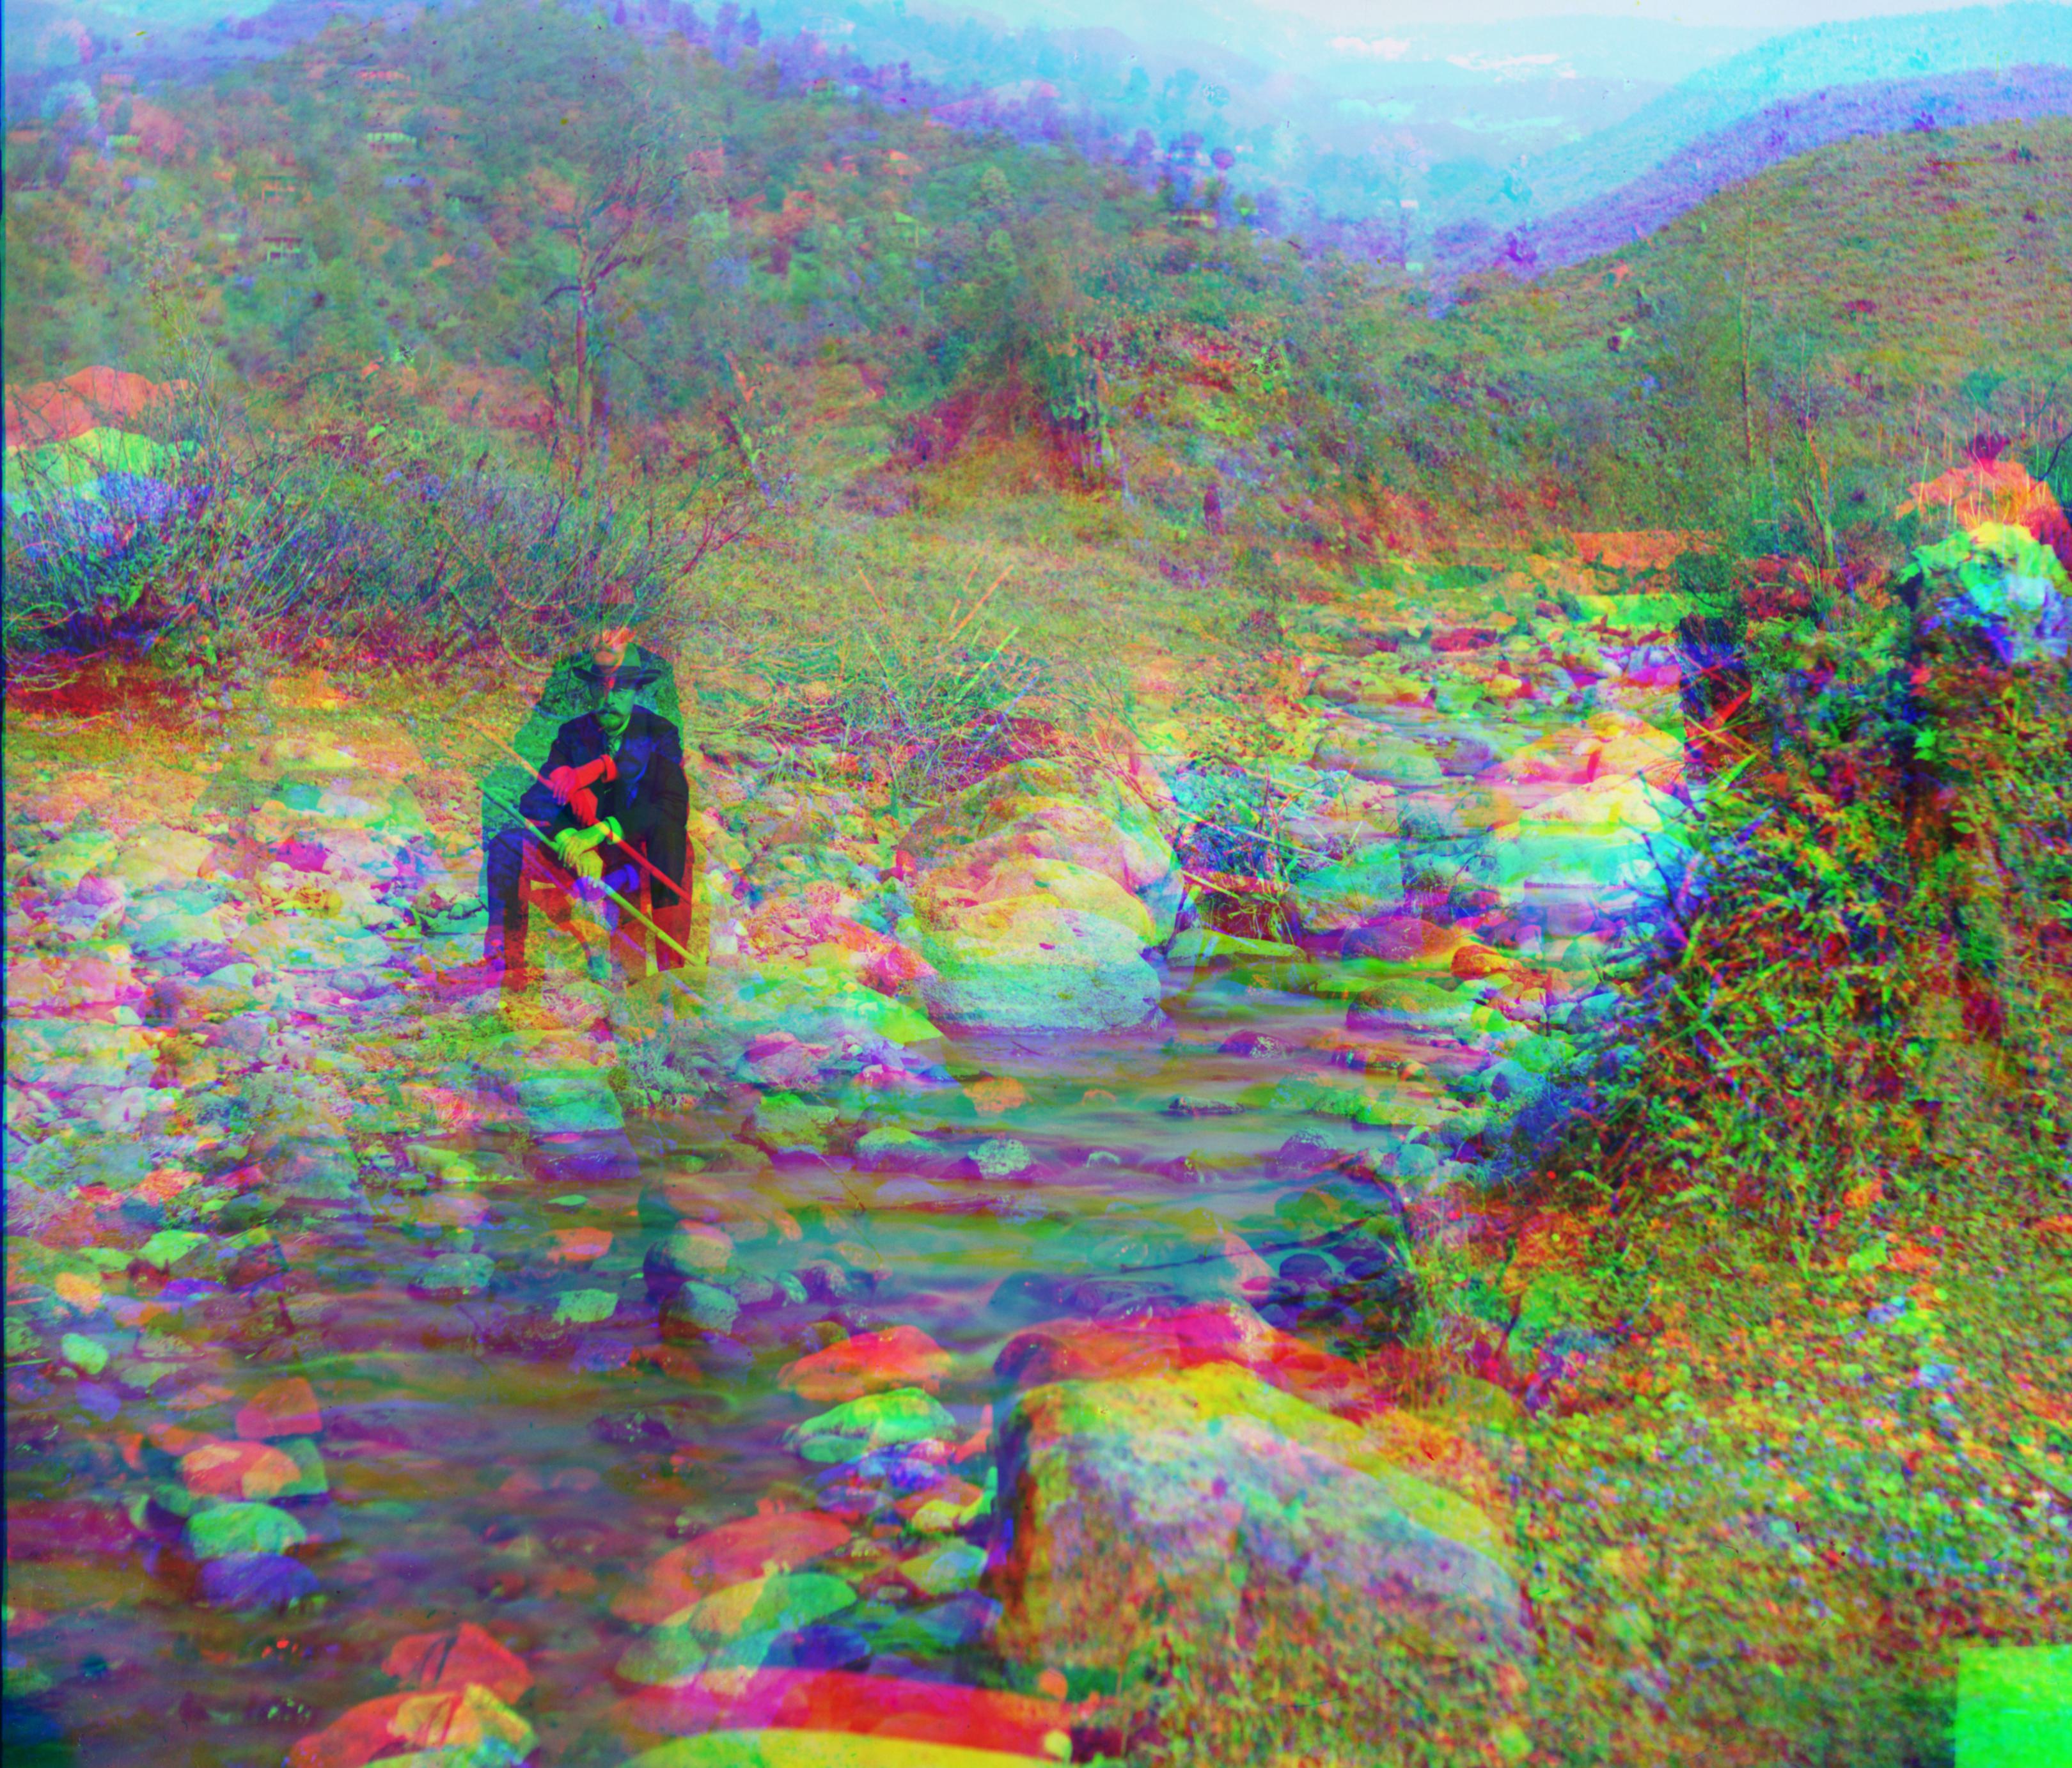
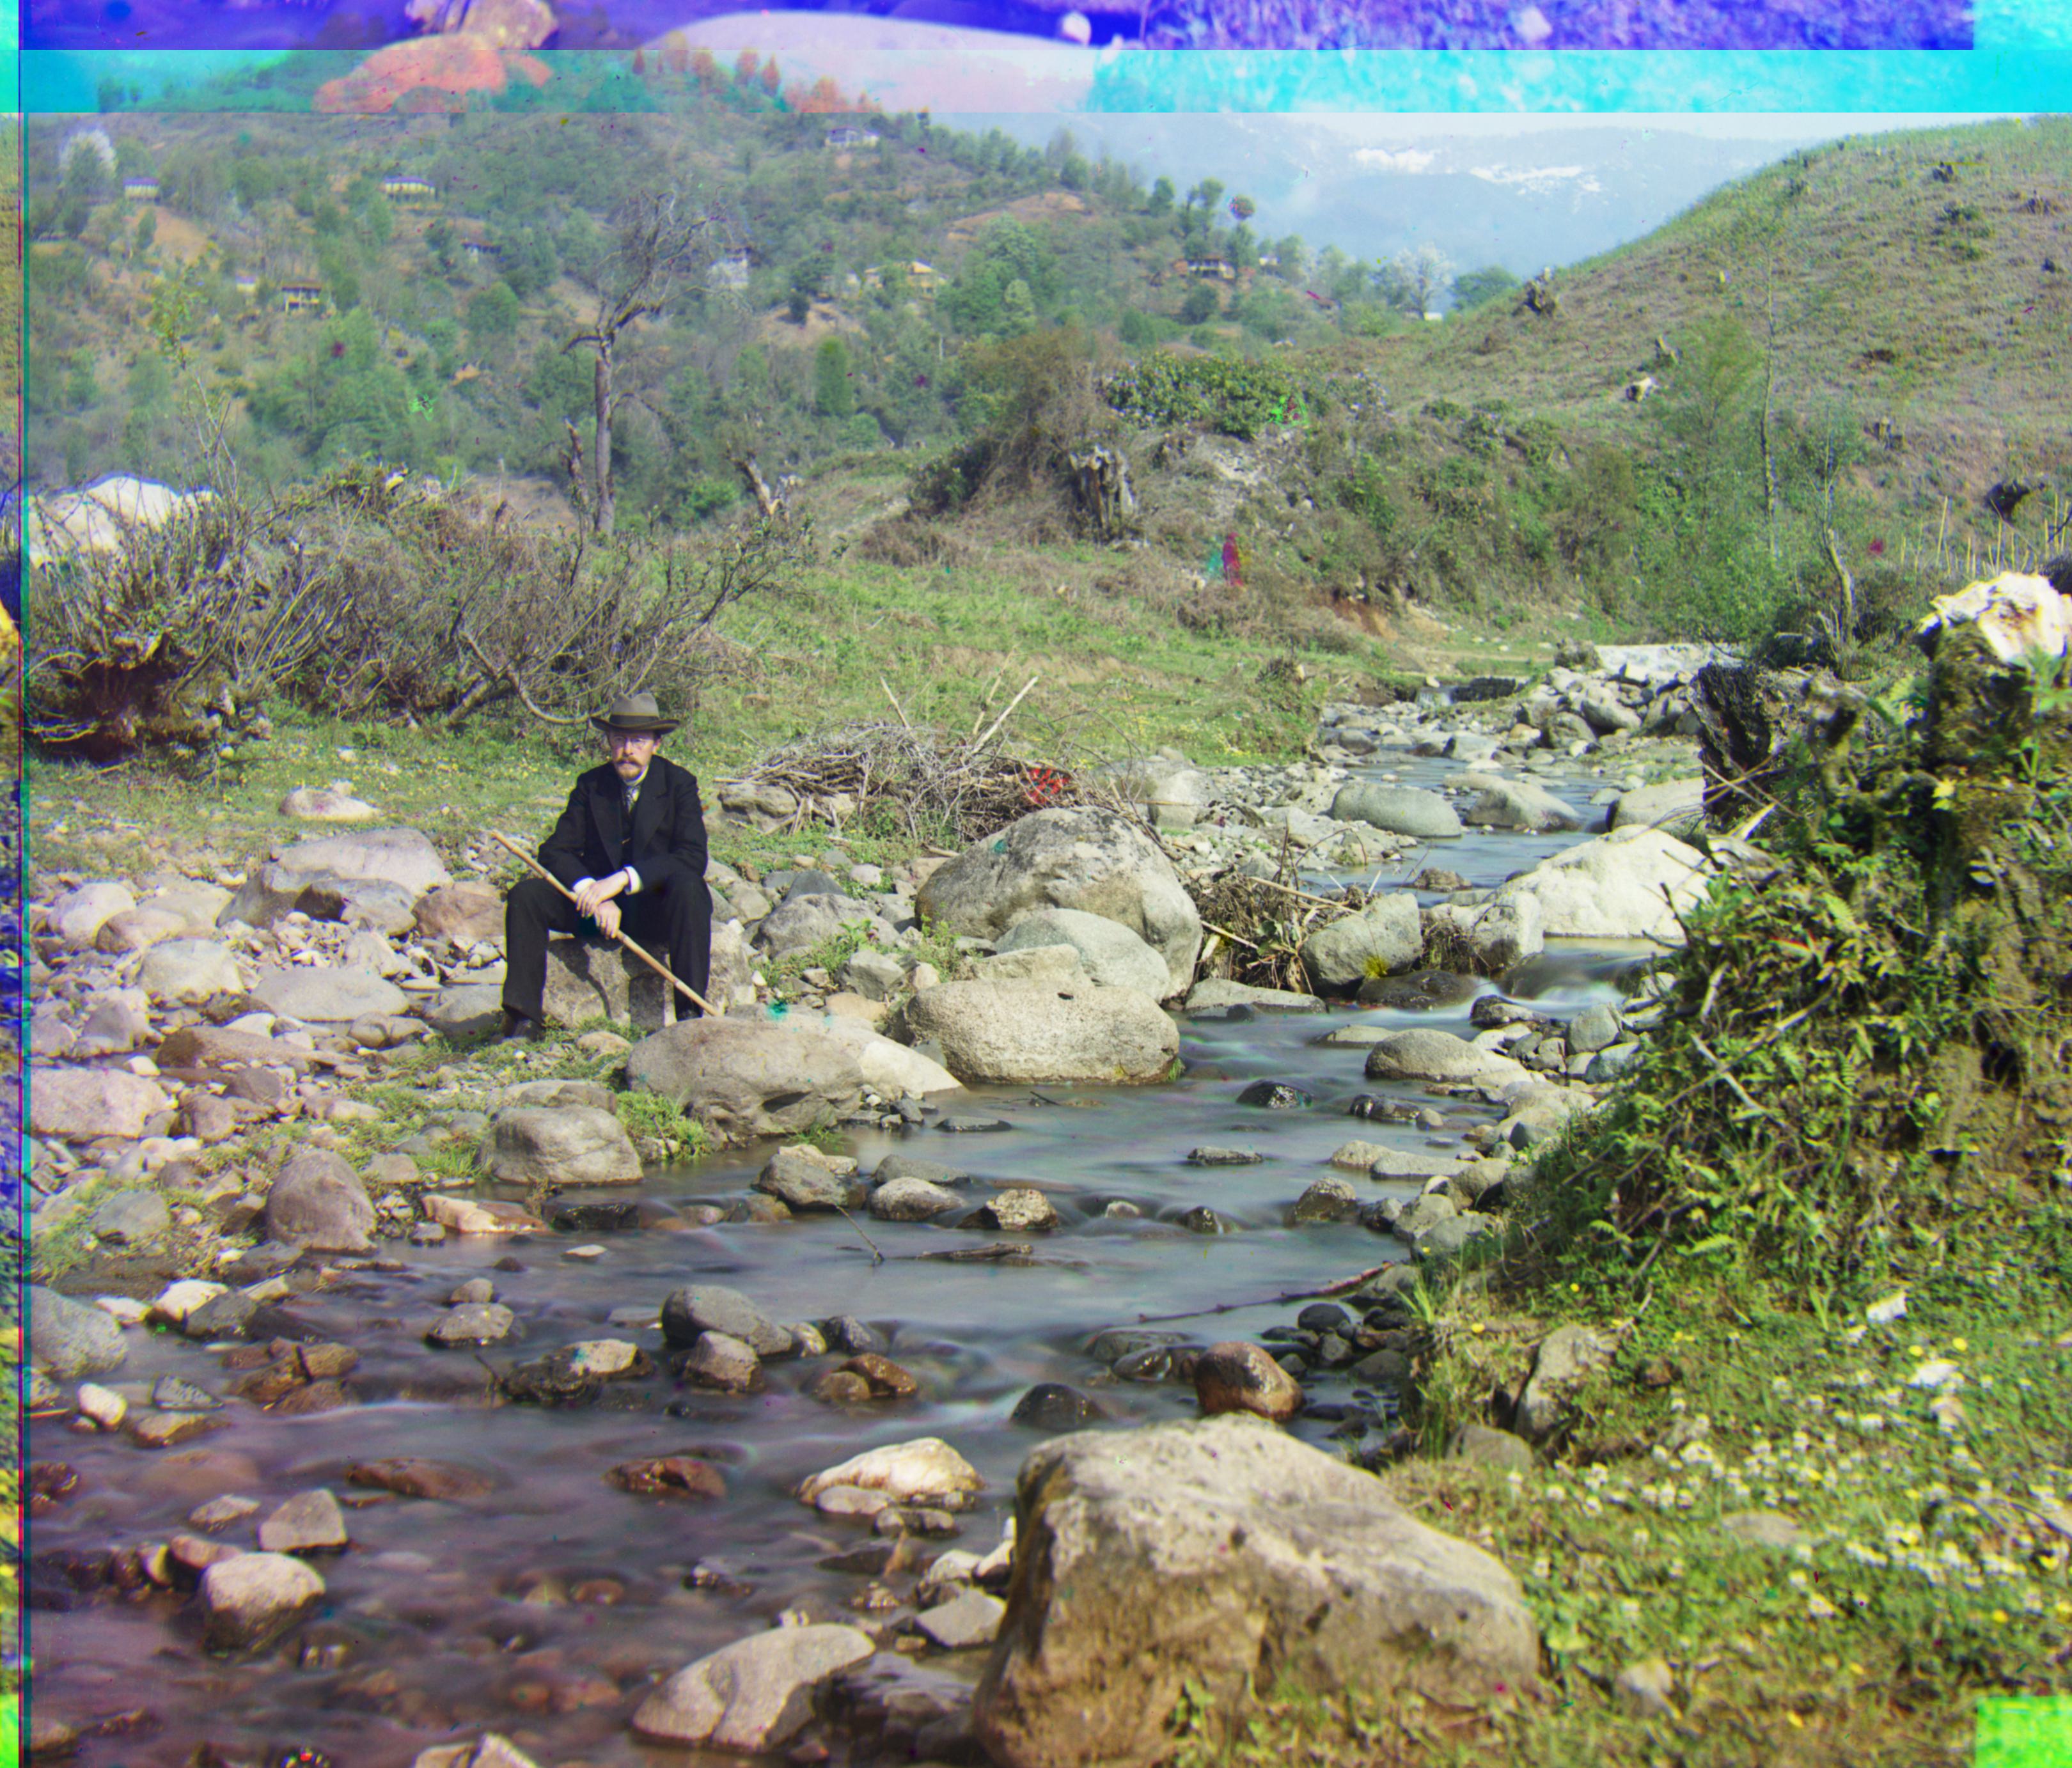
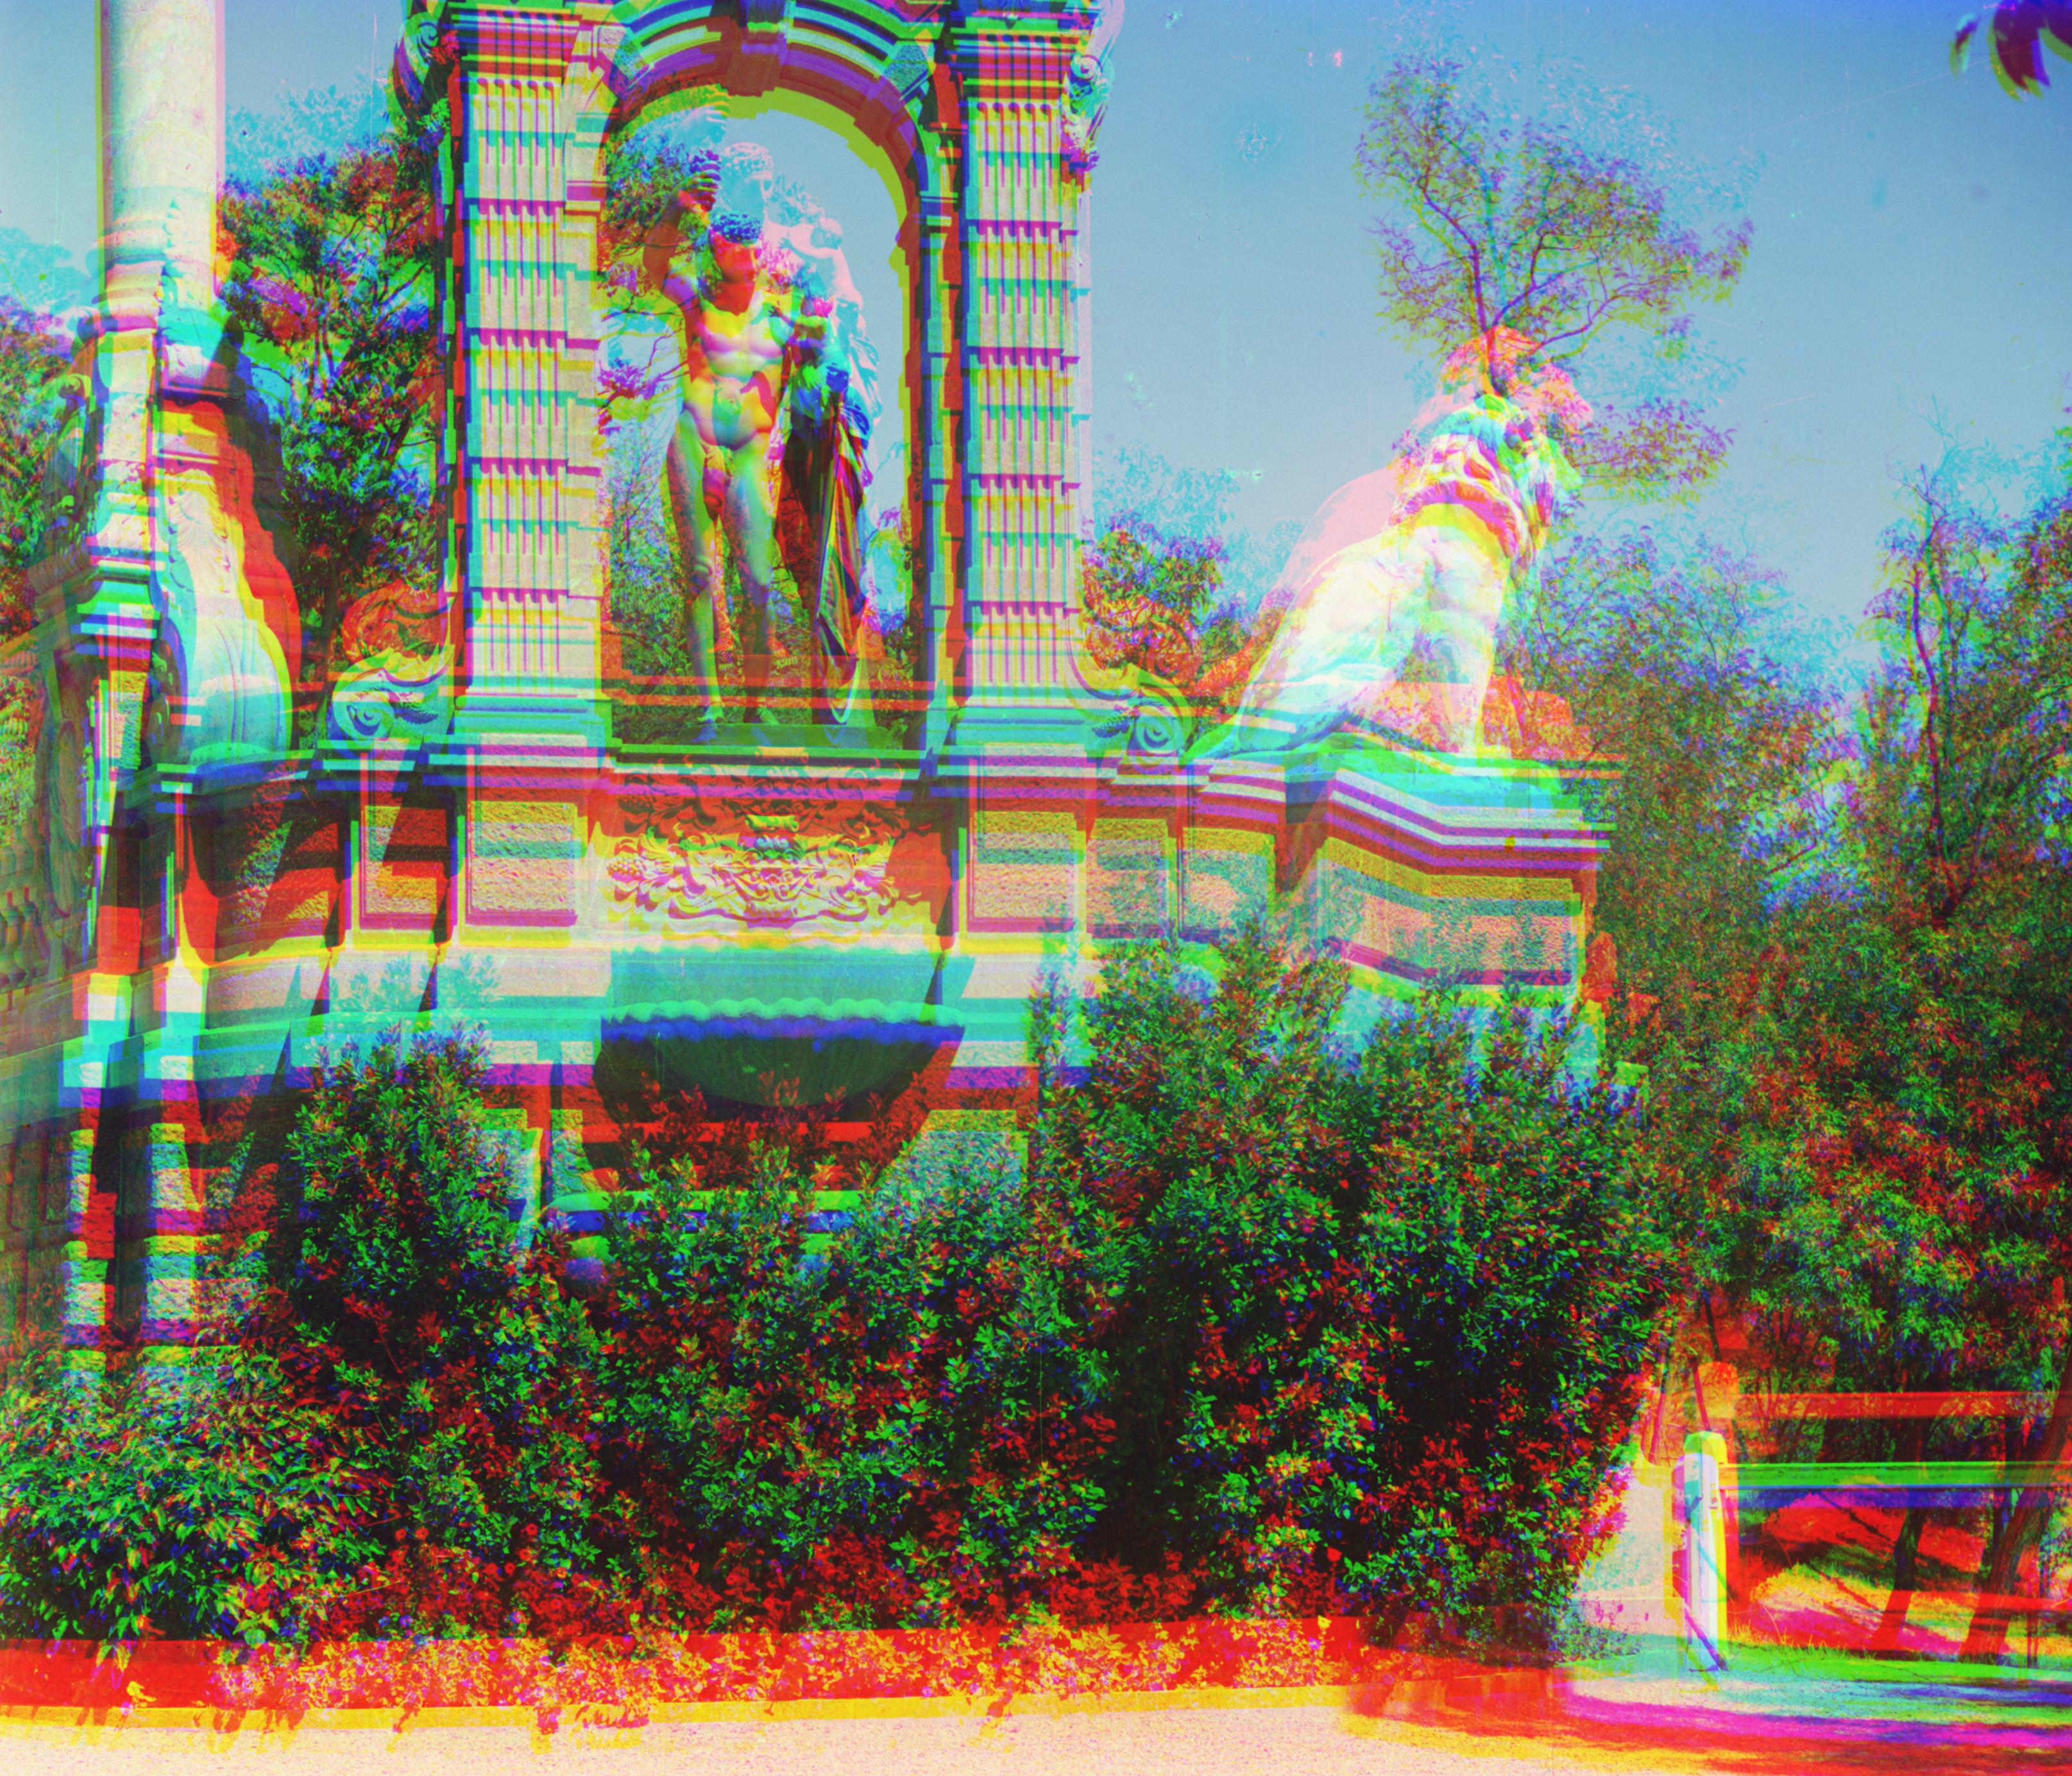
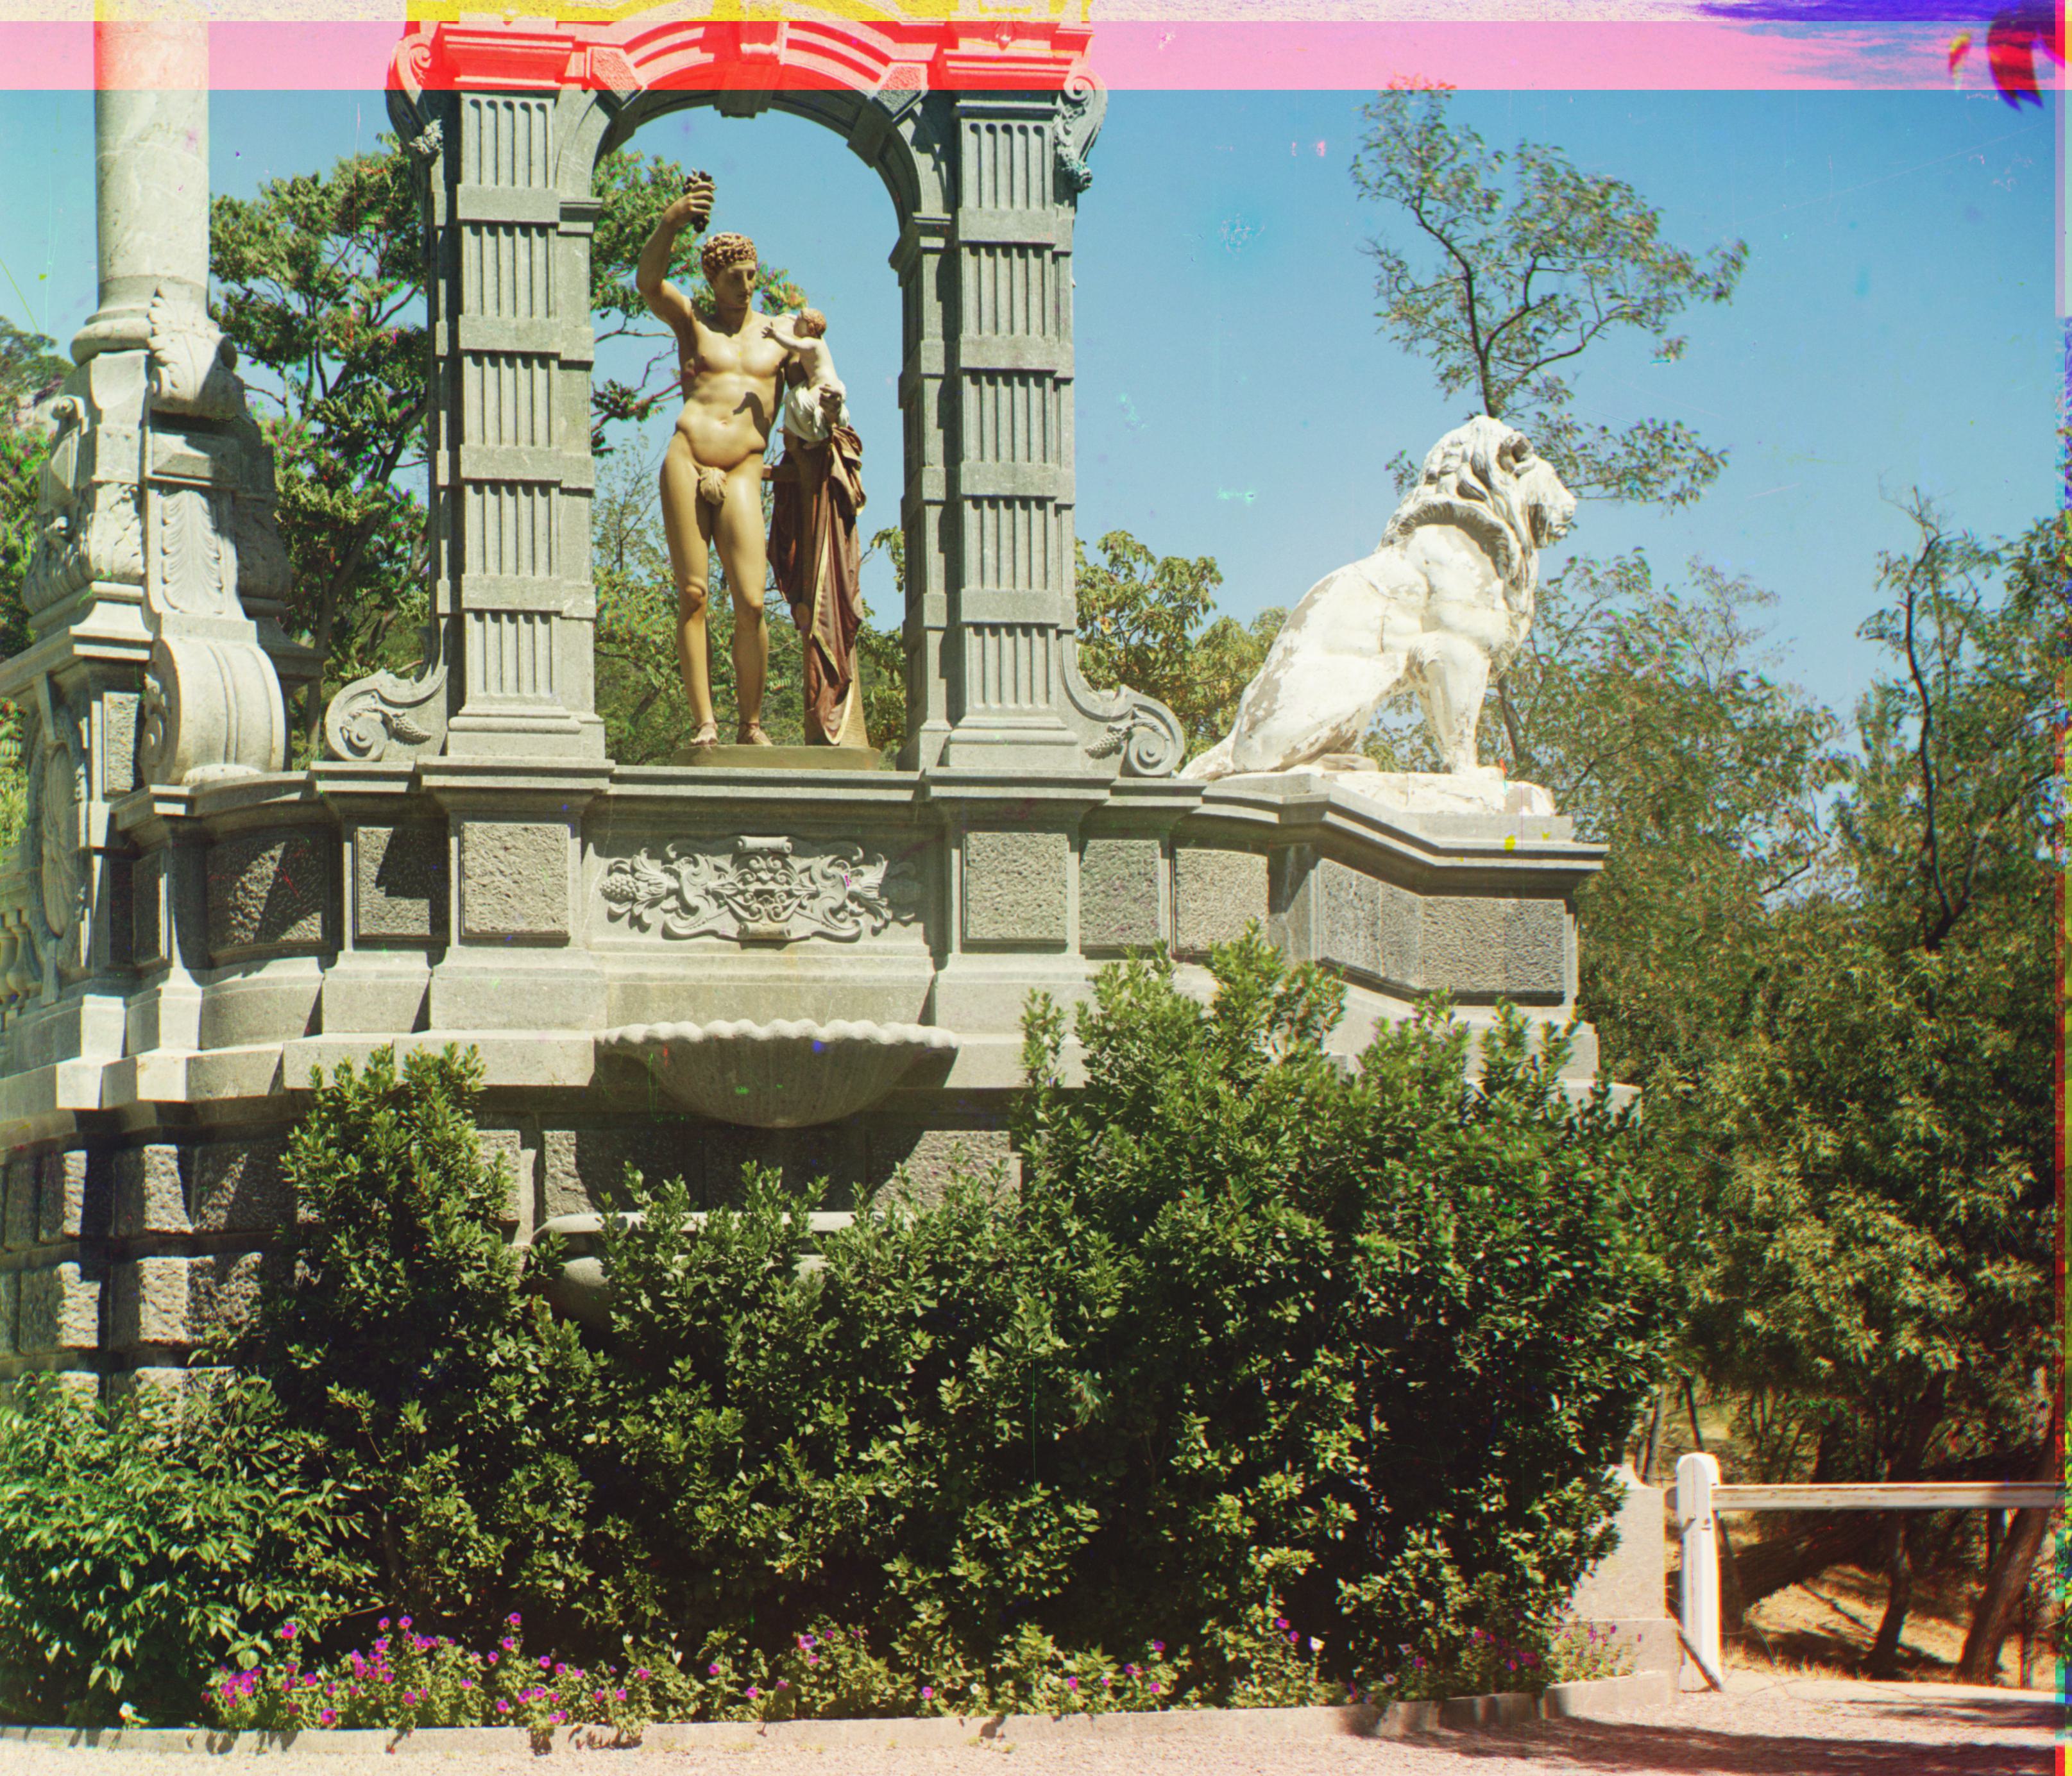
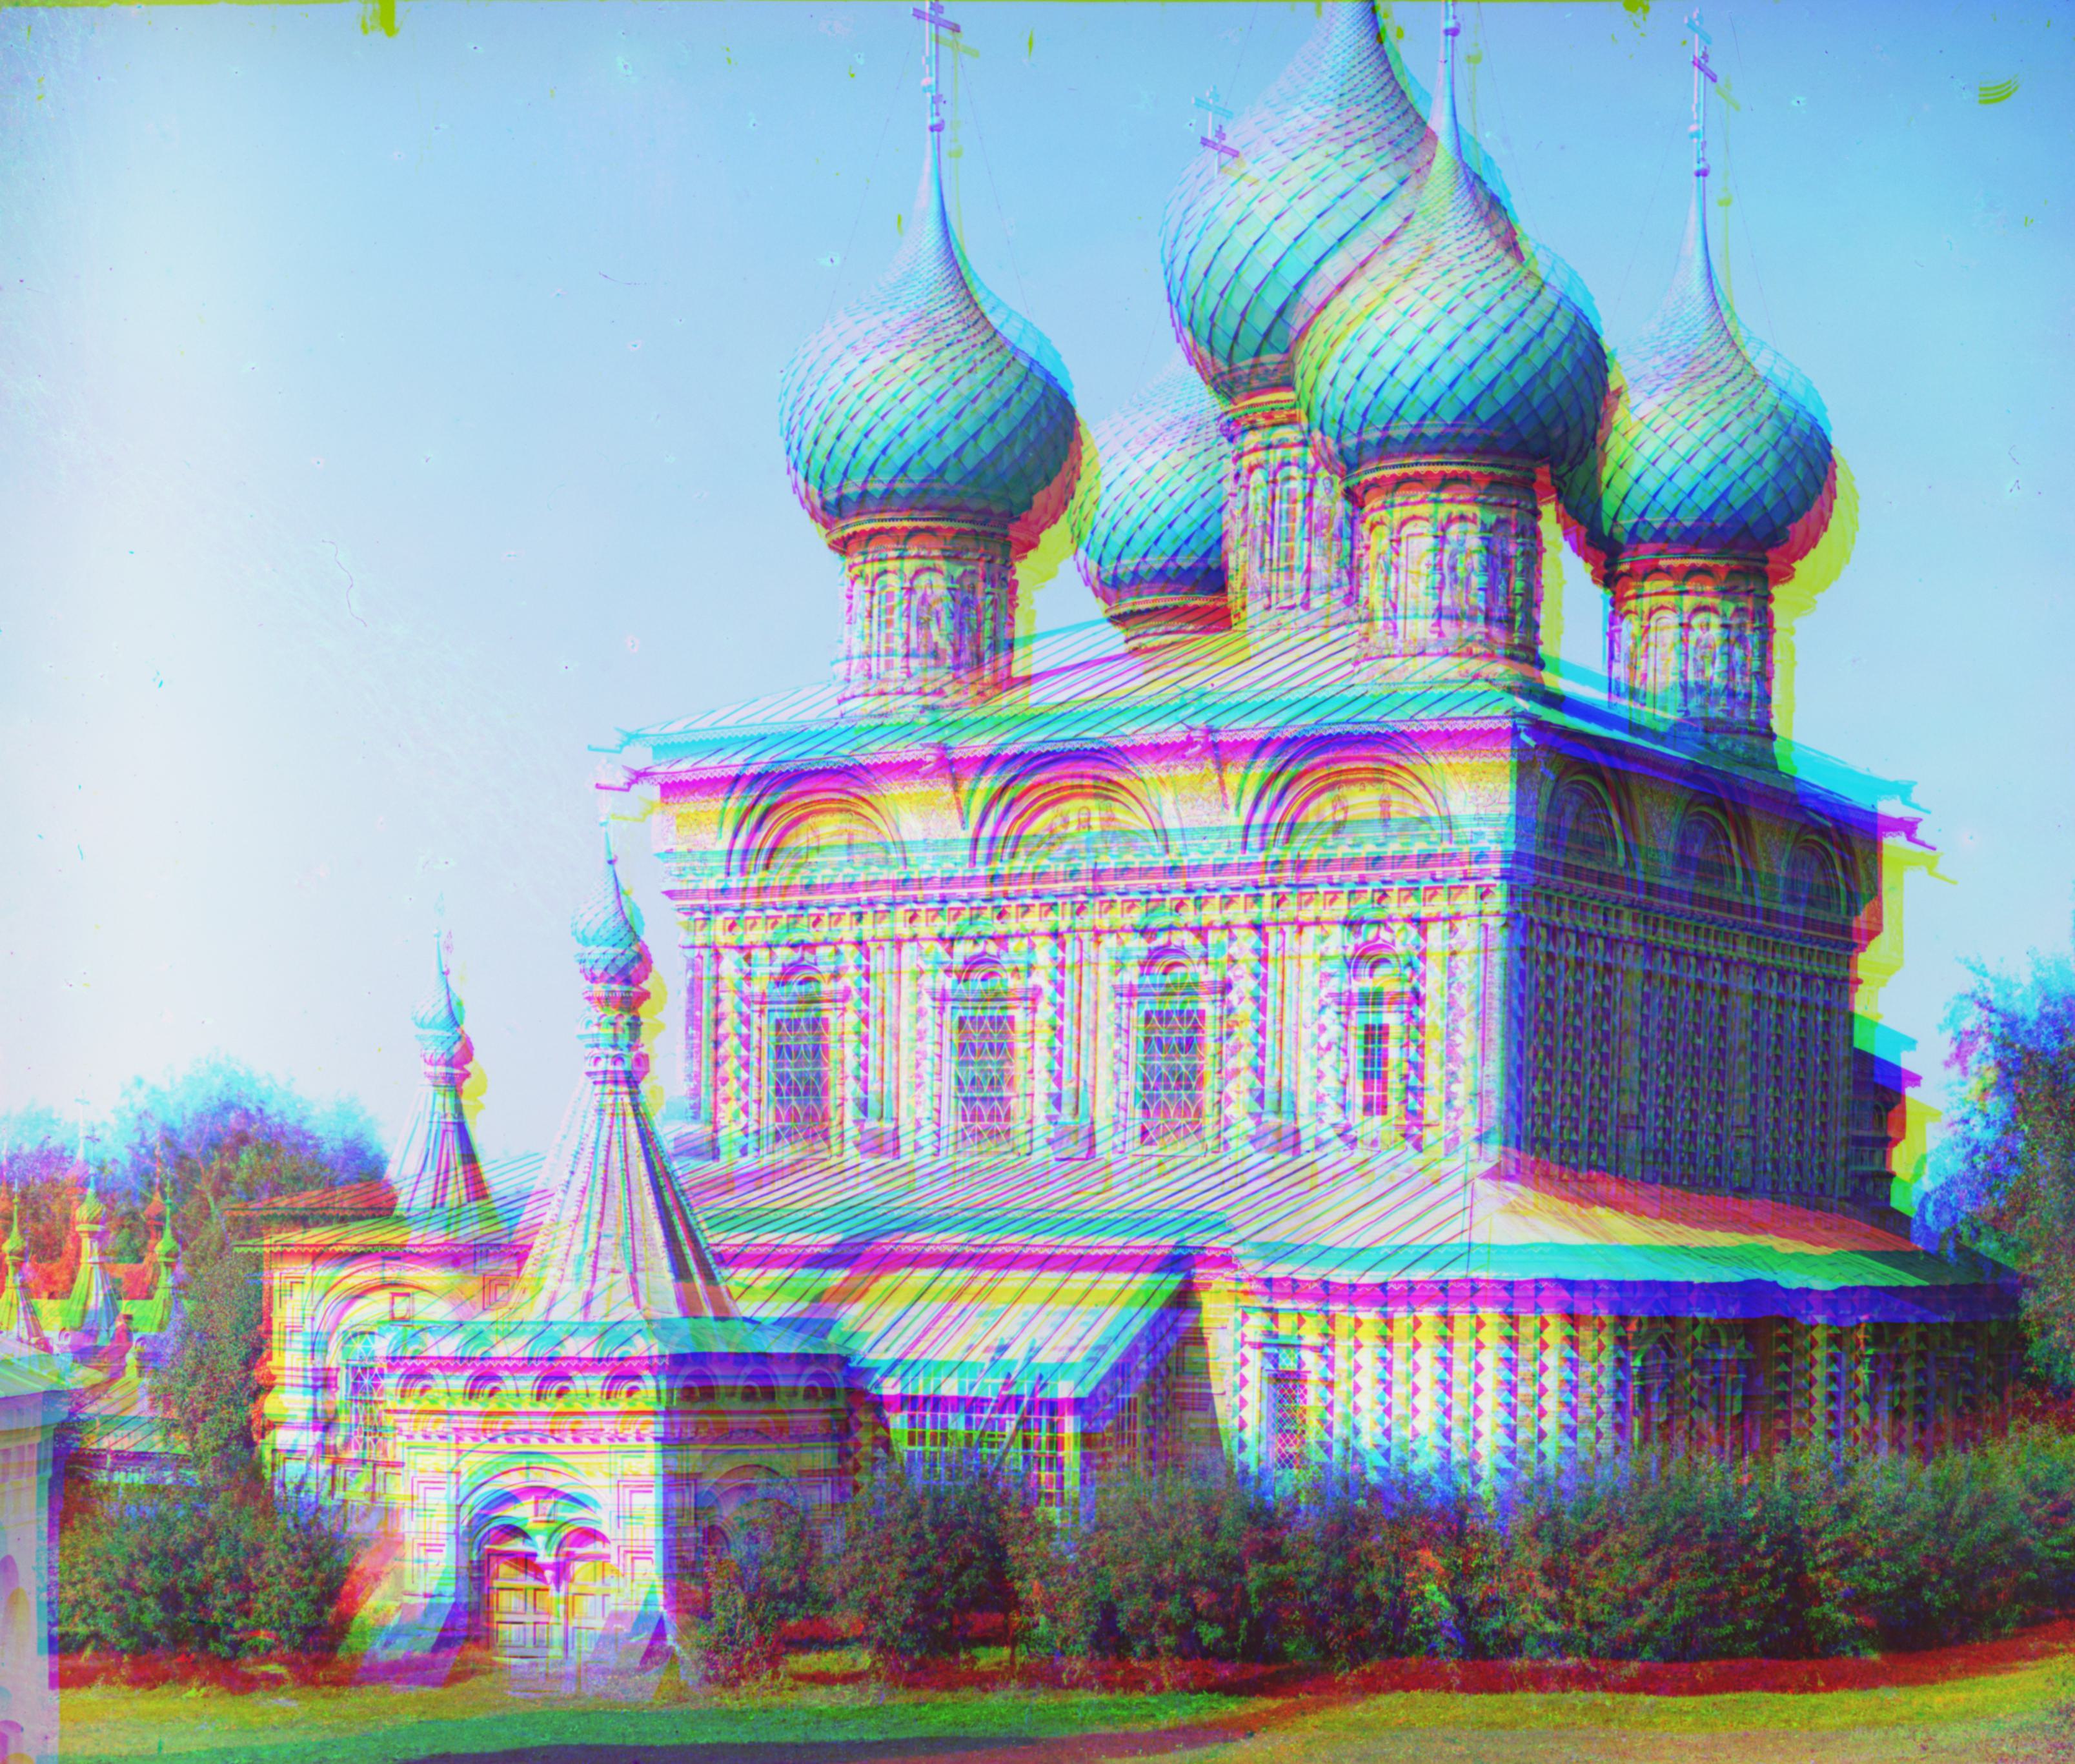
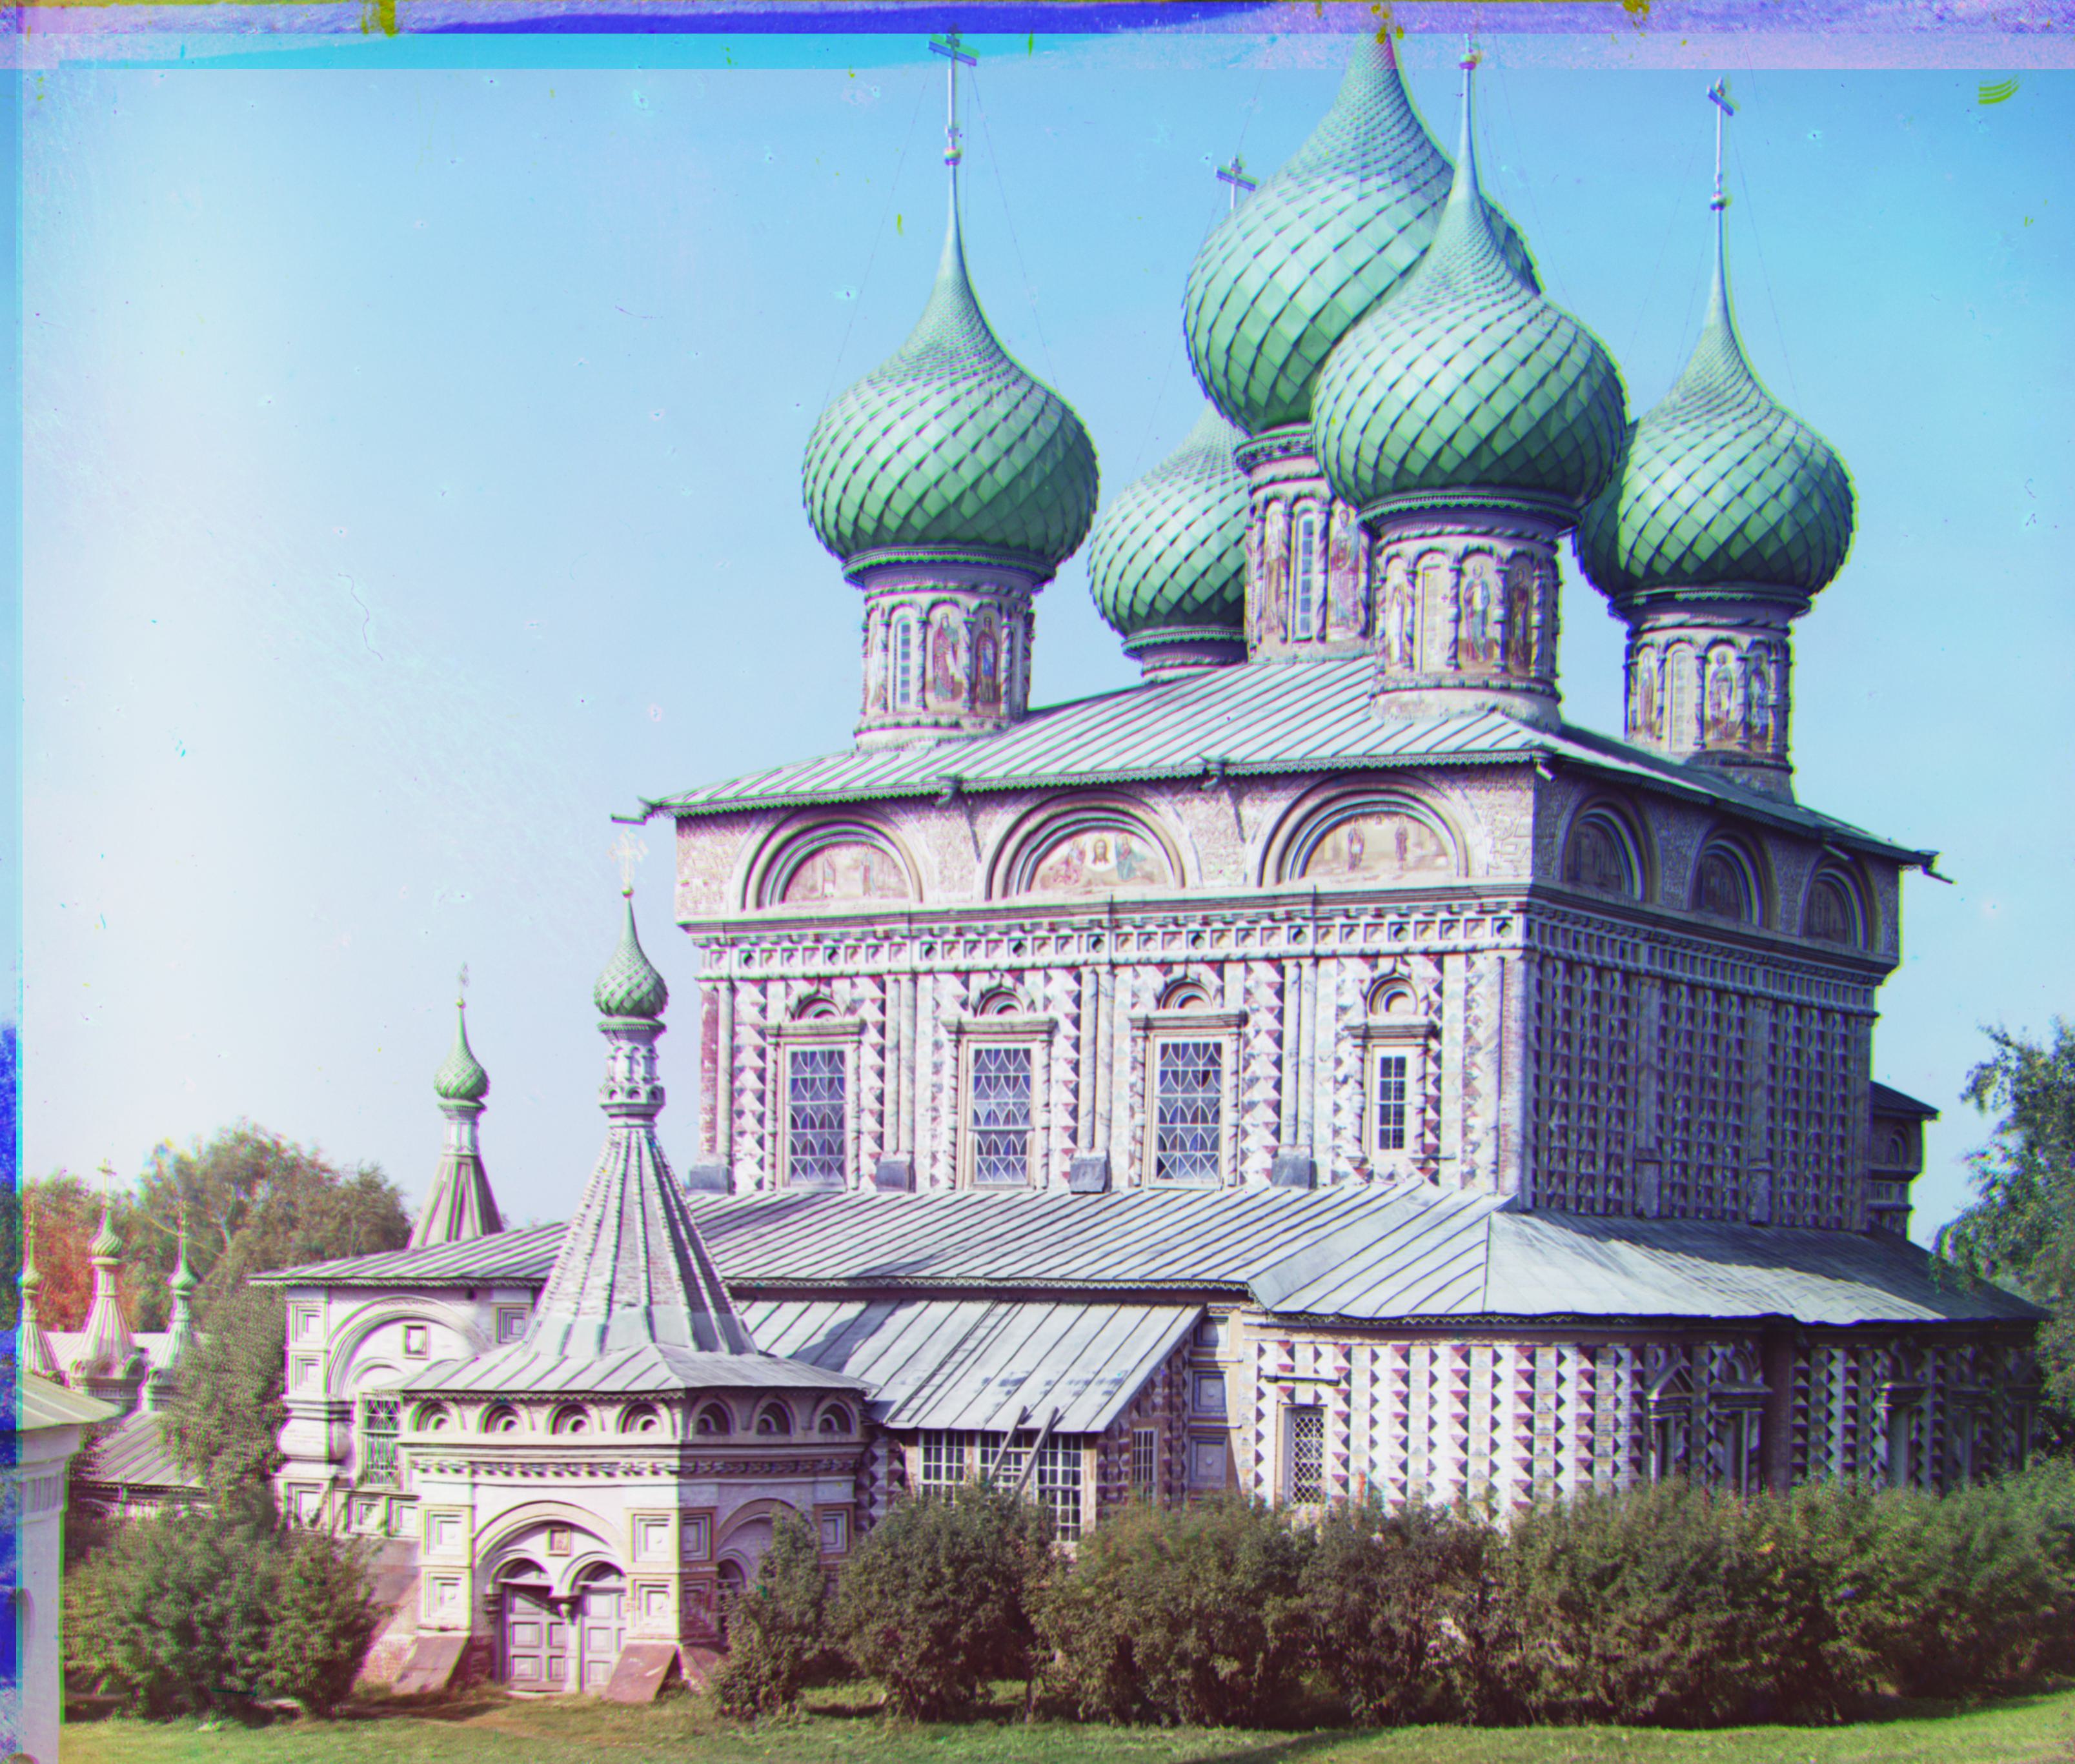
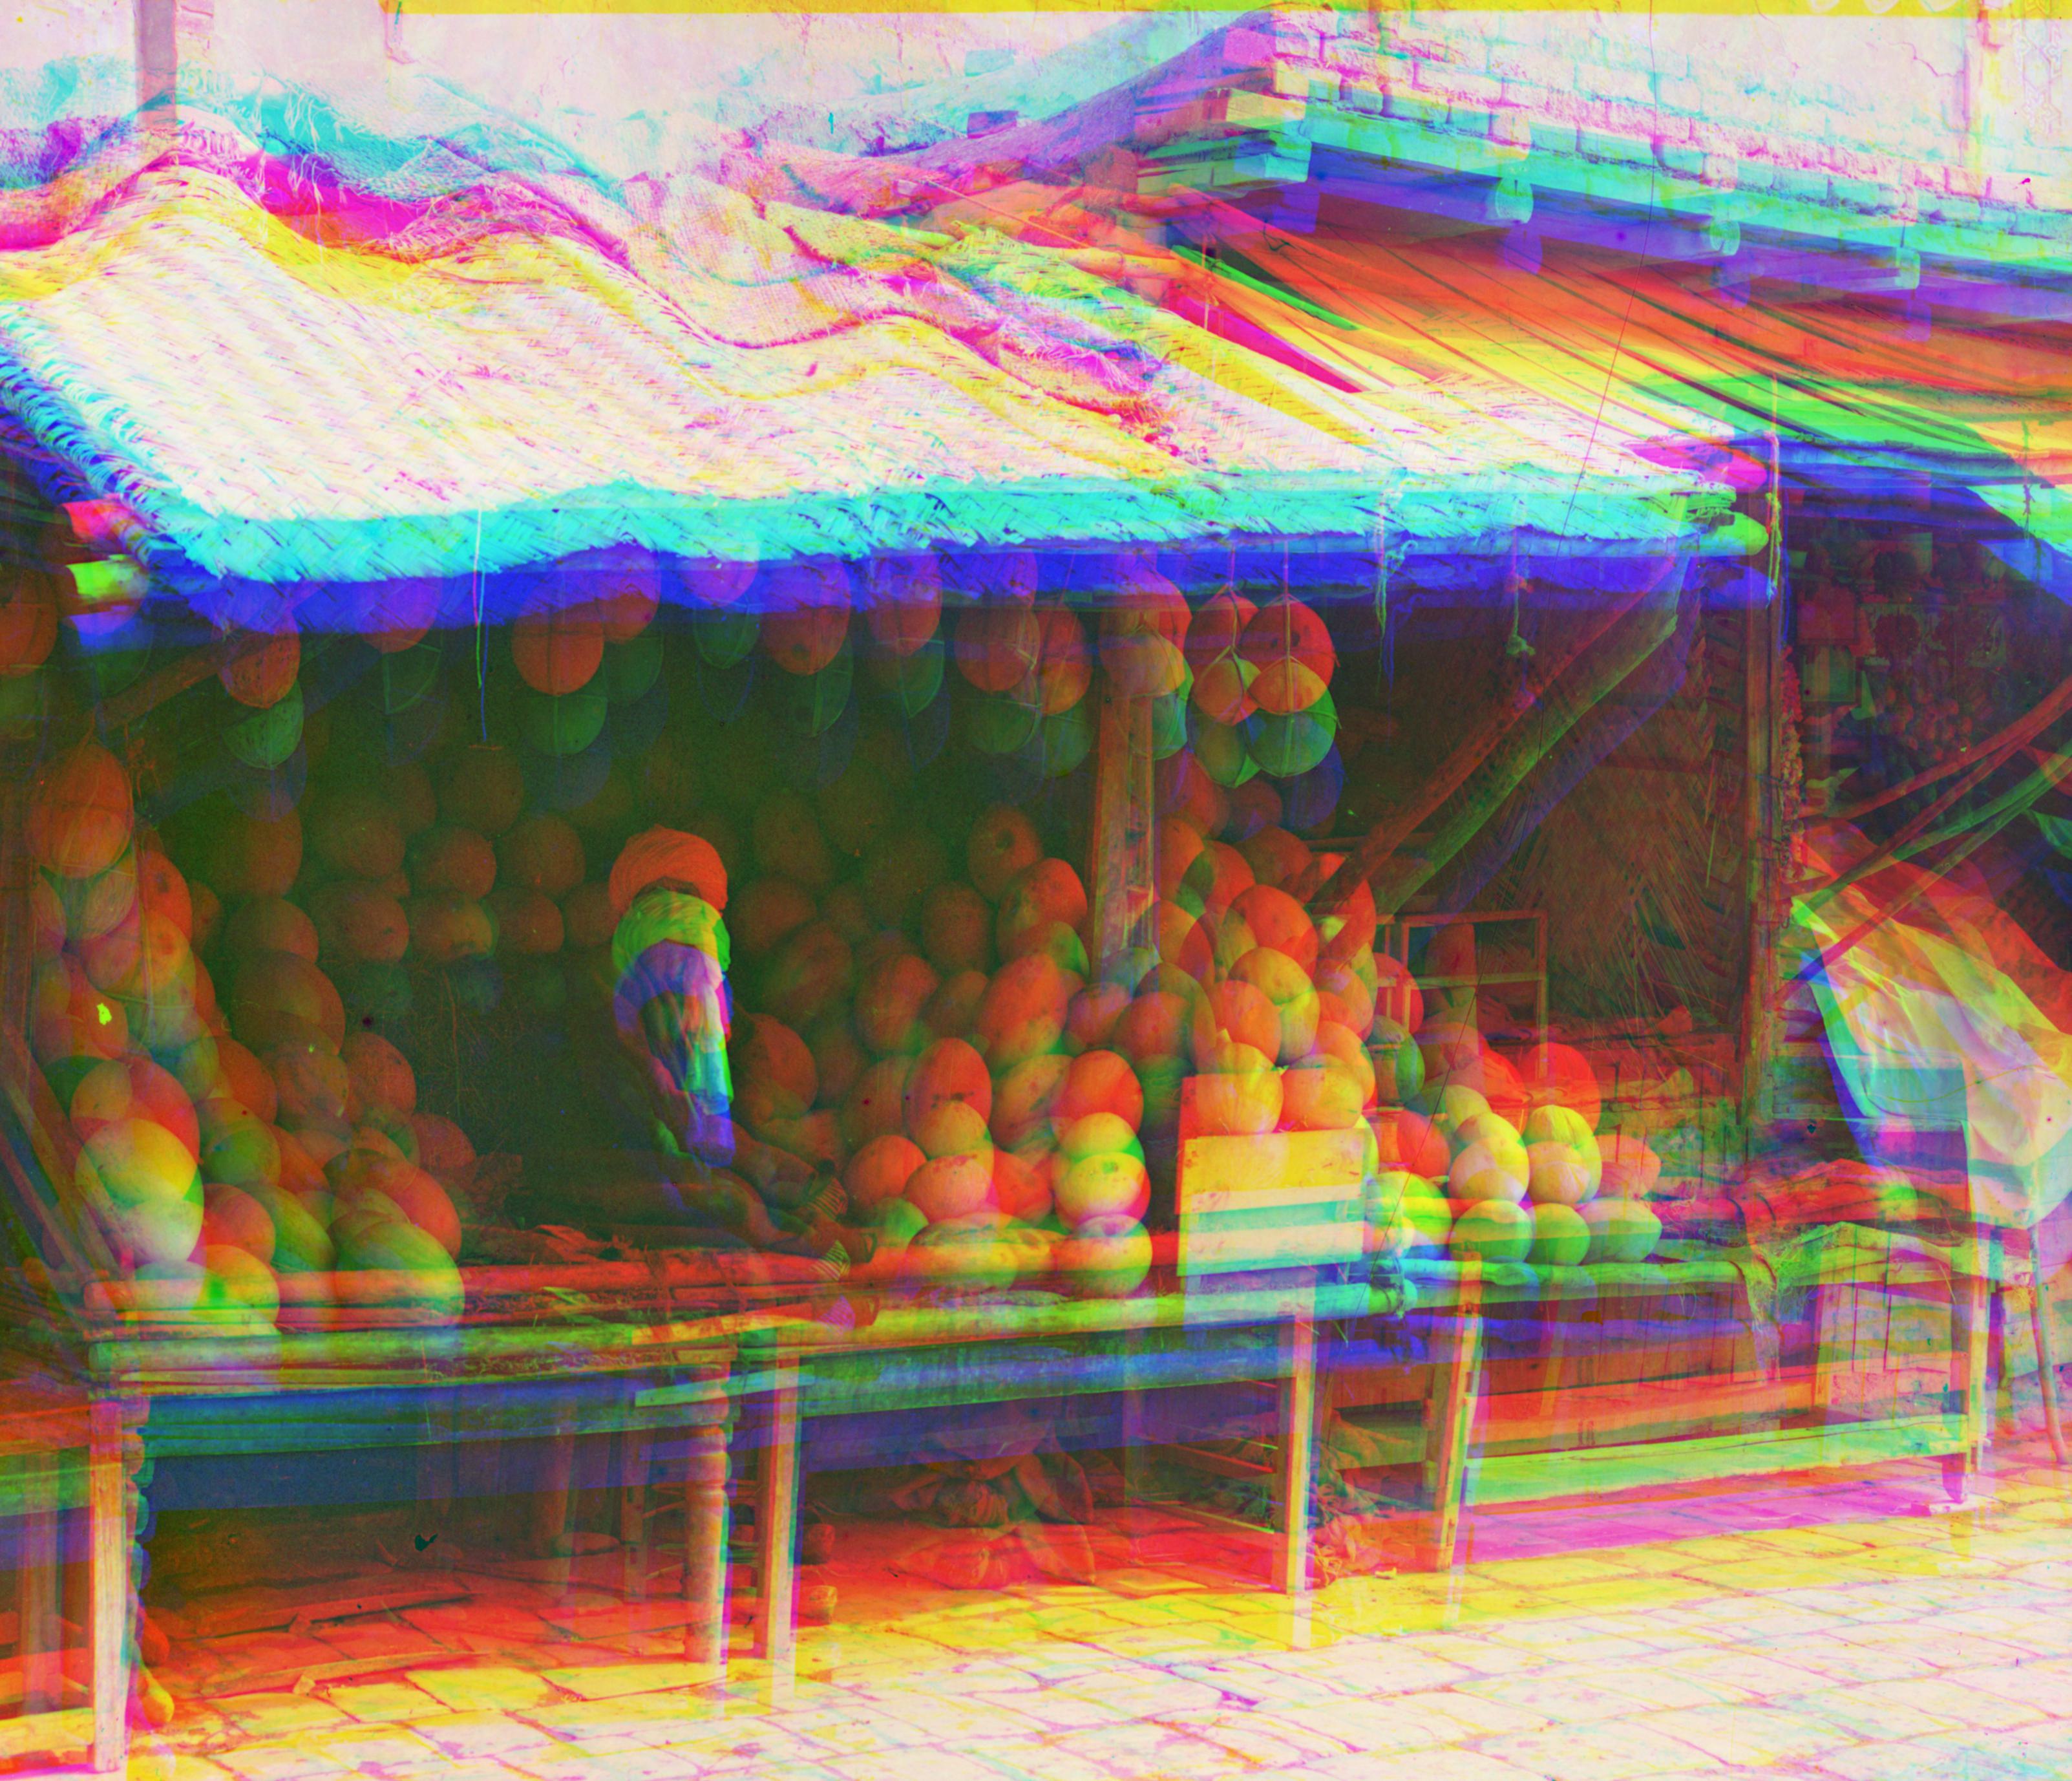
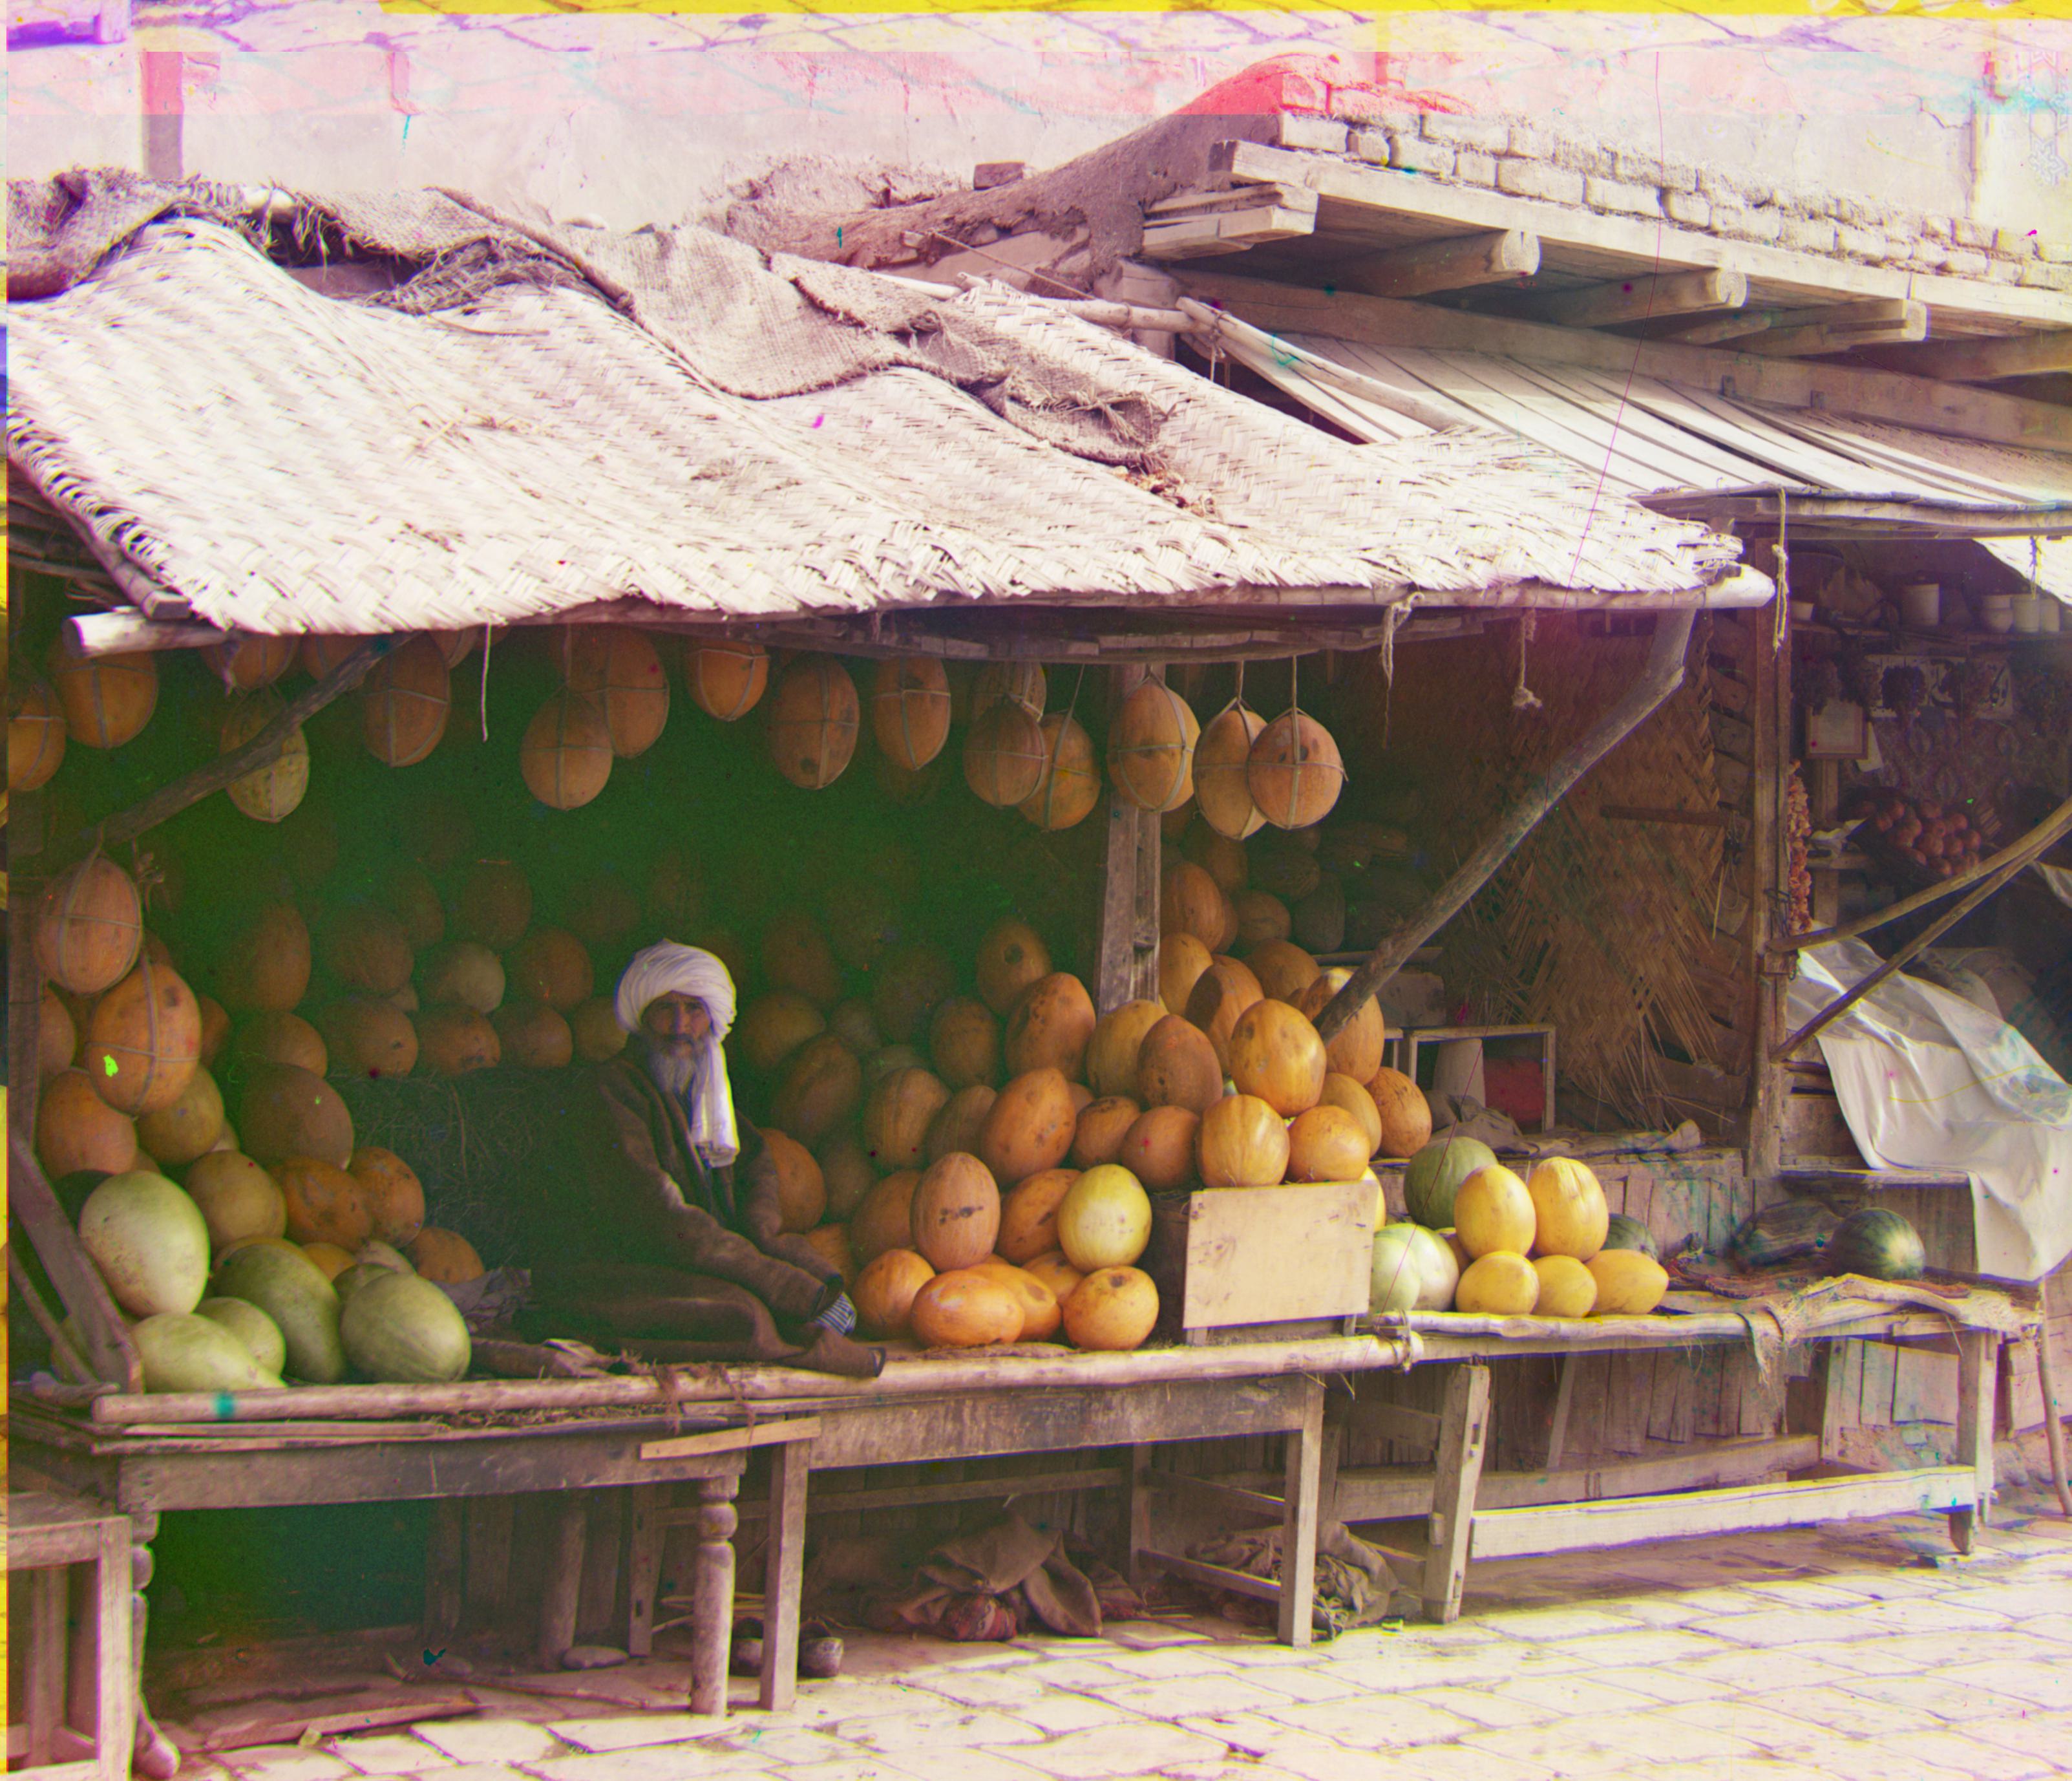
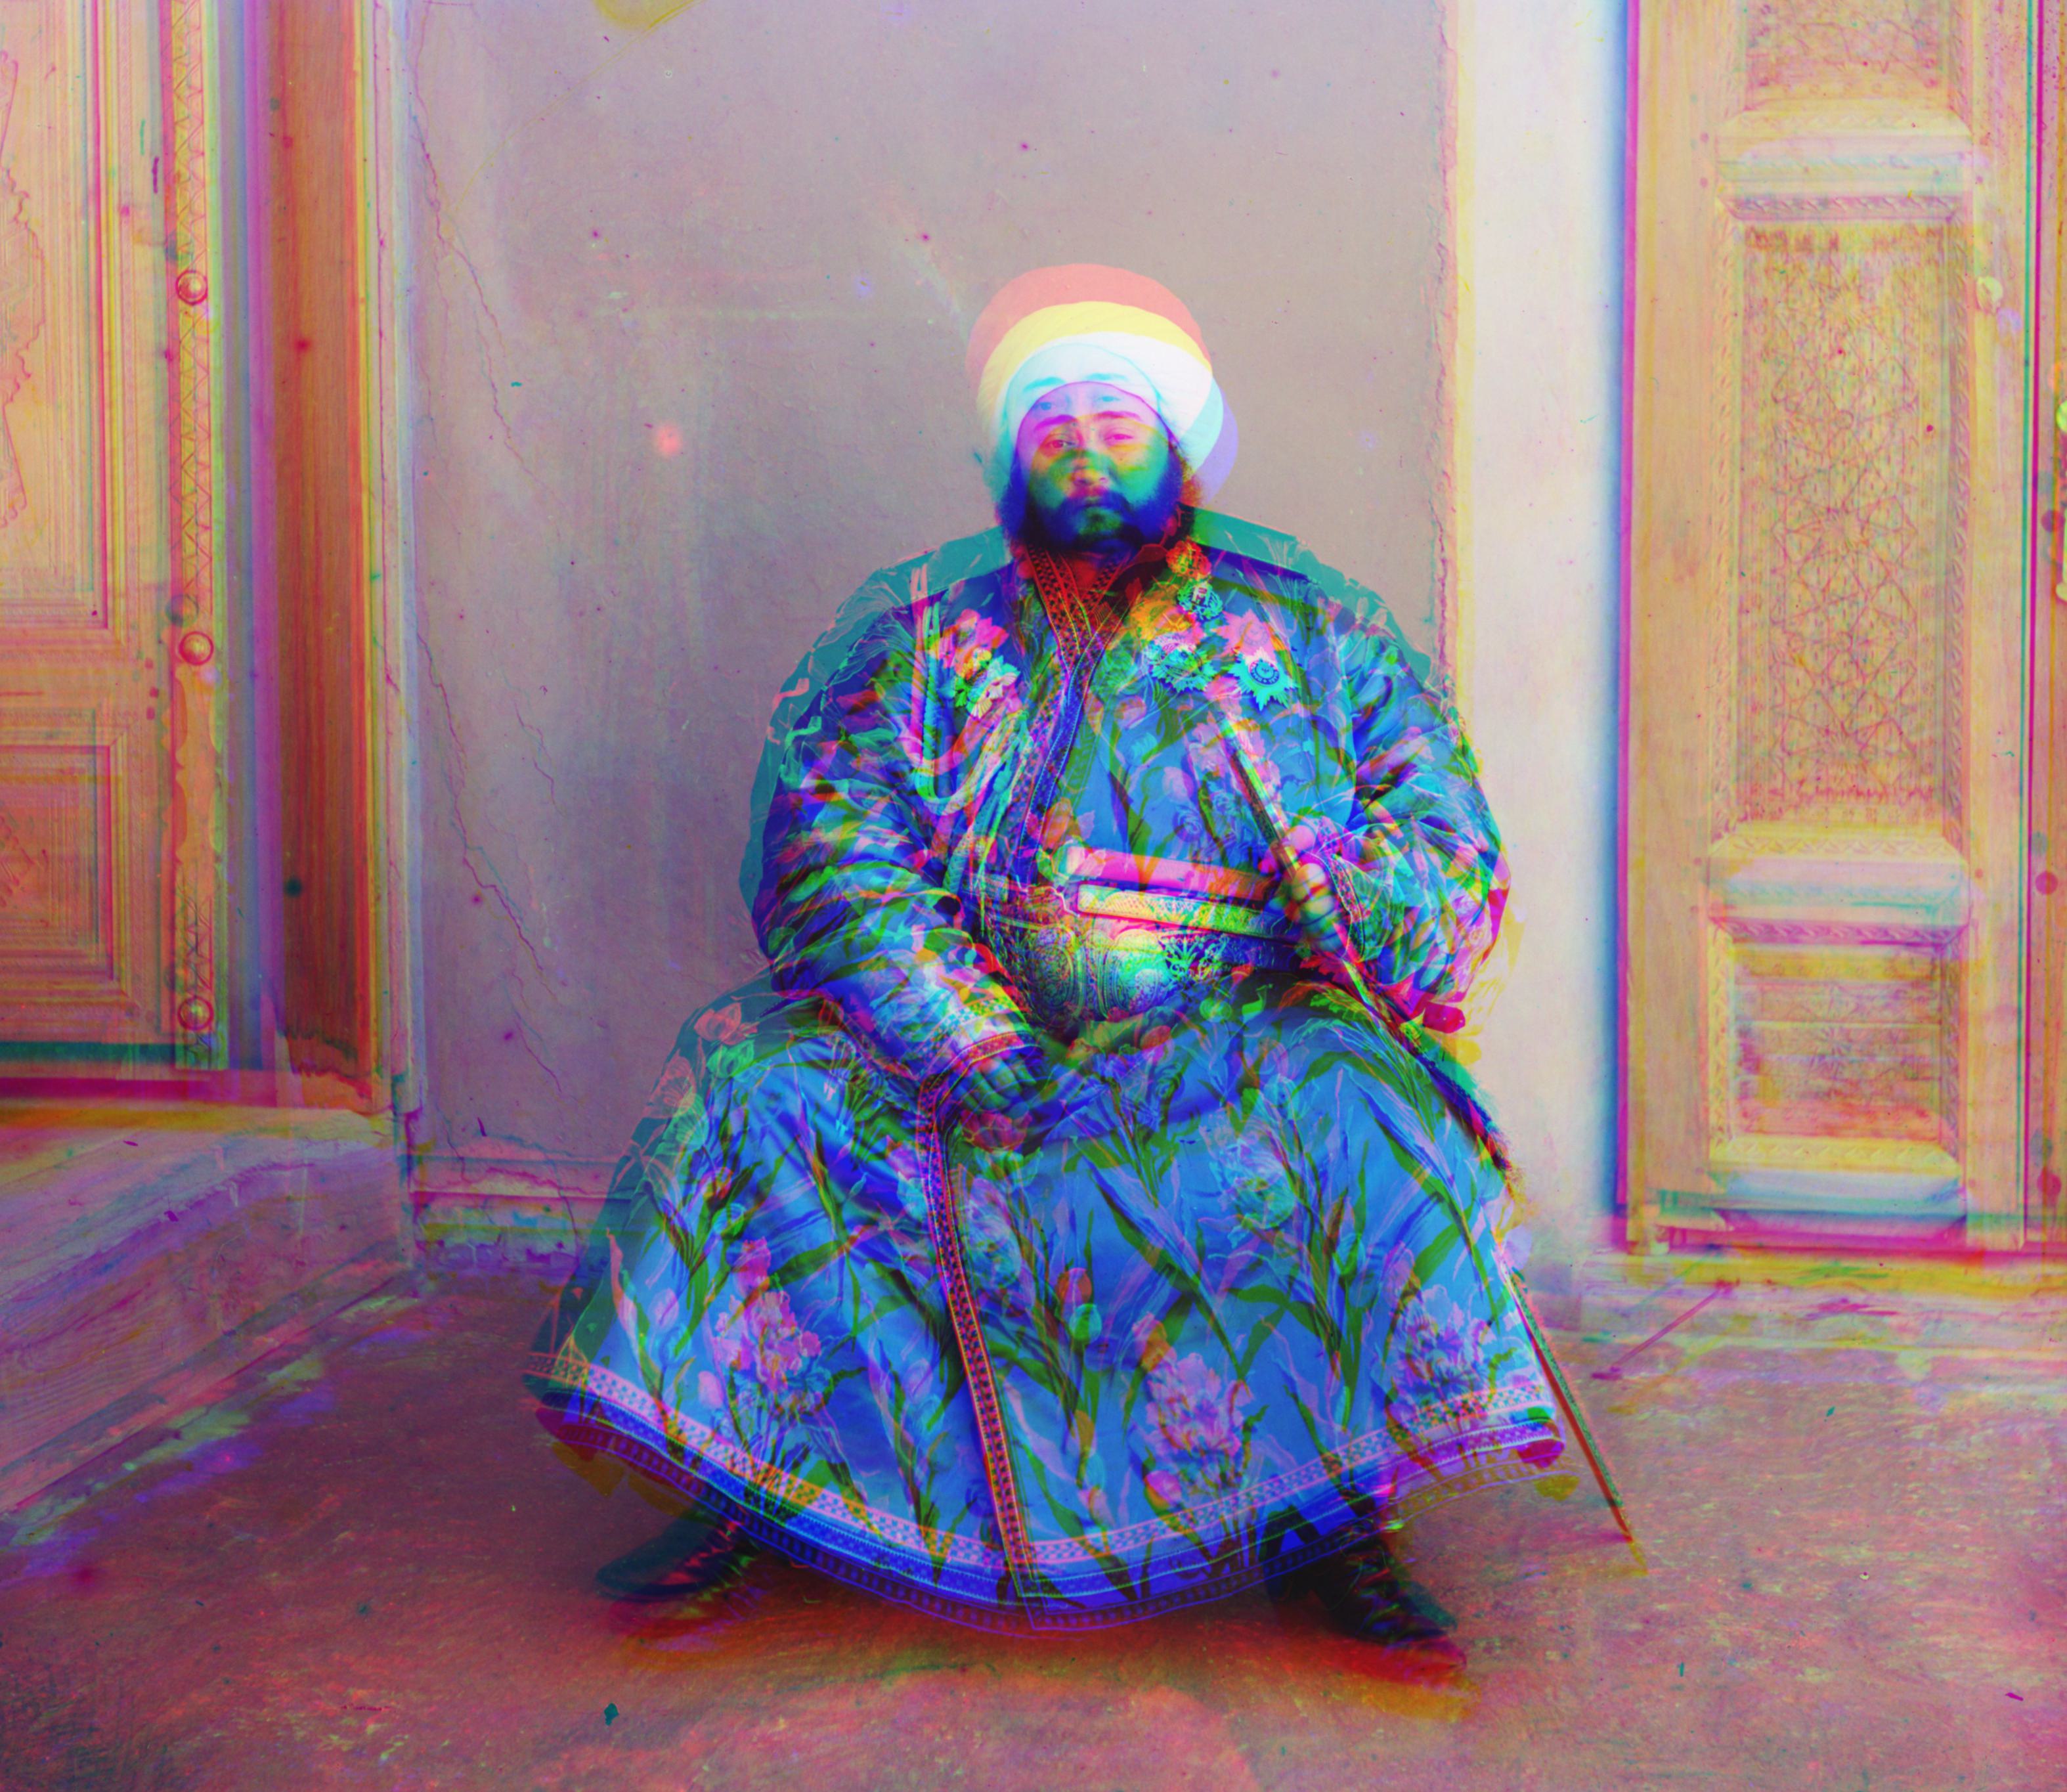
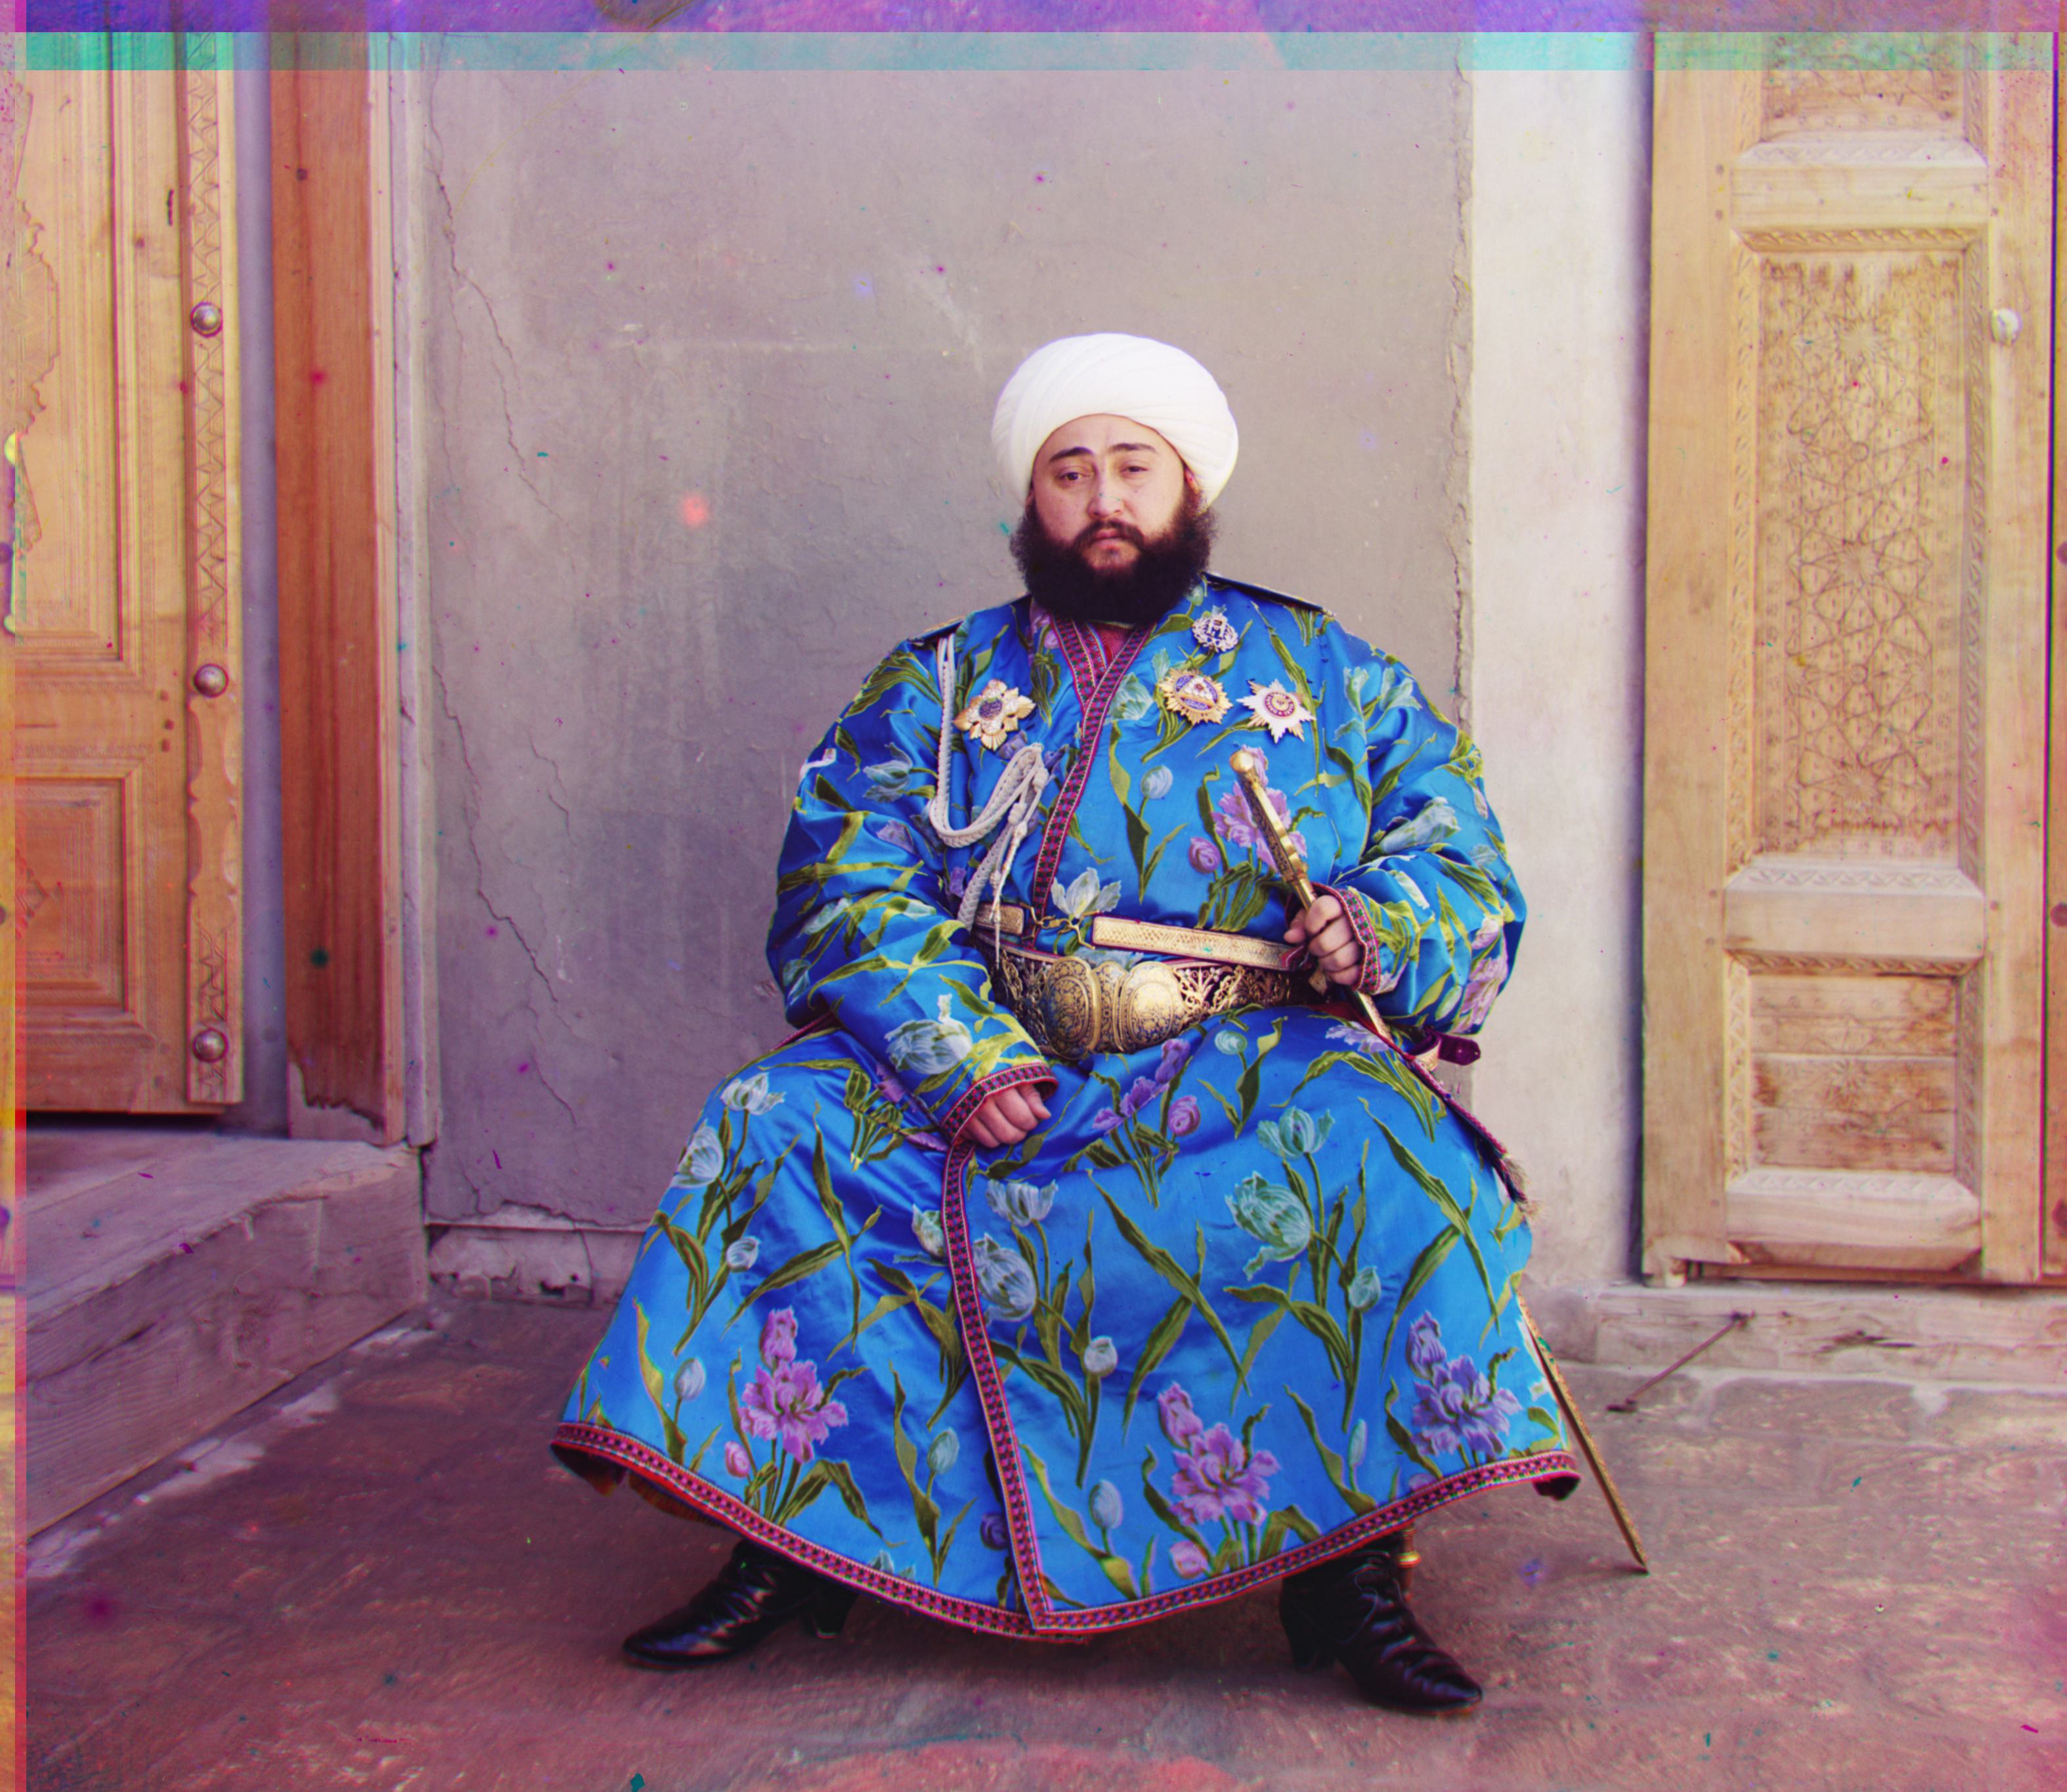
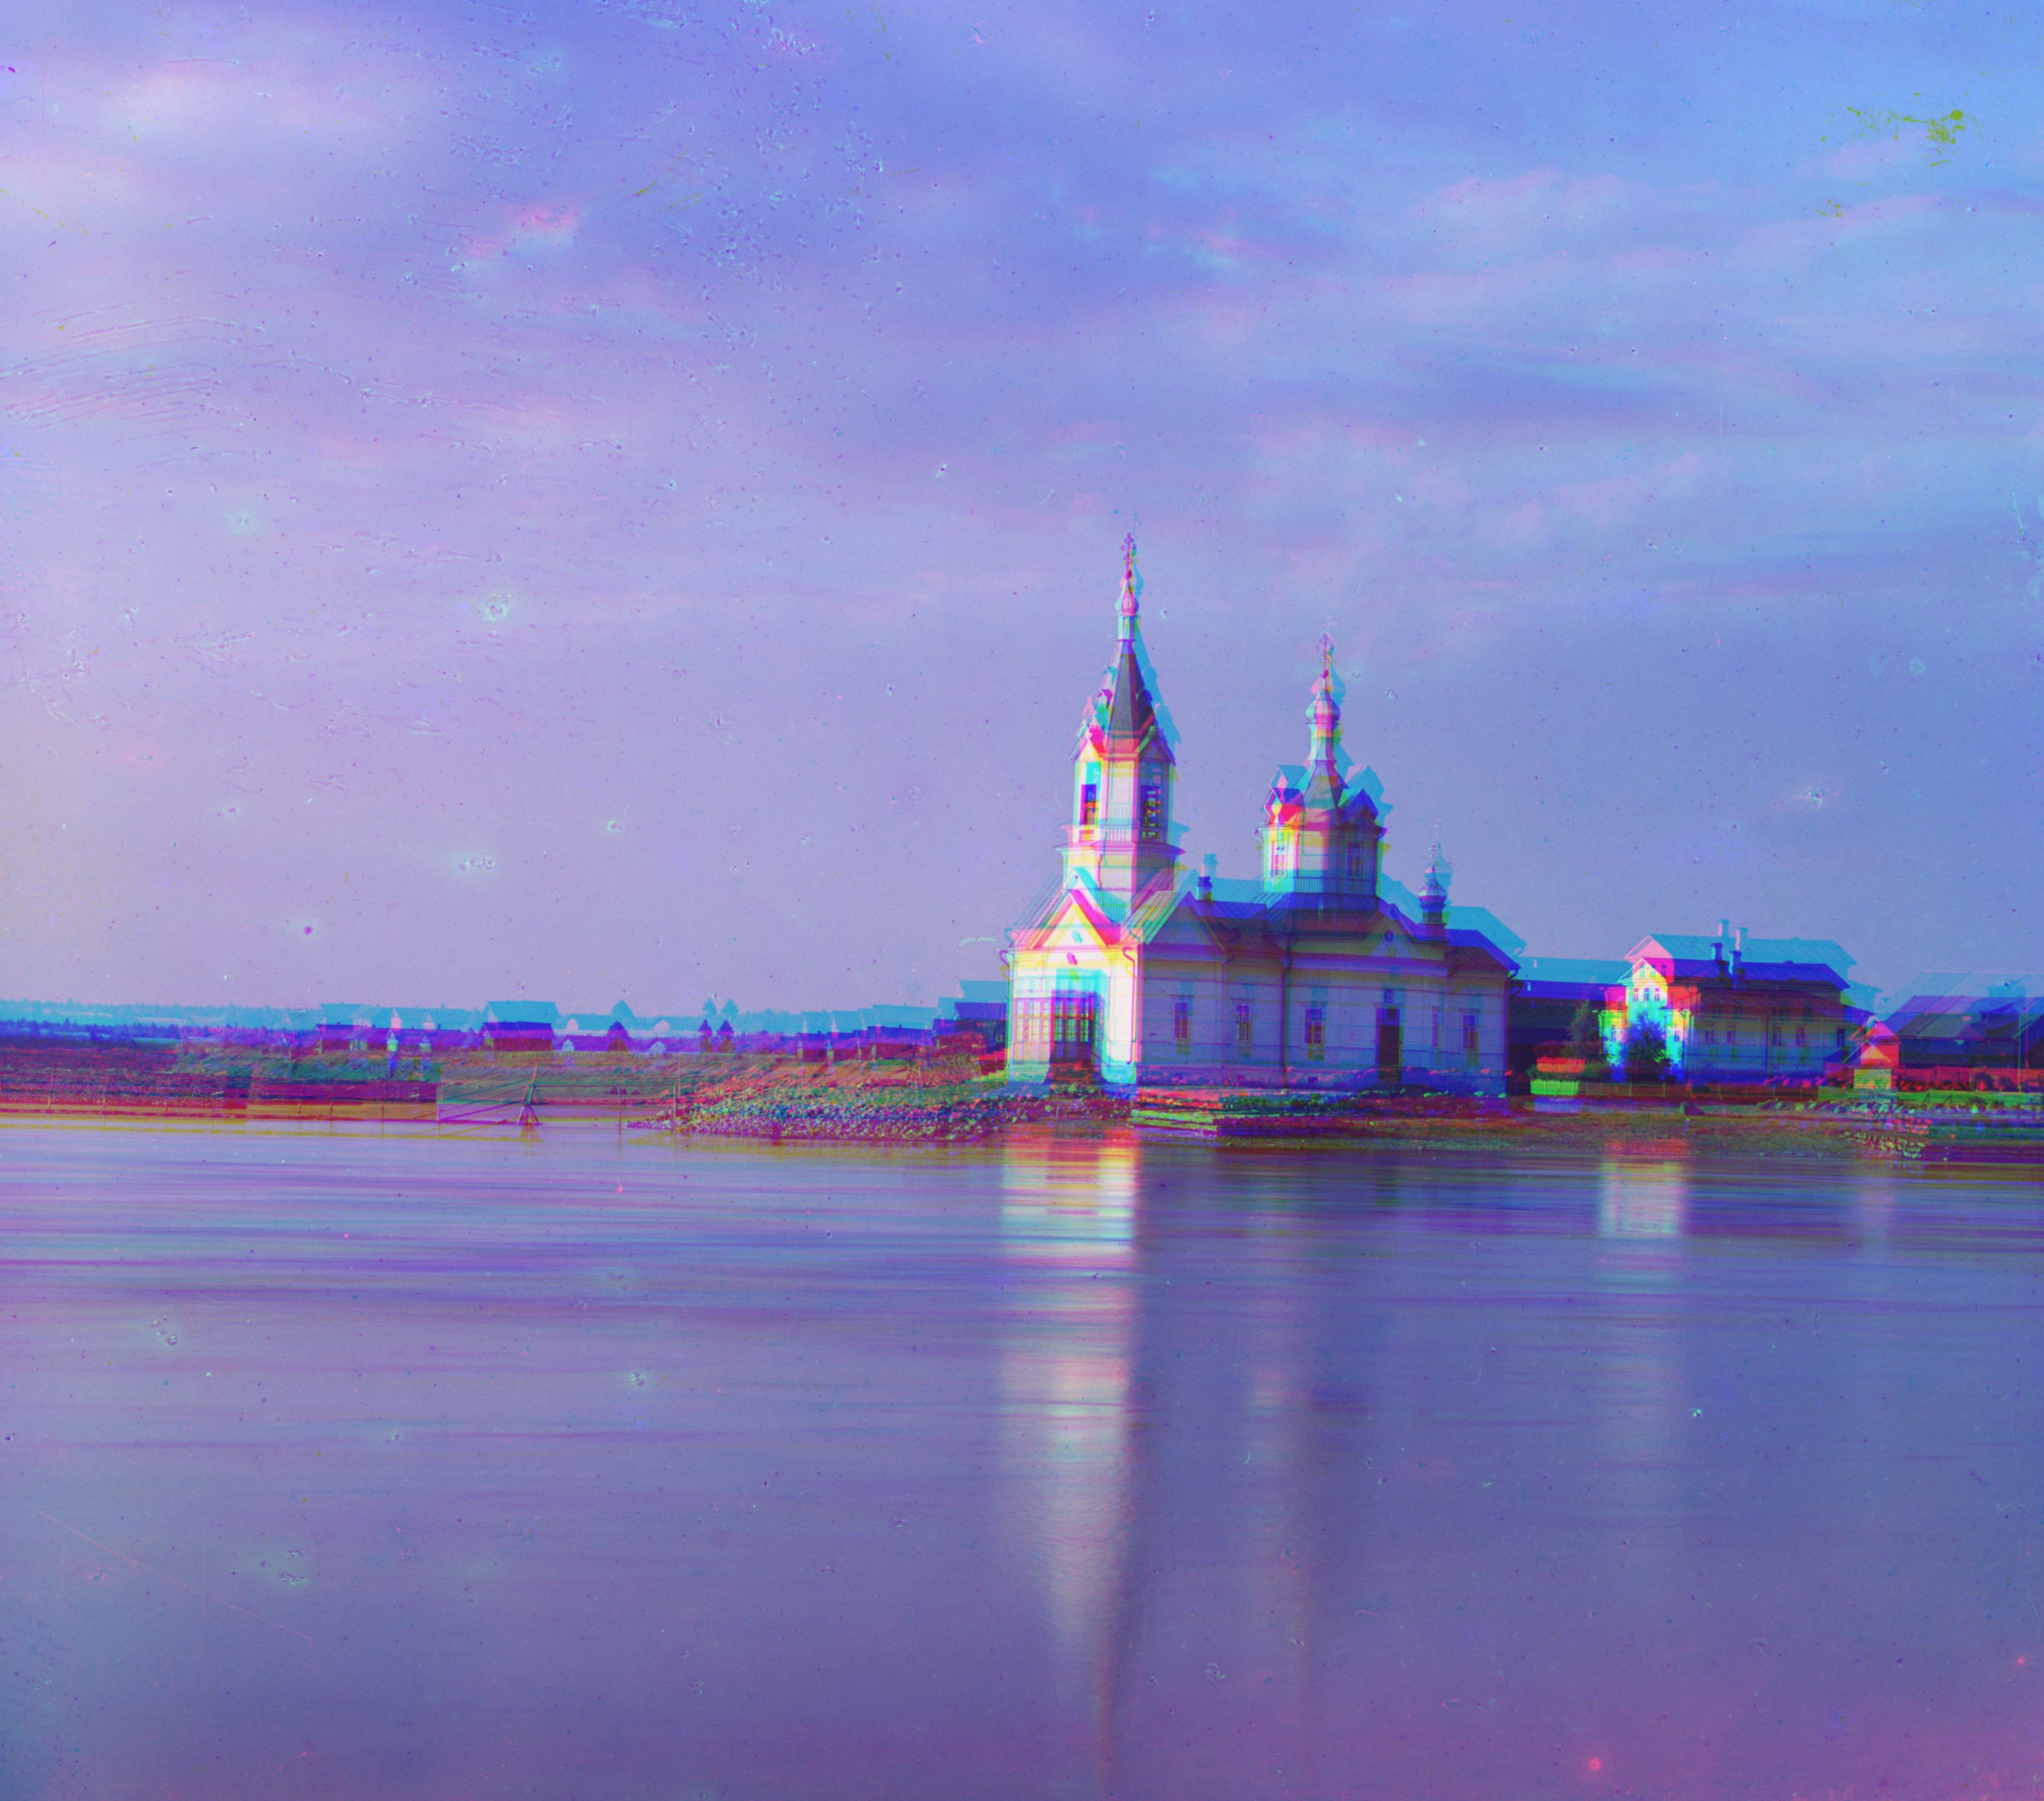
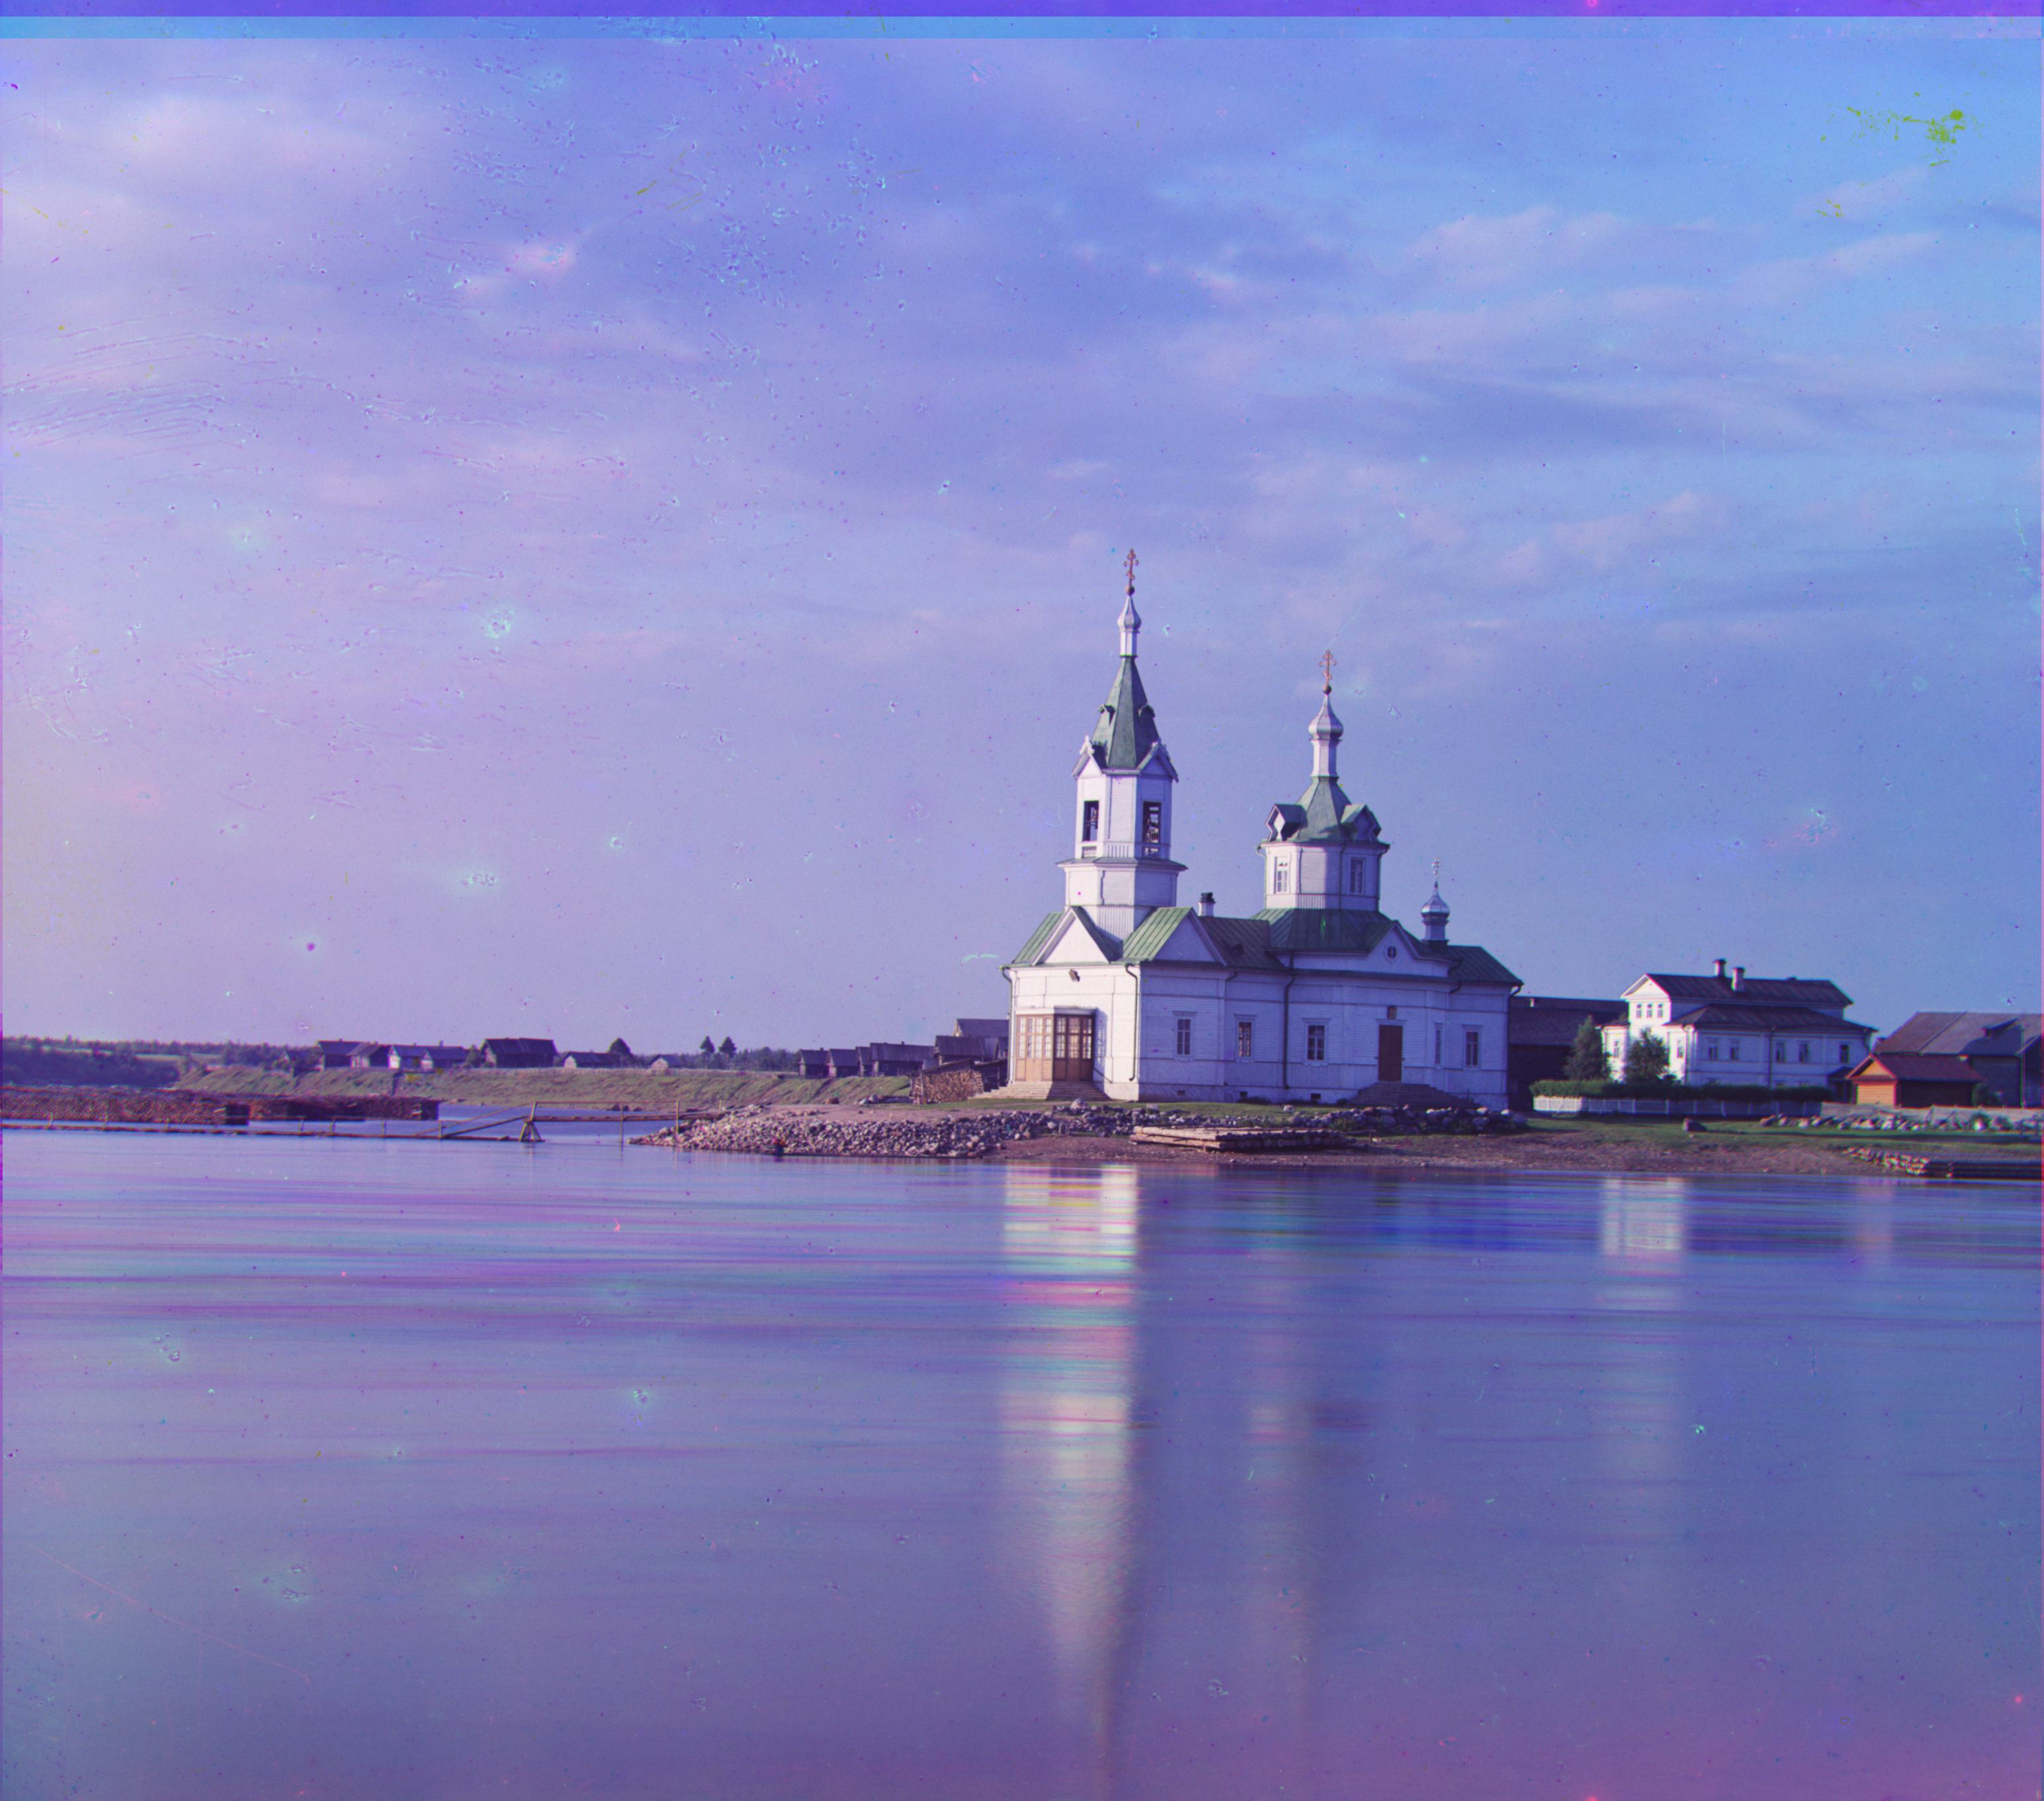
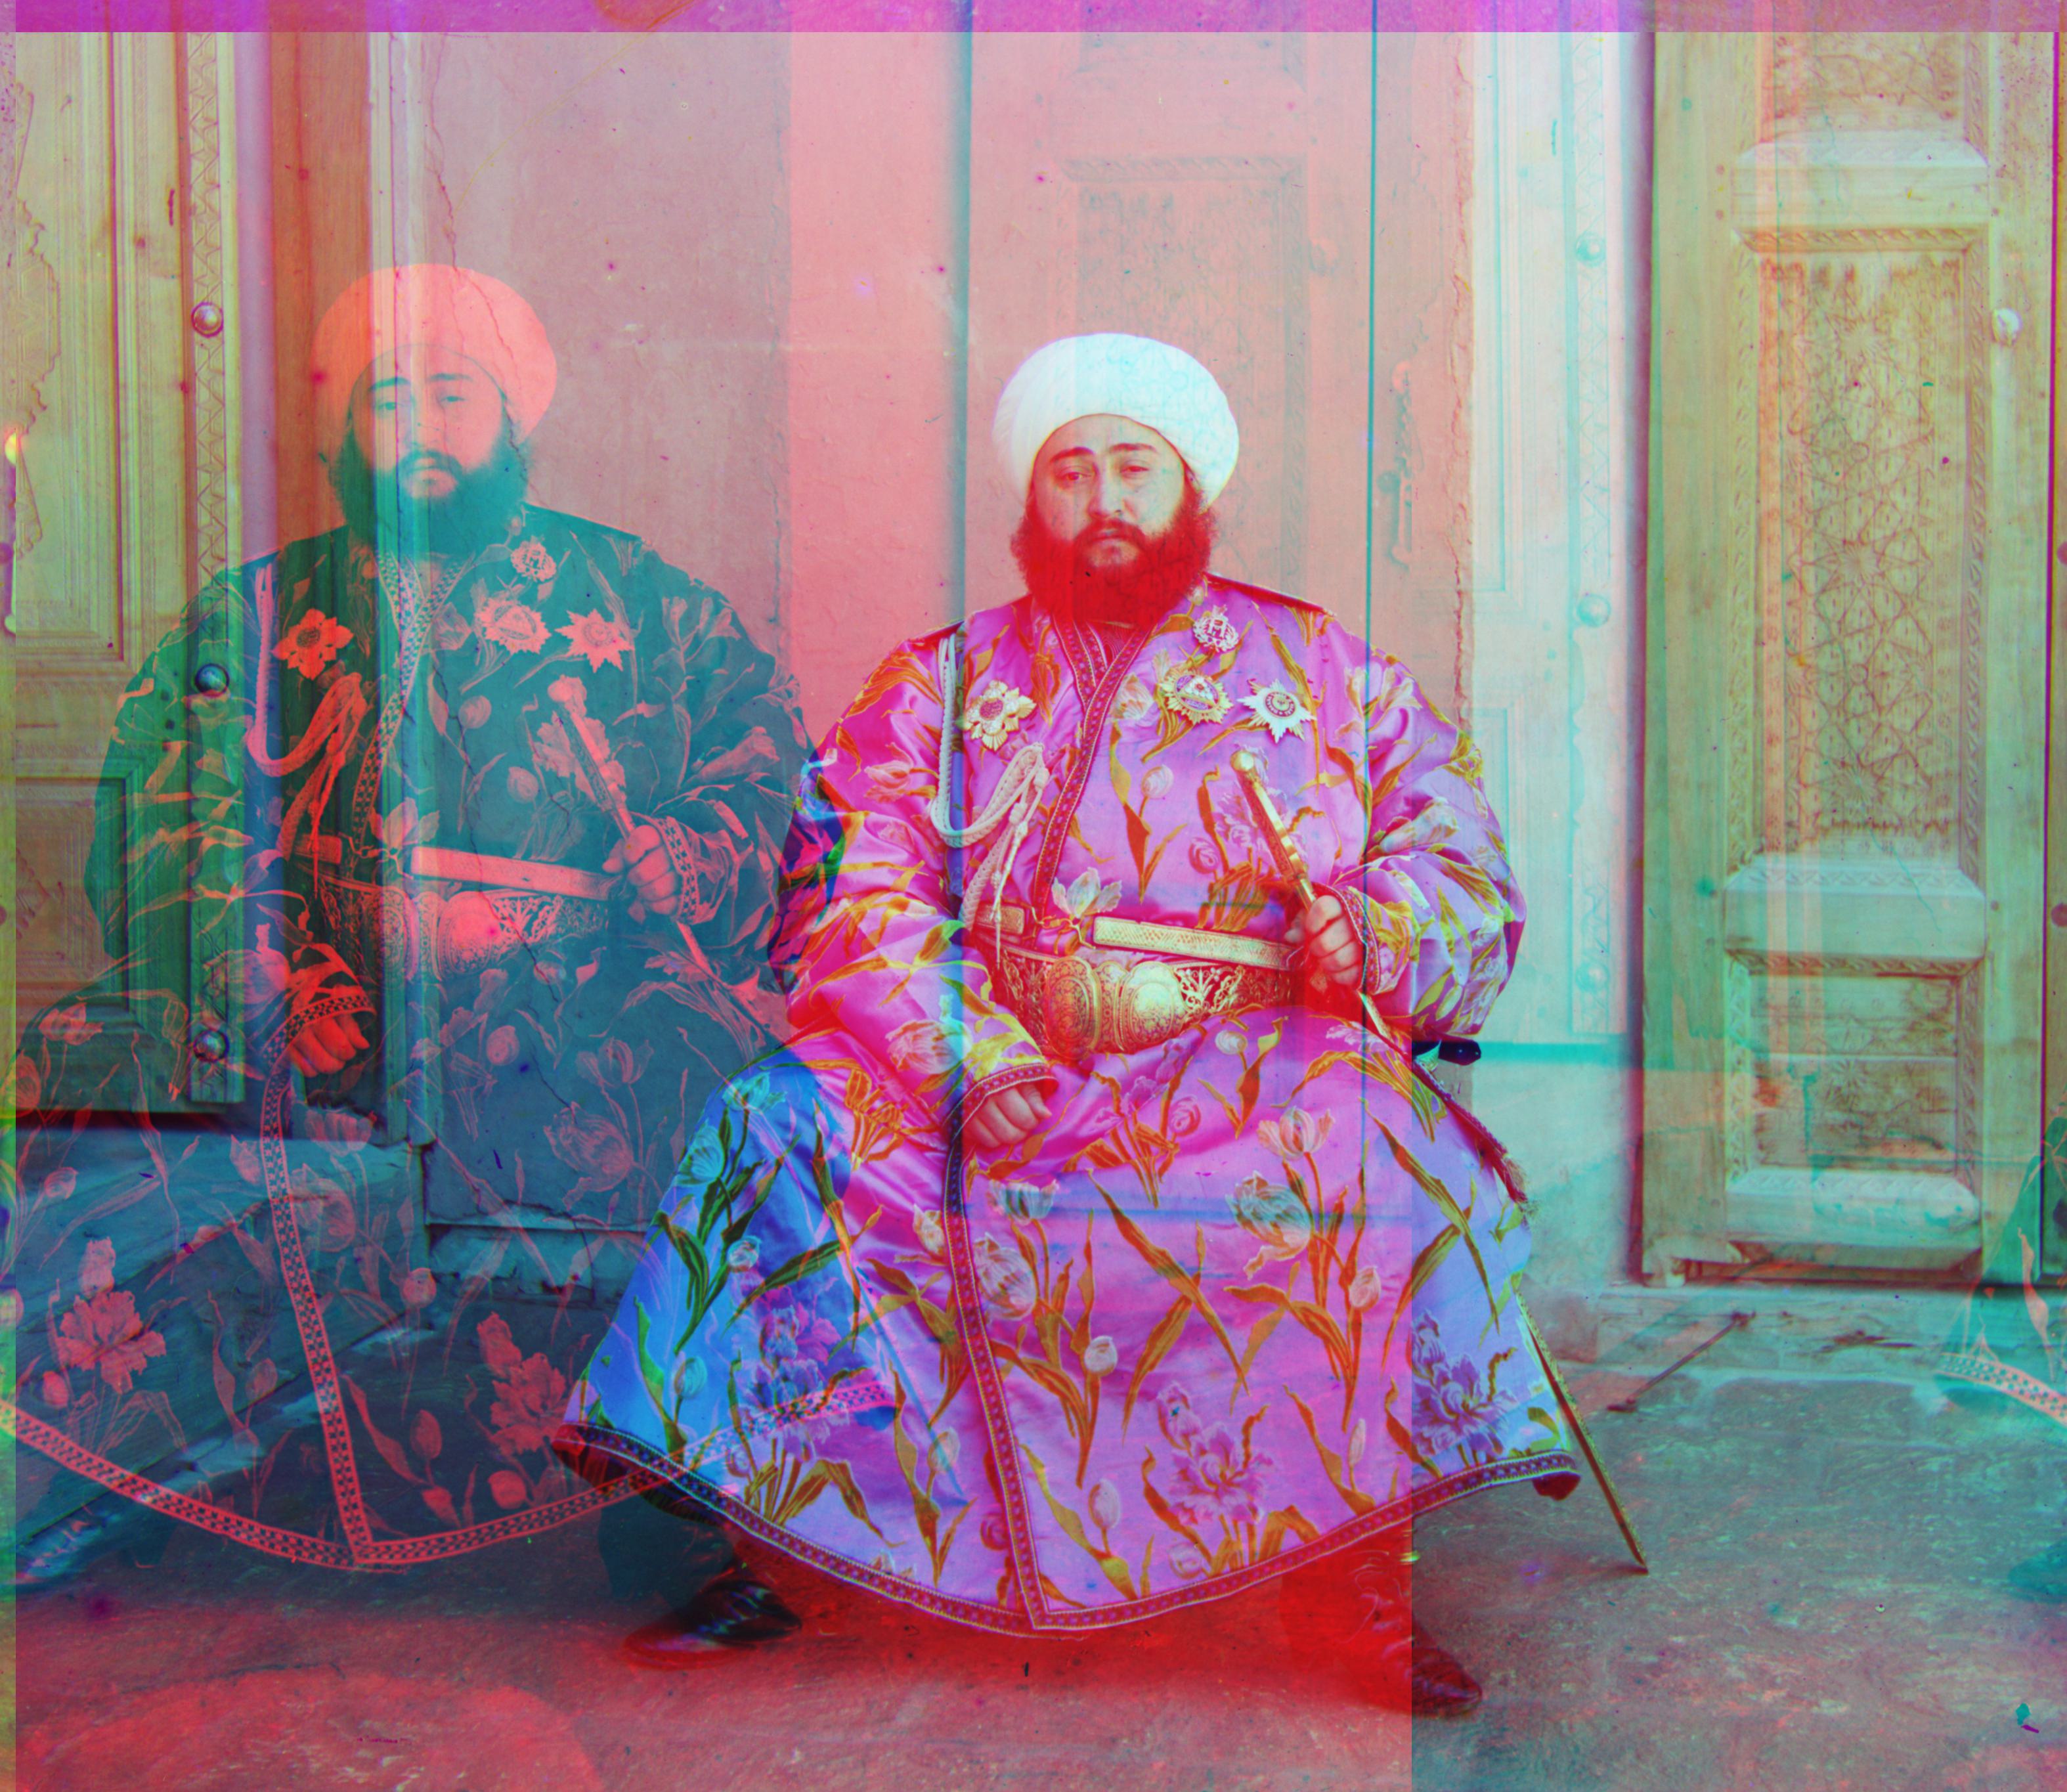
Pictured below are comparisons between the unaligned plates and the aligned plates.
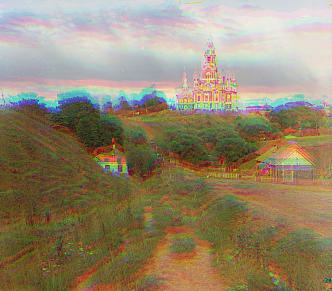
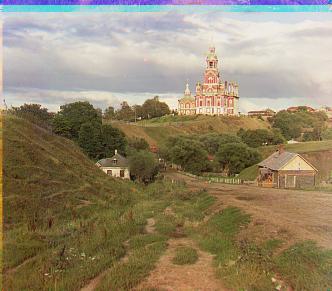
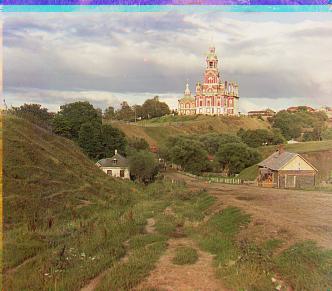
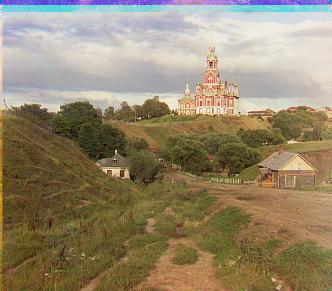
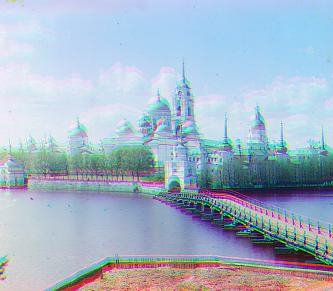
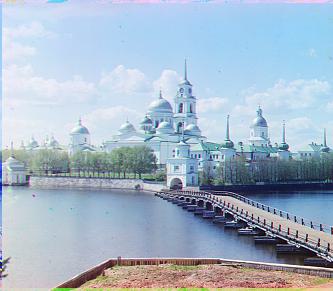
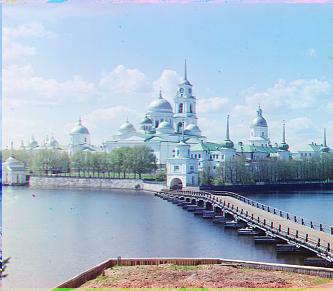
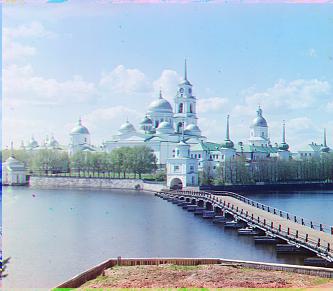
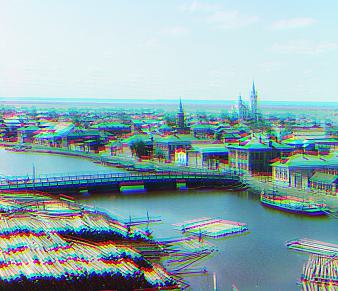
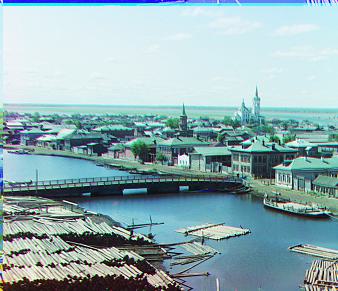
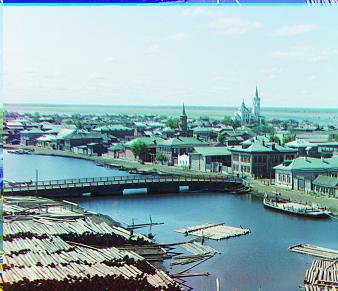
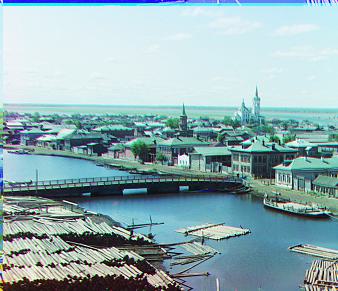
Image Pyramid Approach
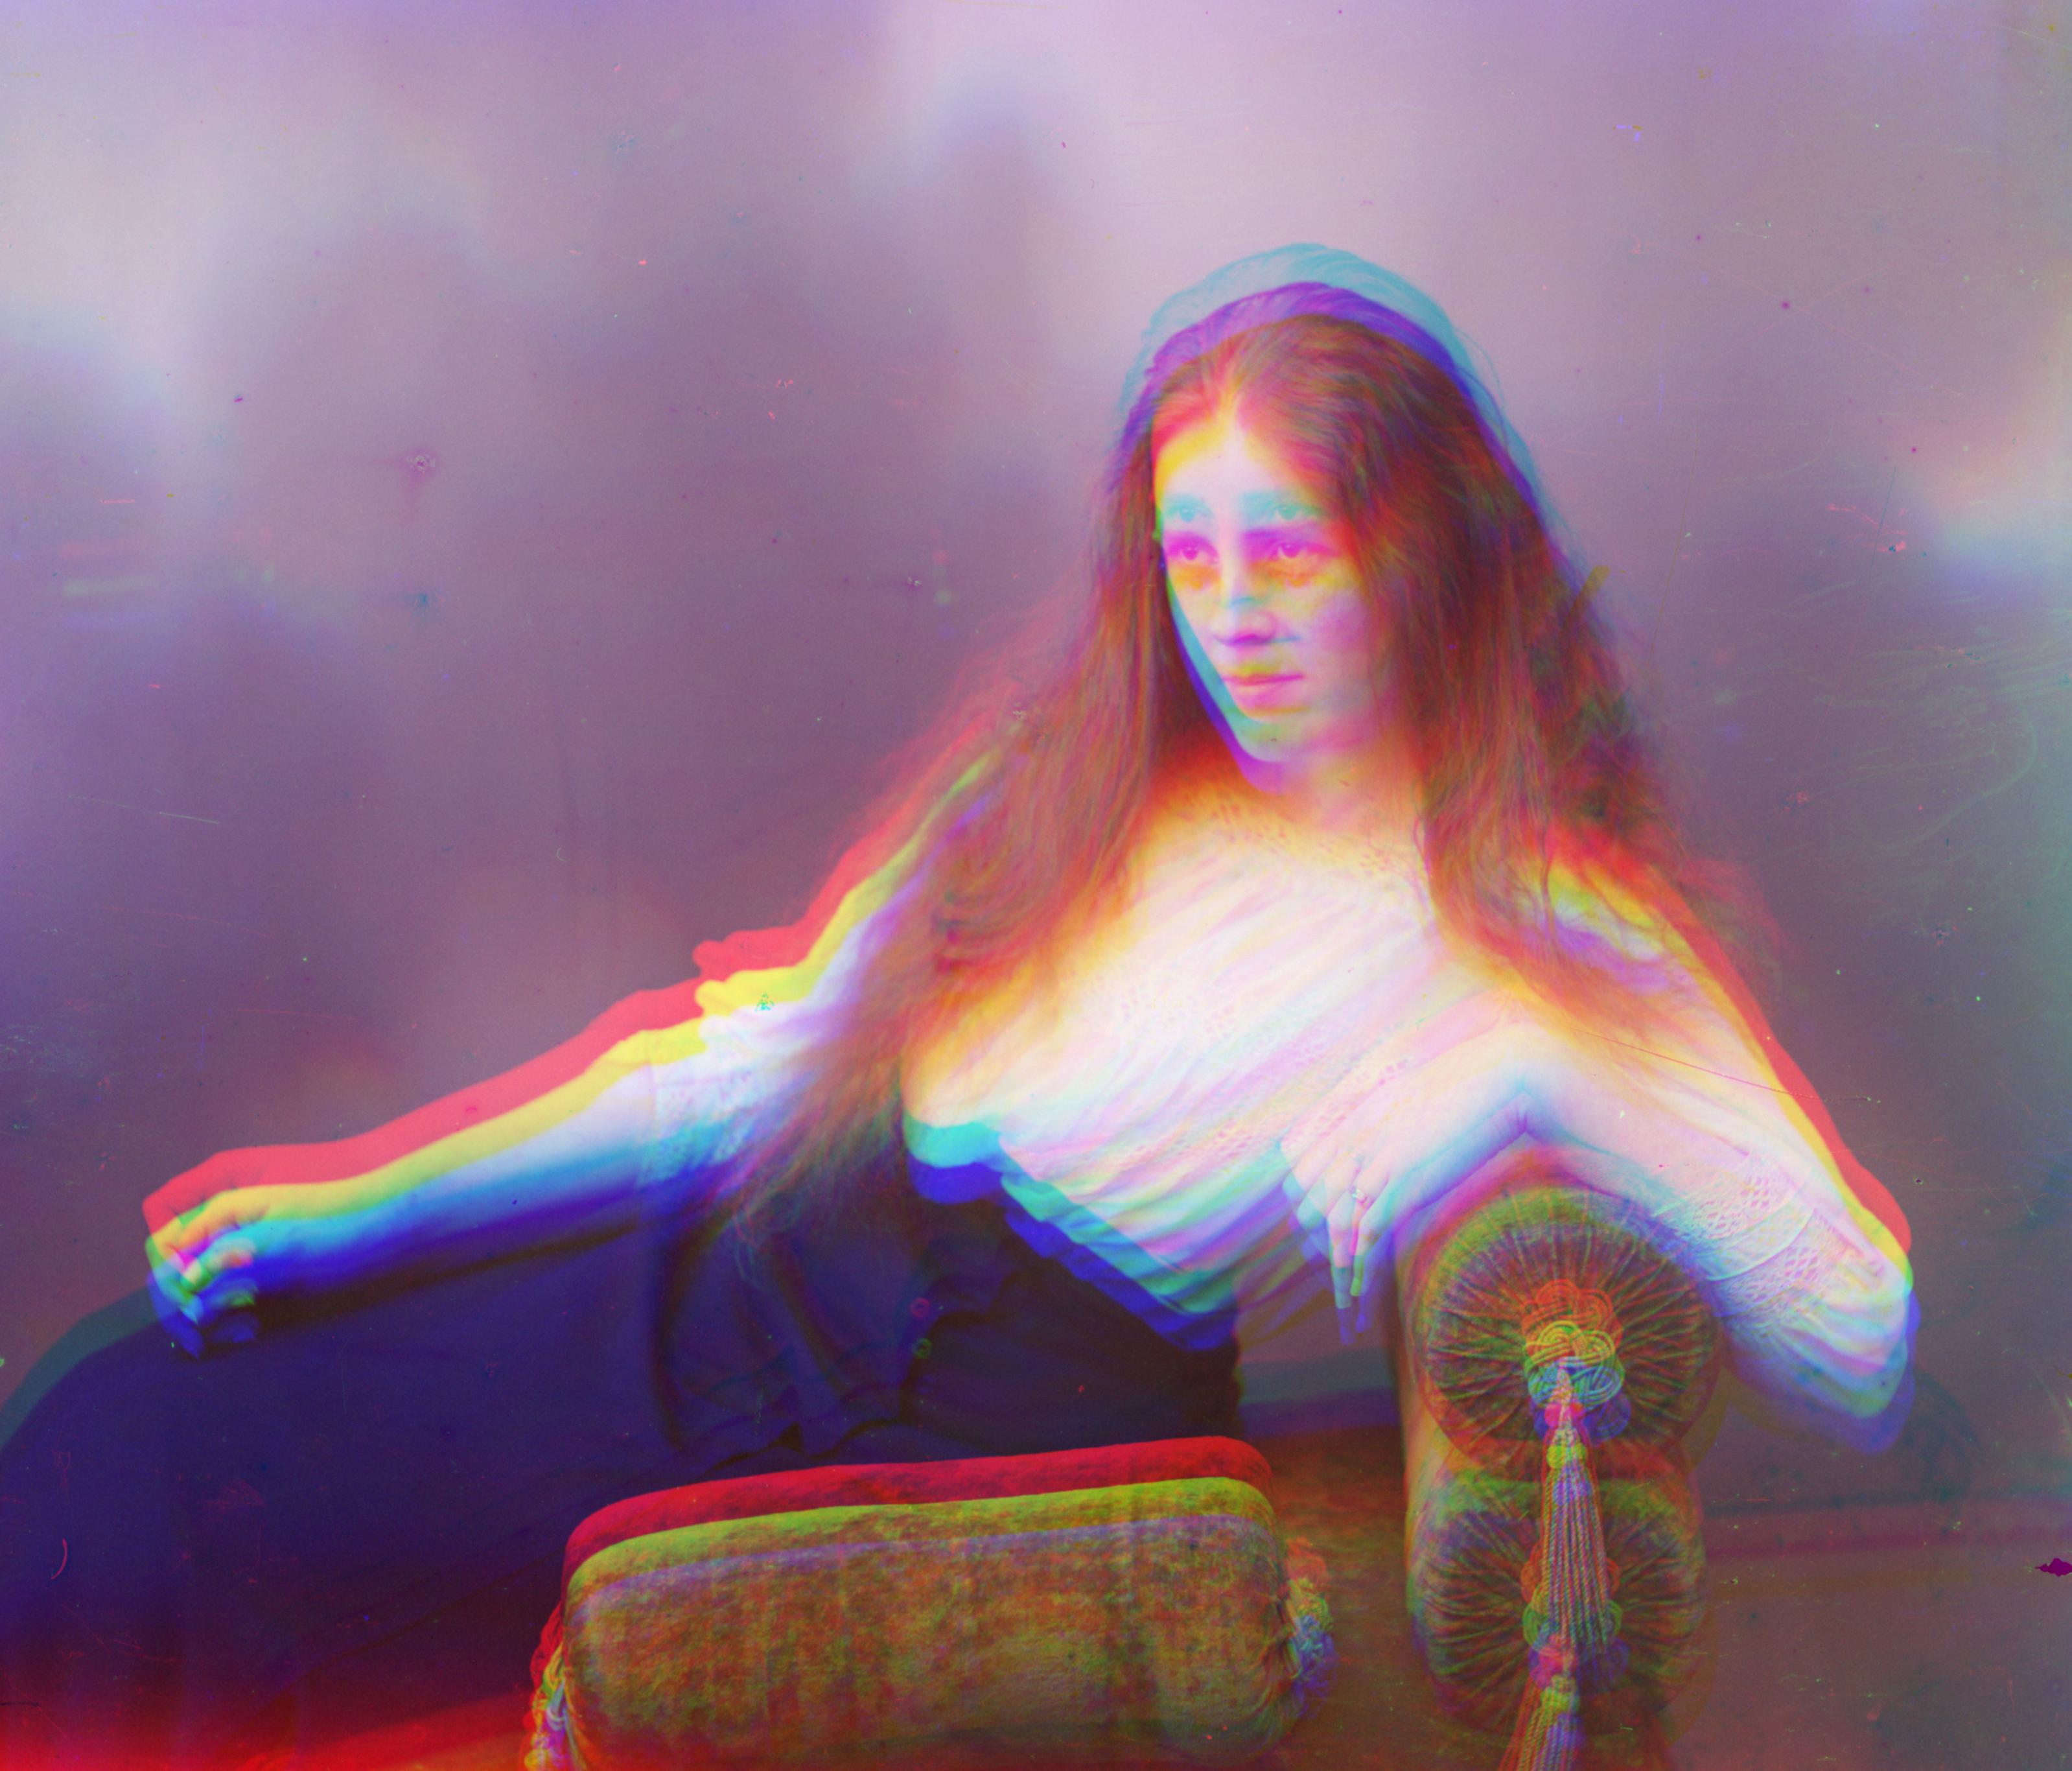
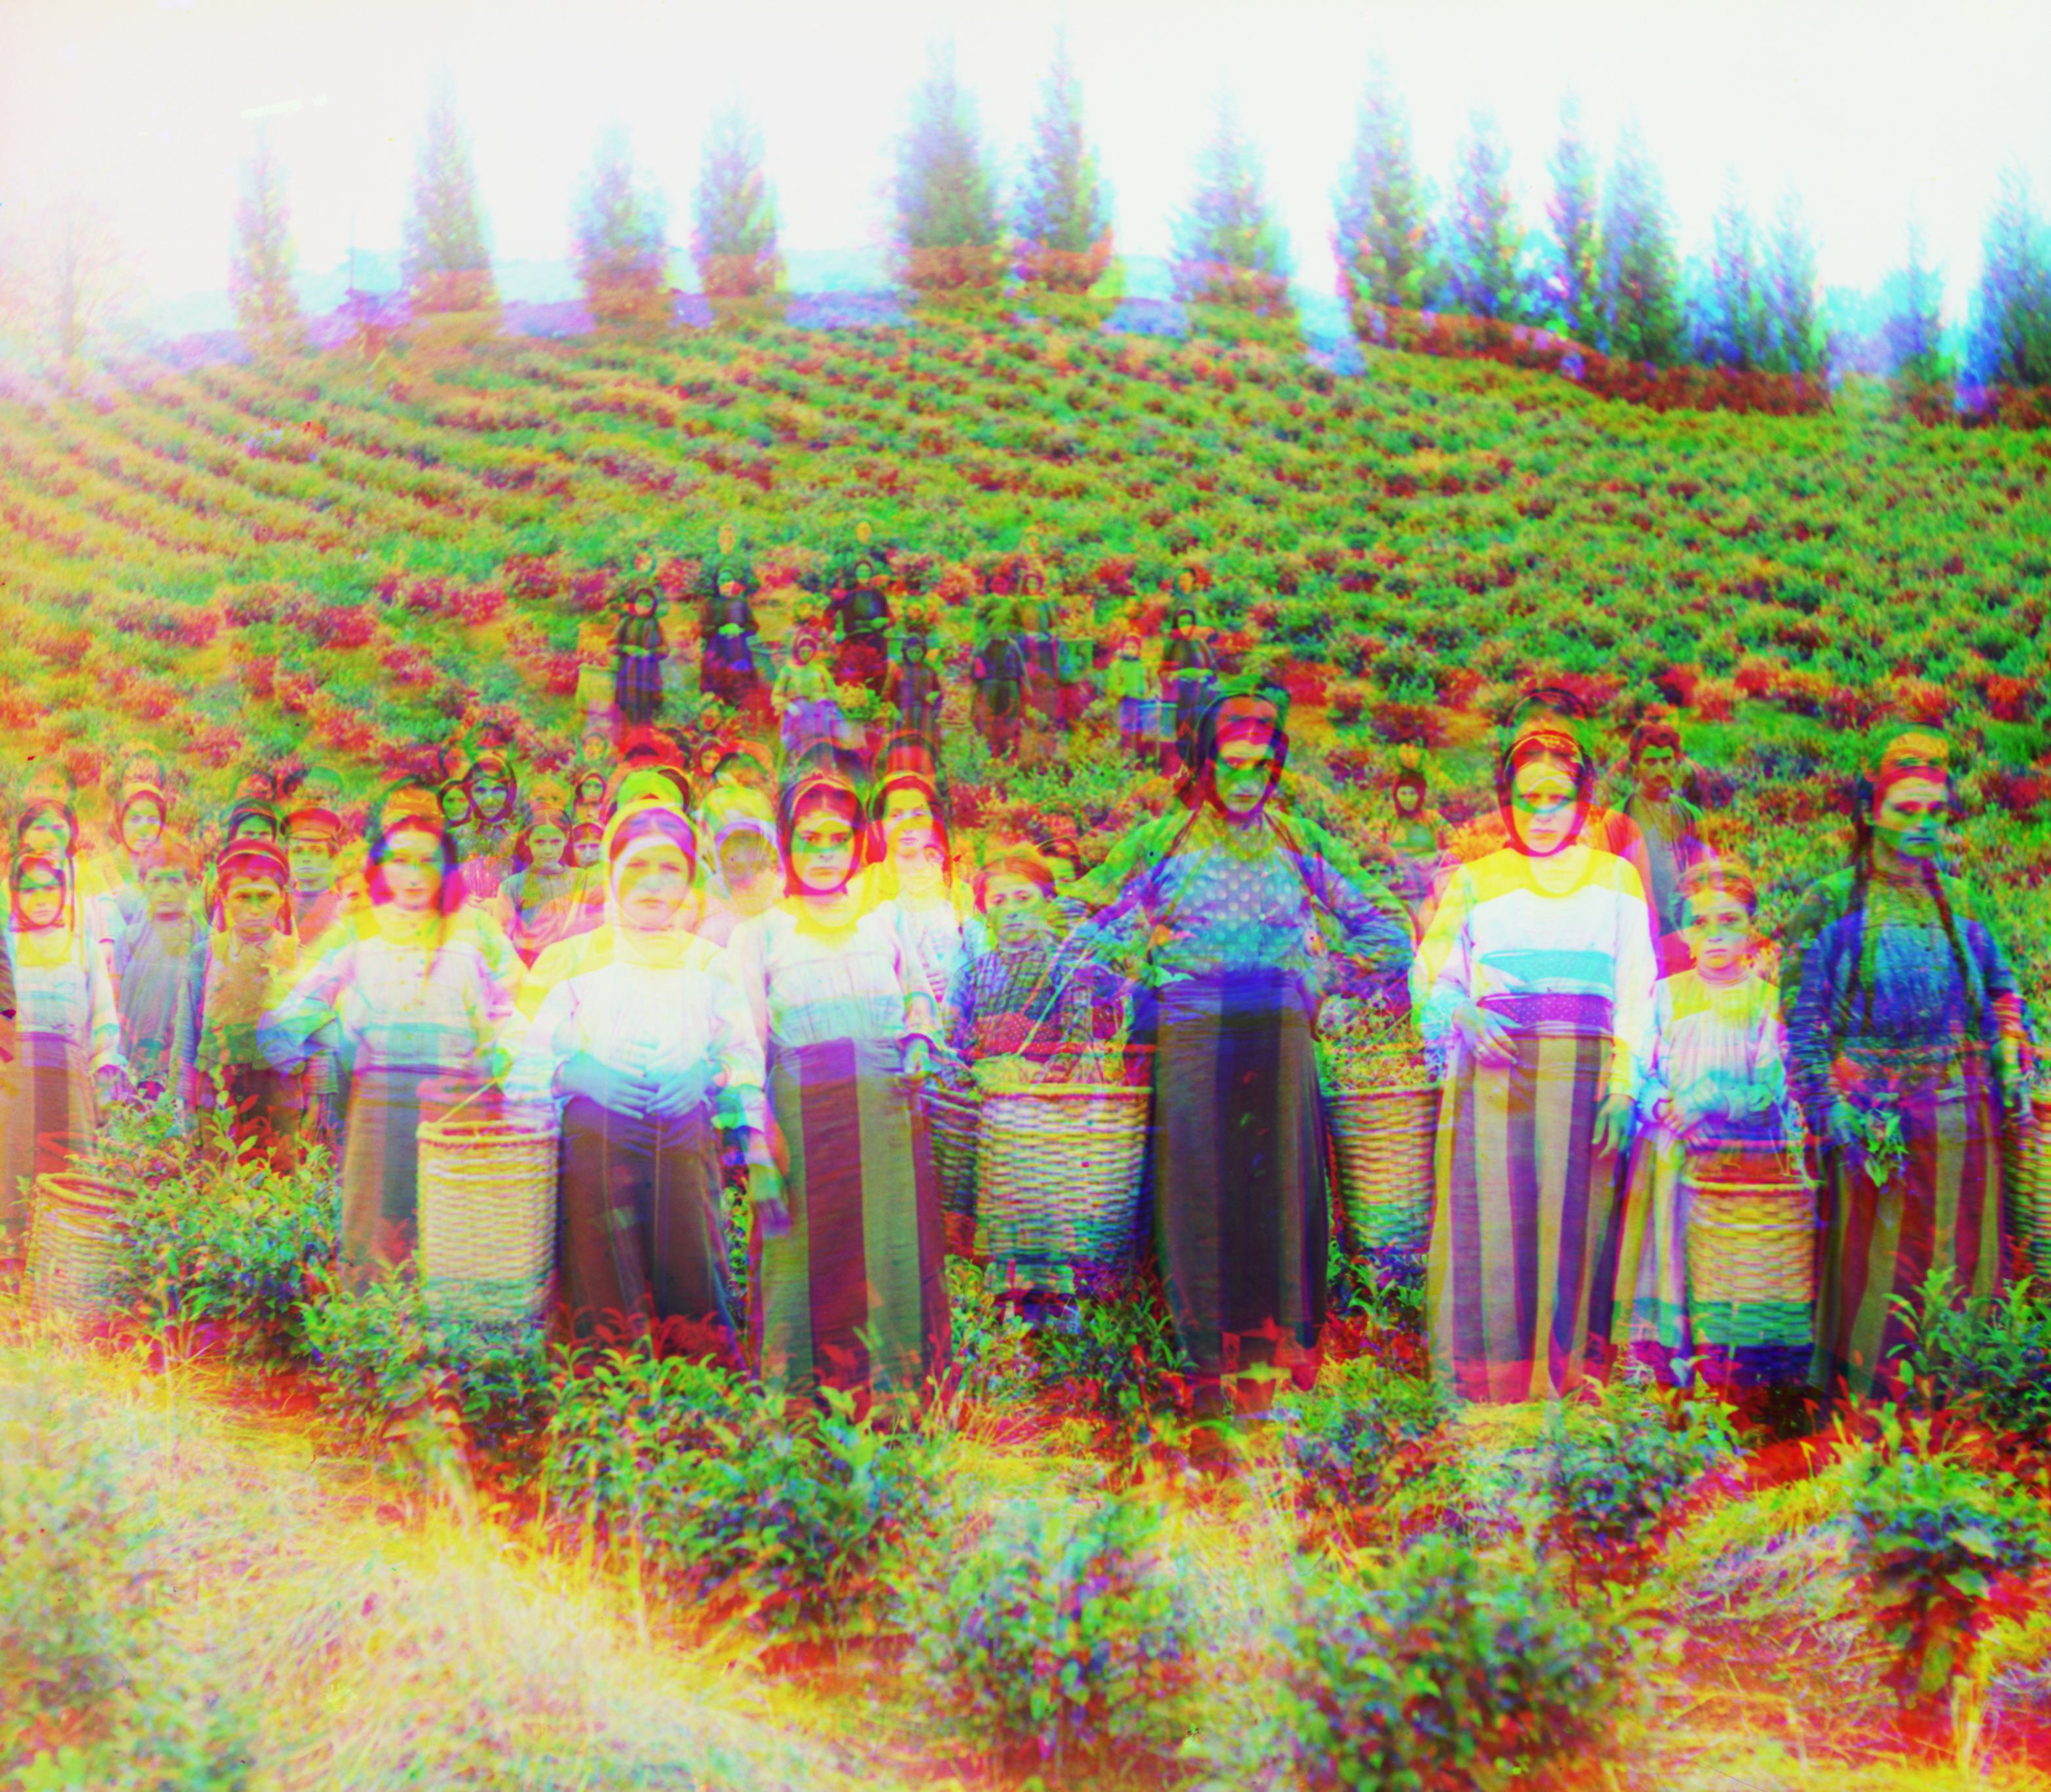
For larger images, the above approach will take far too long due to the number of computations needed (many images in the data set are at least 3000px by 3000px). Thus, in order to speed up the displacement search, we incorporate a Gaussian image pyramid in our search. An image pyramid allows us to represent the image at scales of two, where the Nth level of the pyramid contains the original image scaled down by a factor of 2^n. A Gaussian image pyramid is identical, except each image in the pyramid’s levels are gaussian blurred. This allows us to use recursion to incorporate Gaussian image pyramid search with our exhaustive search approach from before.
For a simple explanation, the image pyramid algorithm takes in the best displacement vector from the previous recursive level and an image that is twice the size from the previous level (as we scale the image down by ½ upon each level). We scale the displacement vector by 2, perform exhaustive search centered at the displacement vector, and finally return the new displacement vector.
The recursive algorithm itself takes in a base image and the image we want the displacement shift for. Depending on whether edge filtering is enabled (see the Bells and Whistles section below), we apply the respective edge filter to both images. We then apply our image pyramid search algorithm as described above, and retrieve the best shift for the given plate.
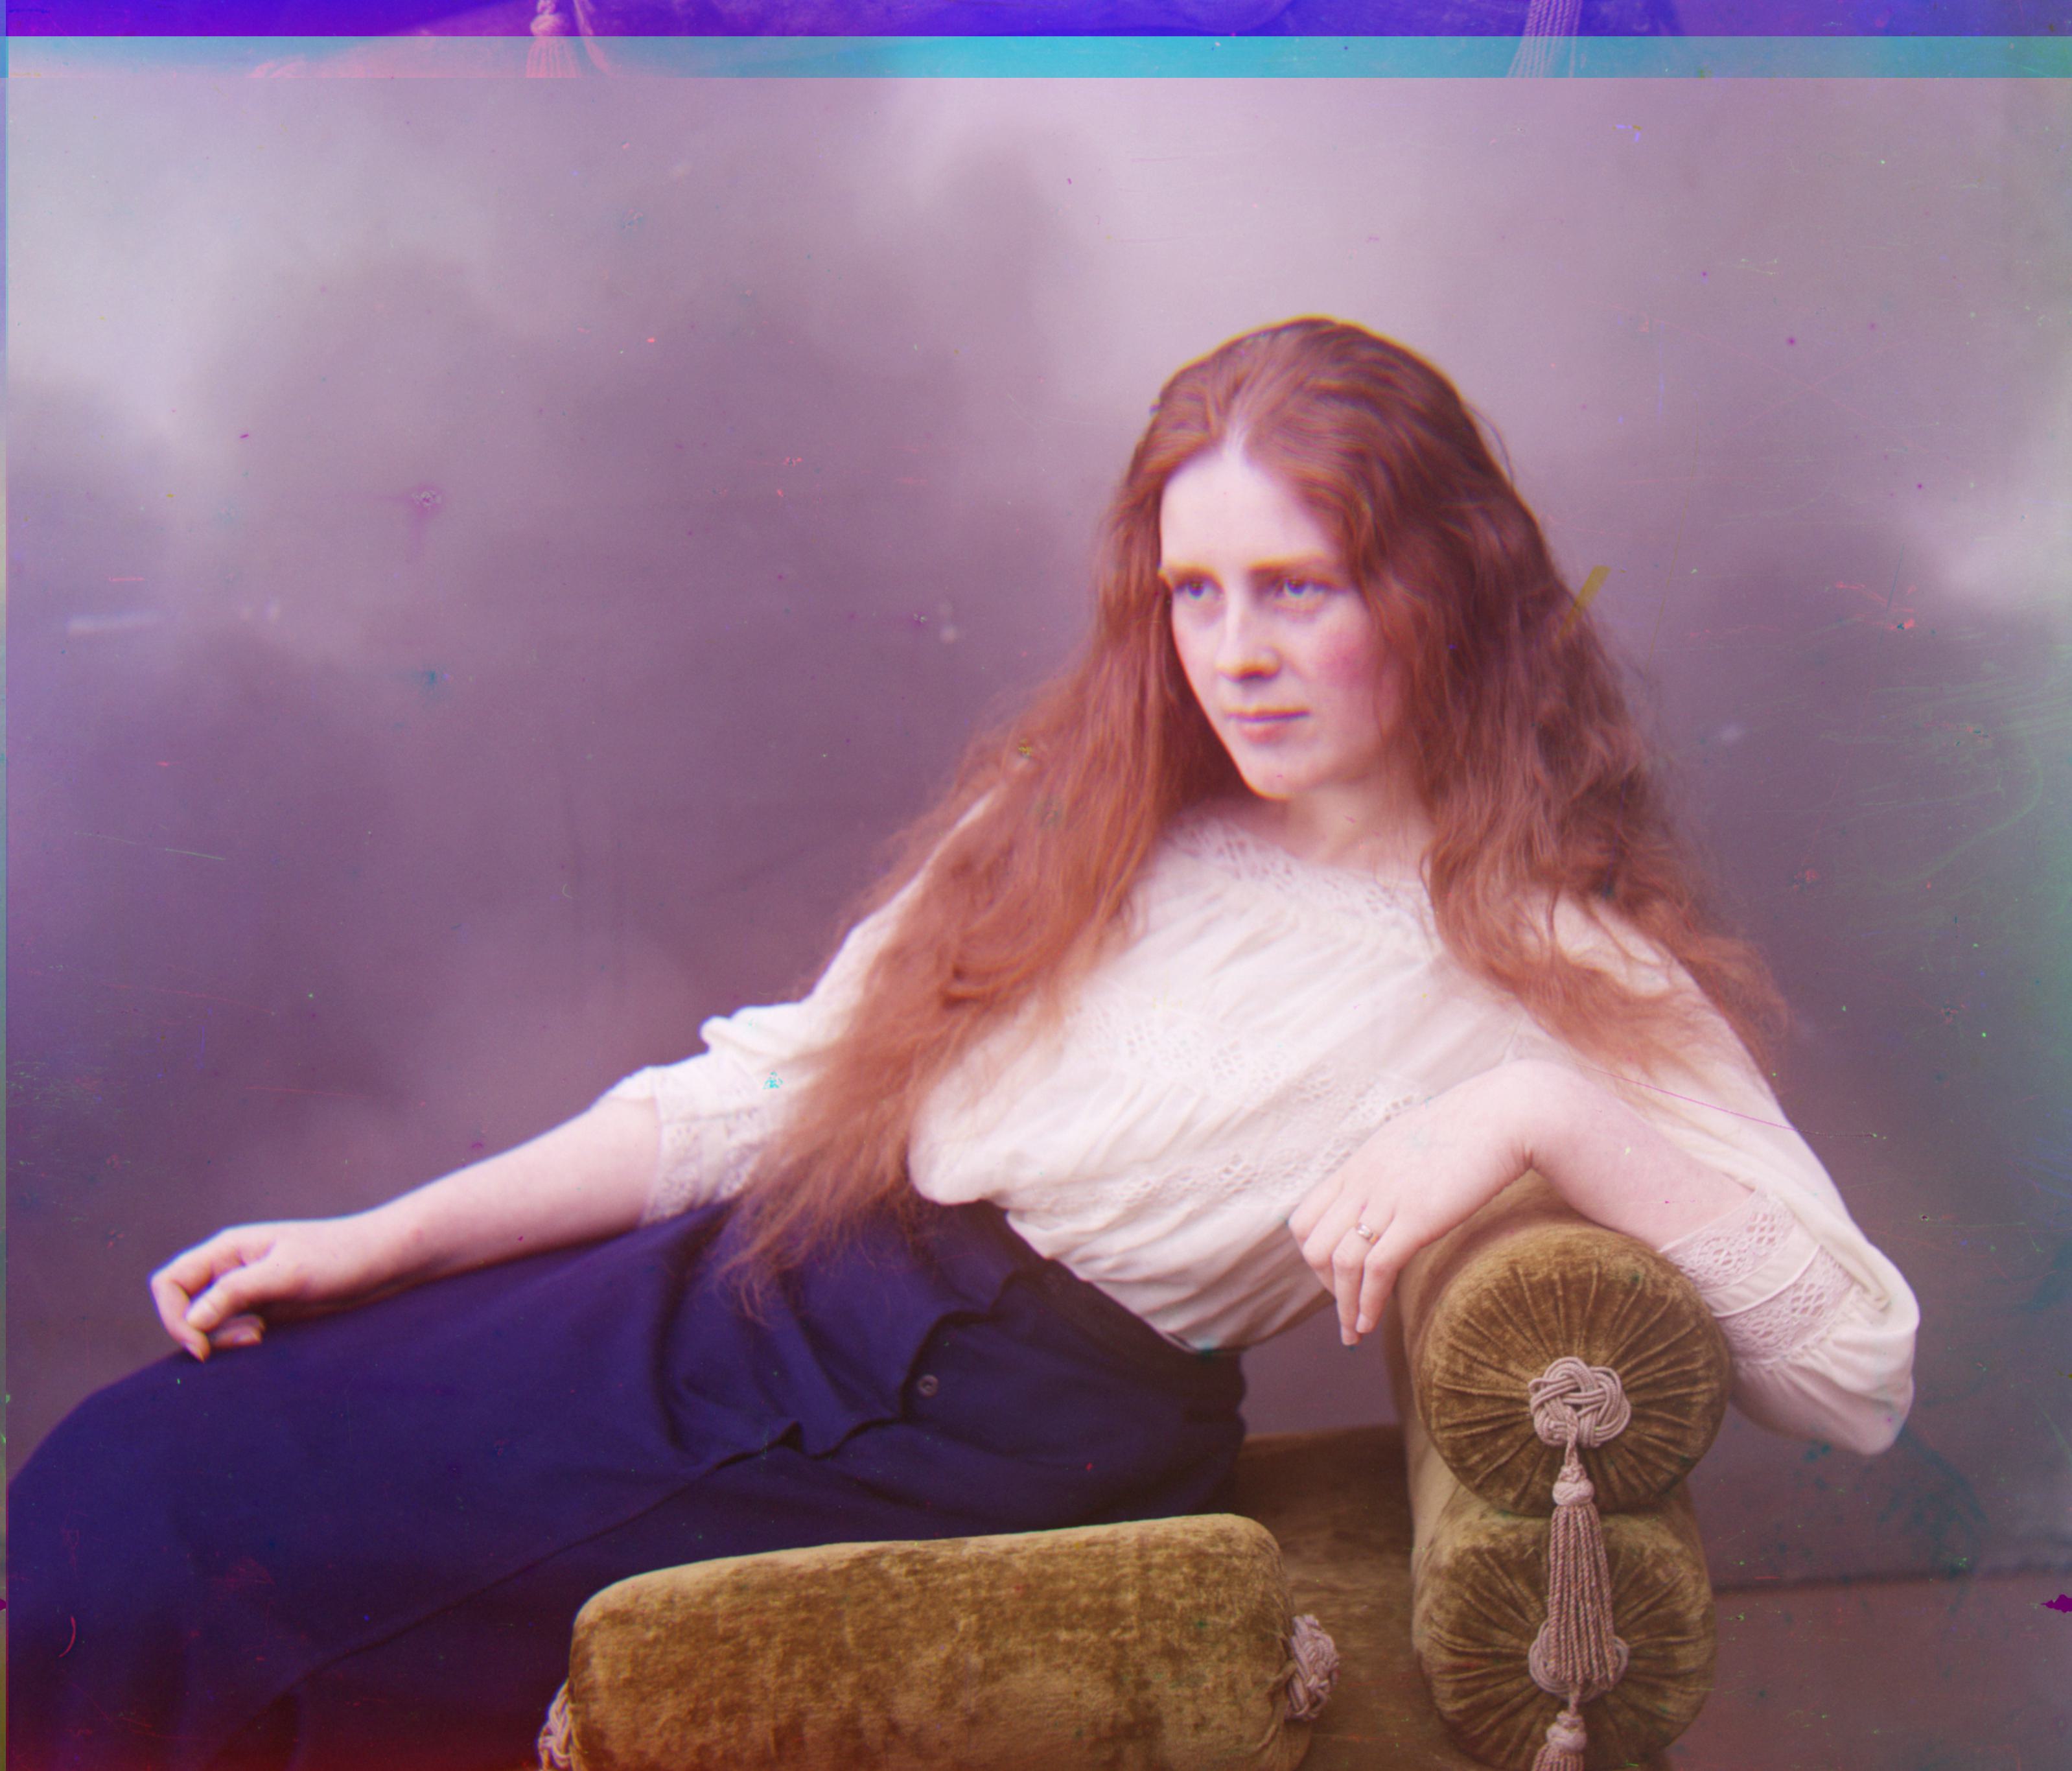
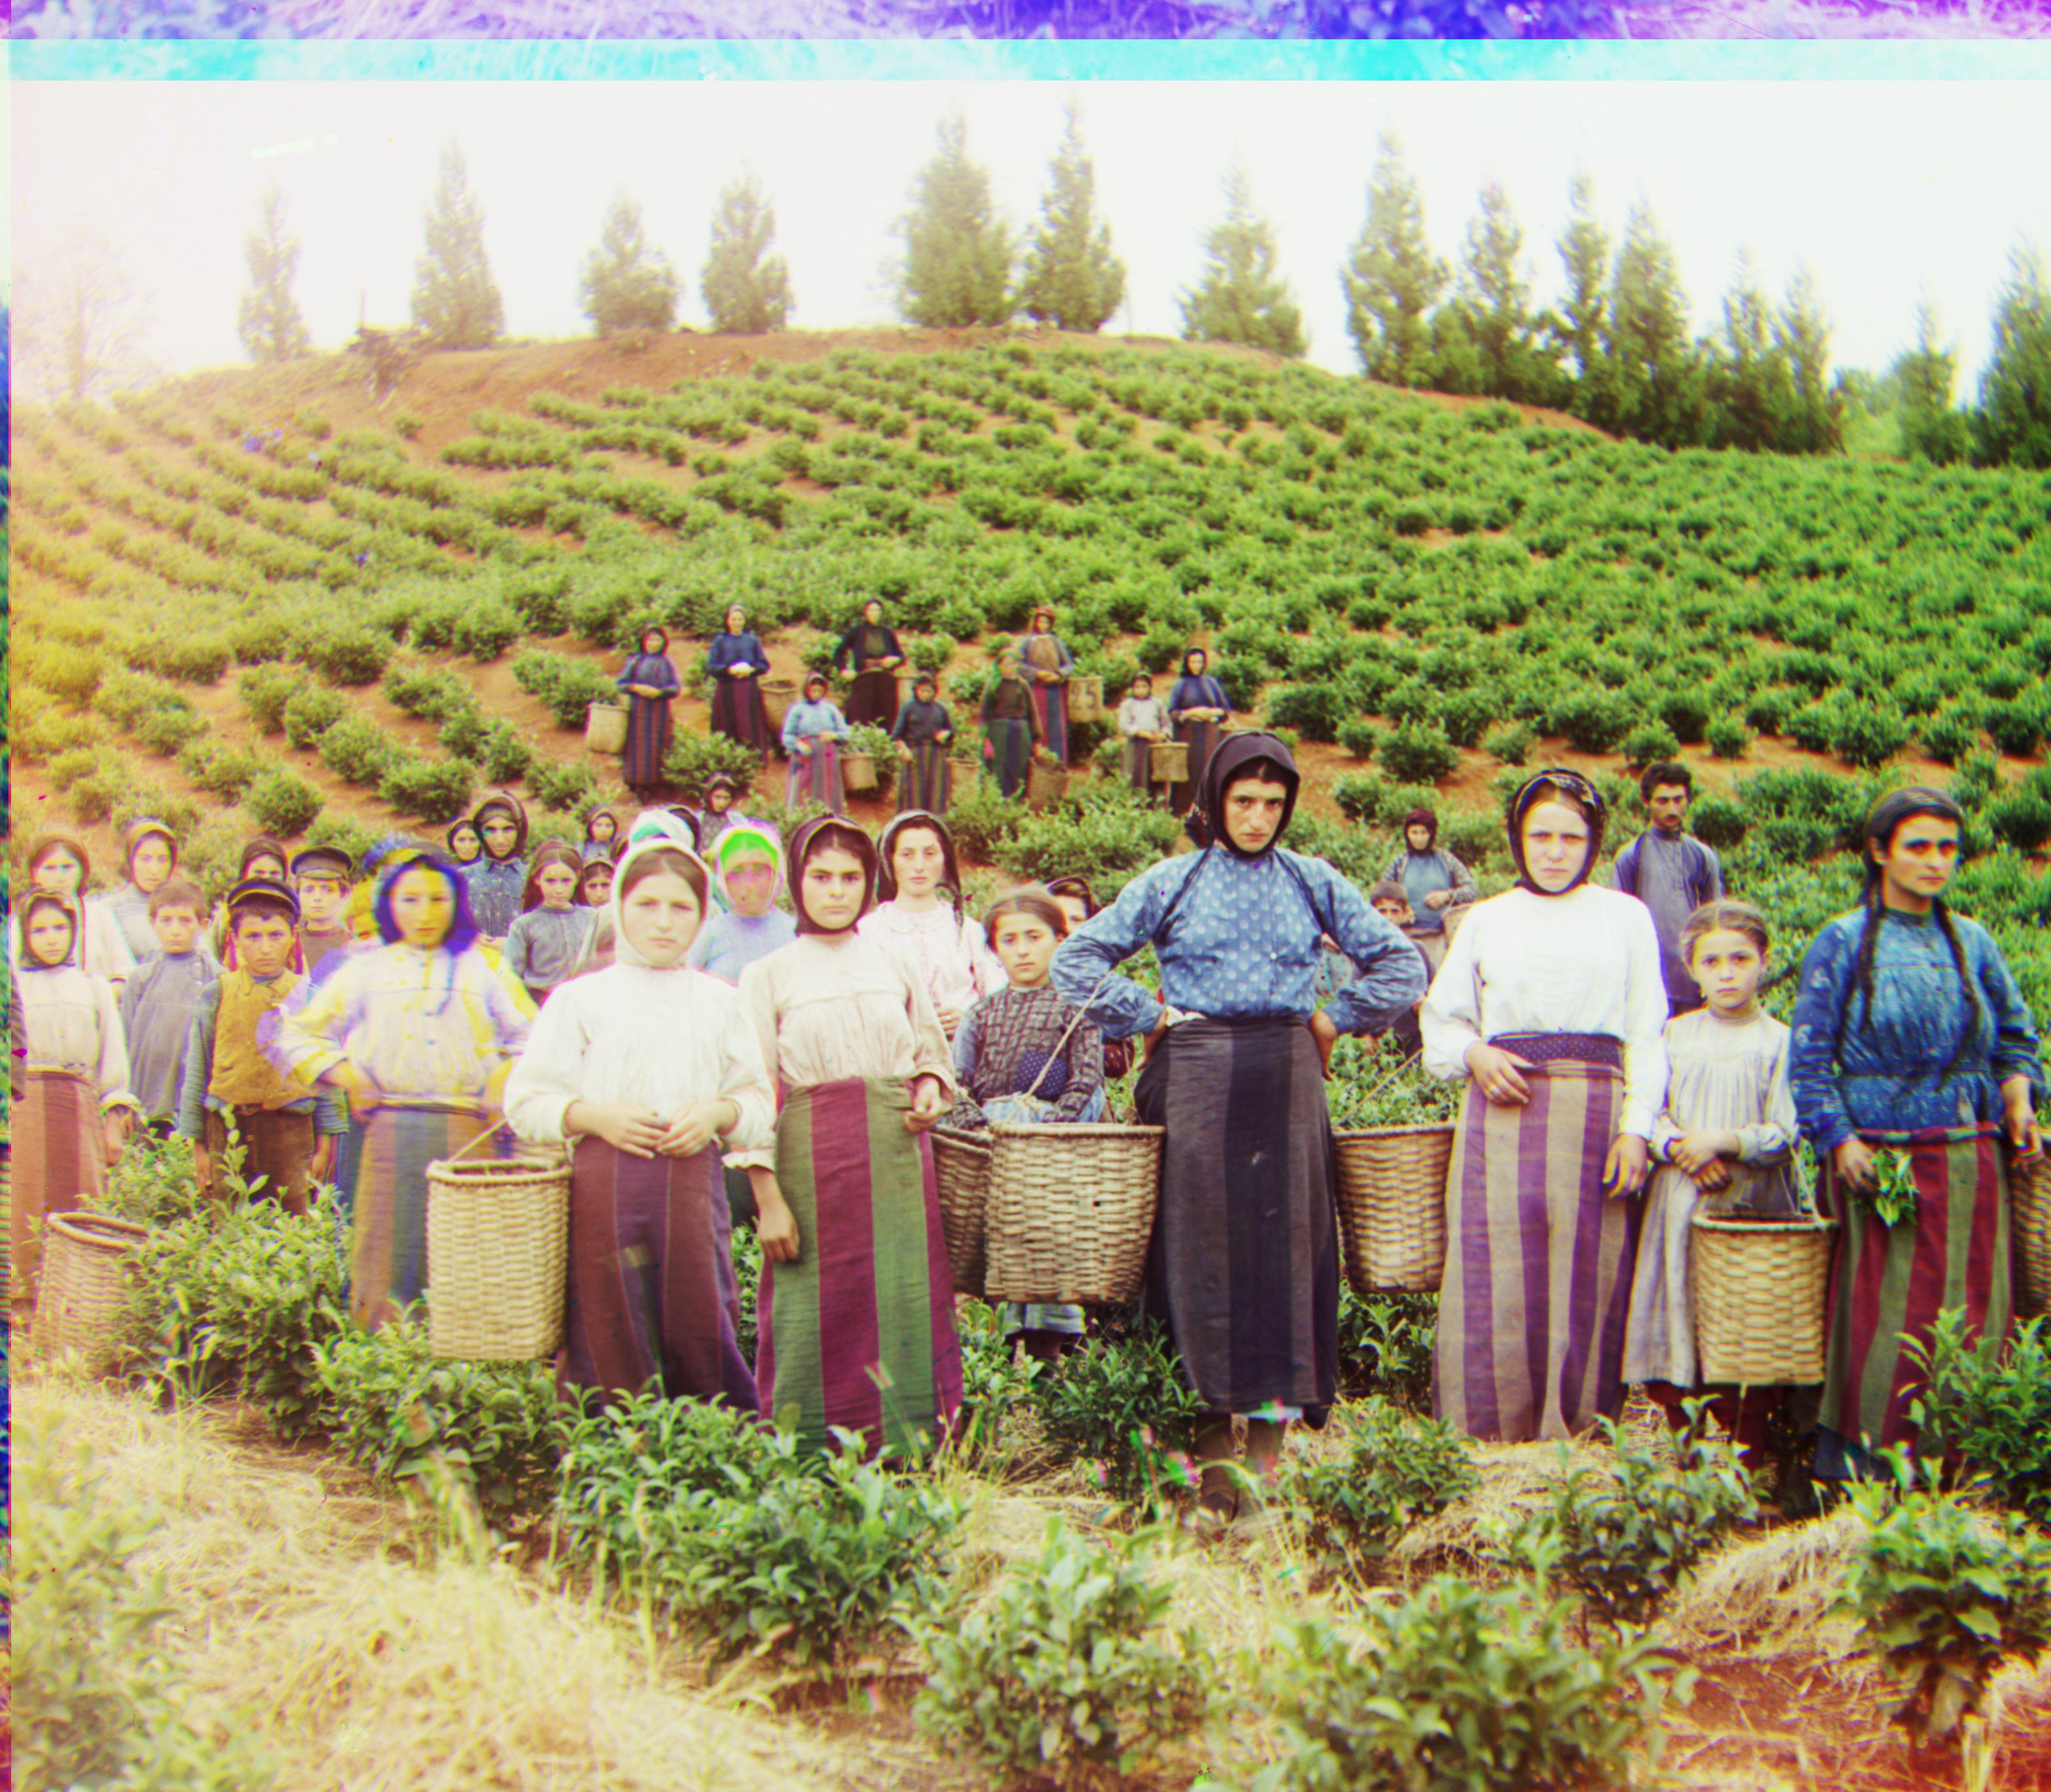
This allows us to process larger images in the dataset far faster, from an average of 30+ minutes per image with the exhaustive approach down to an average of around 1.5 minutes per image with the recursive image pyramid approach.
Pictured below are comparisons between the unaligned plates and the aligned plates.
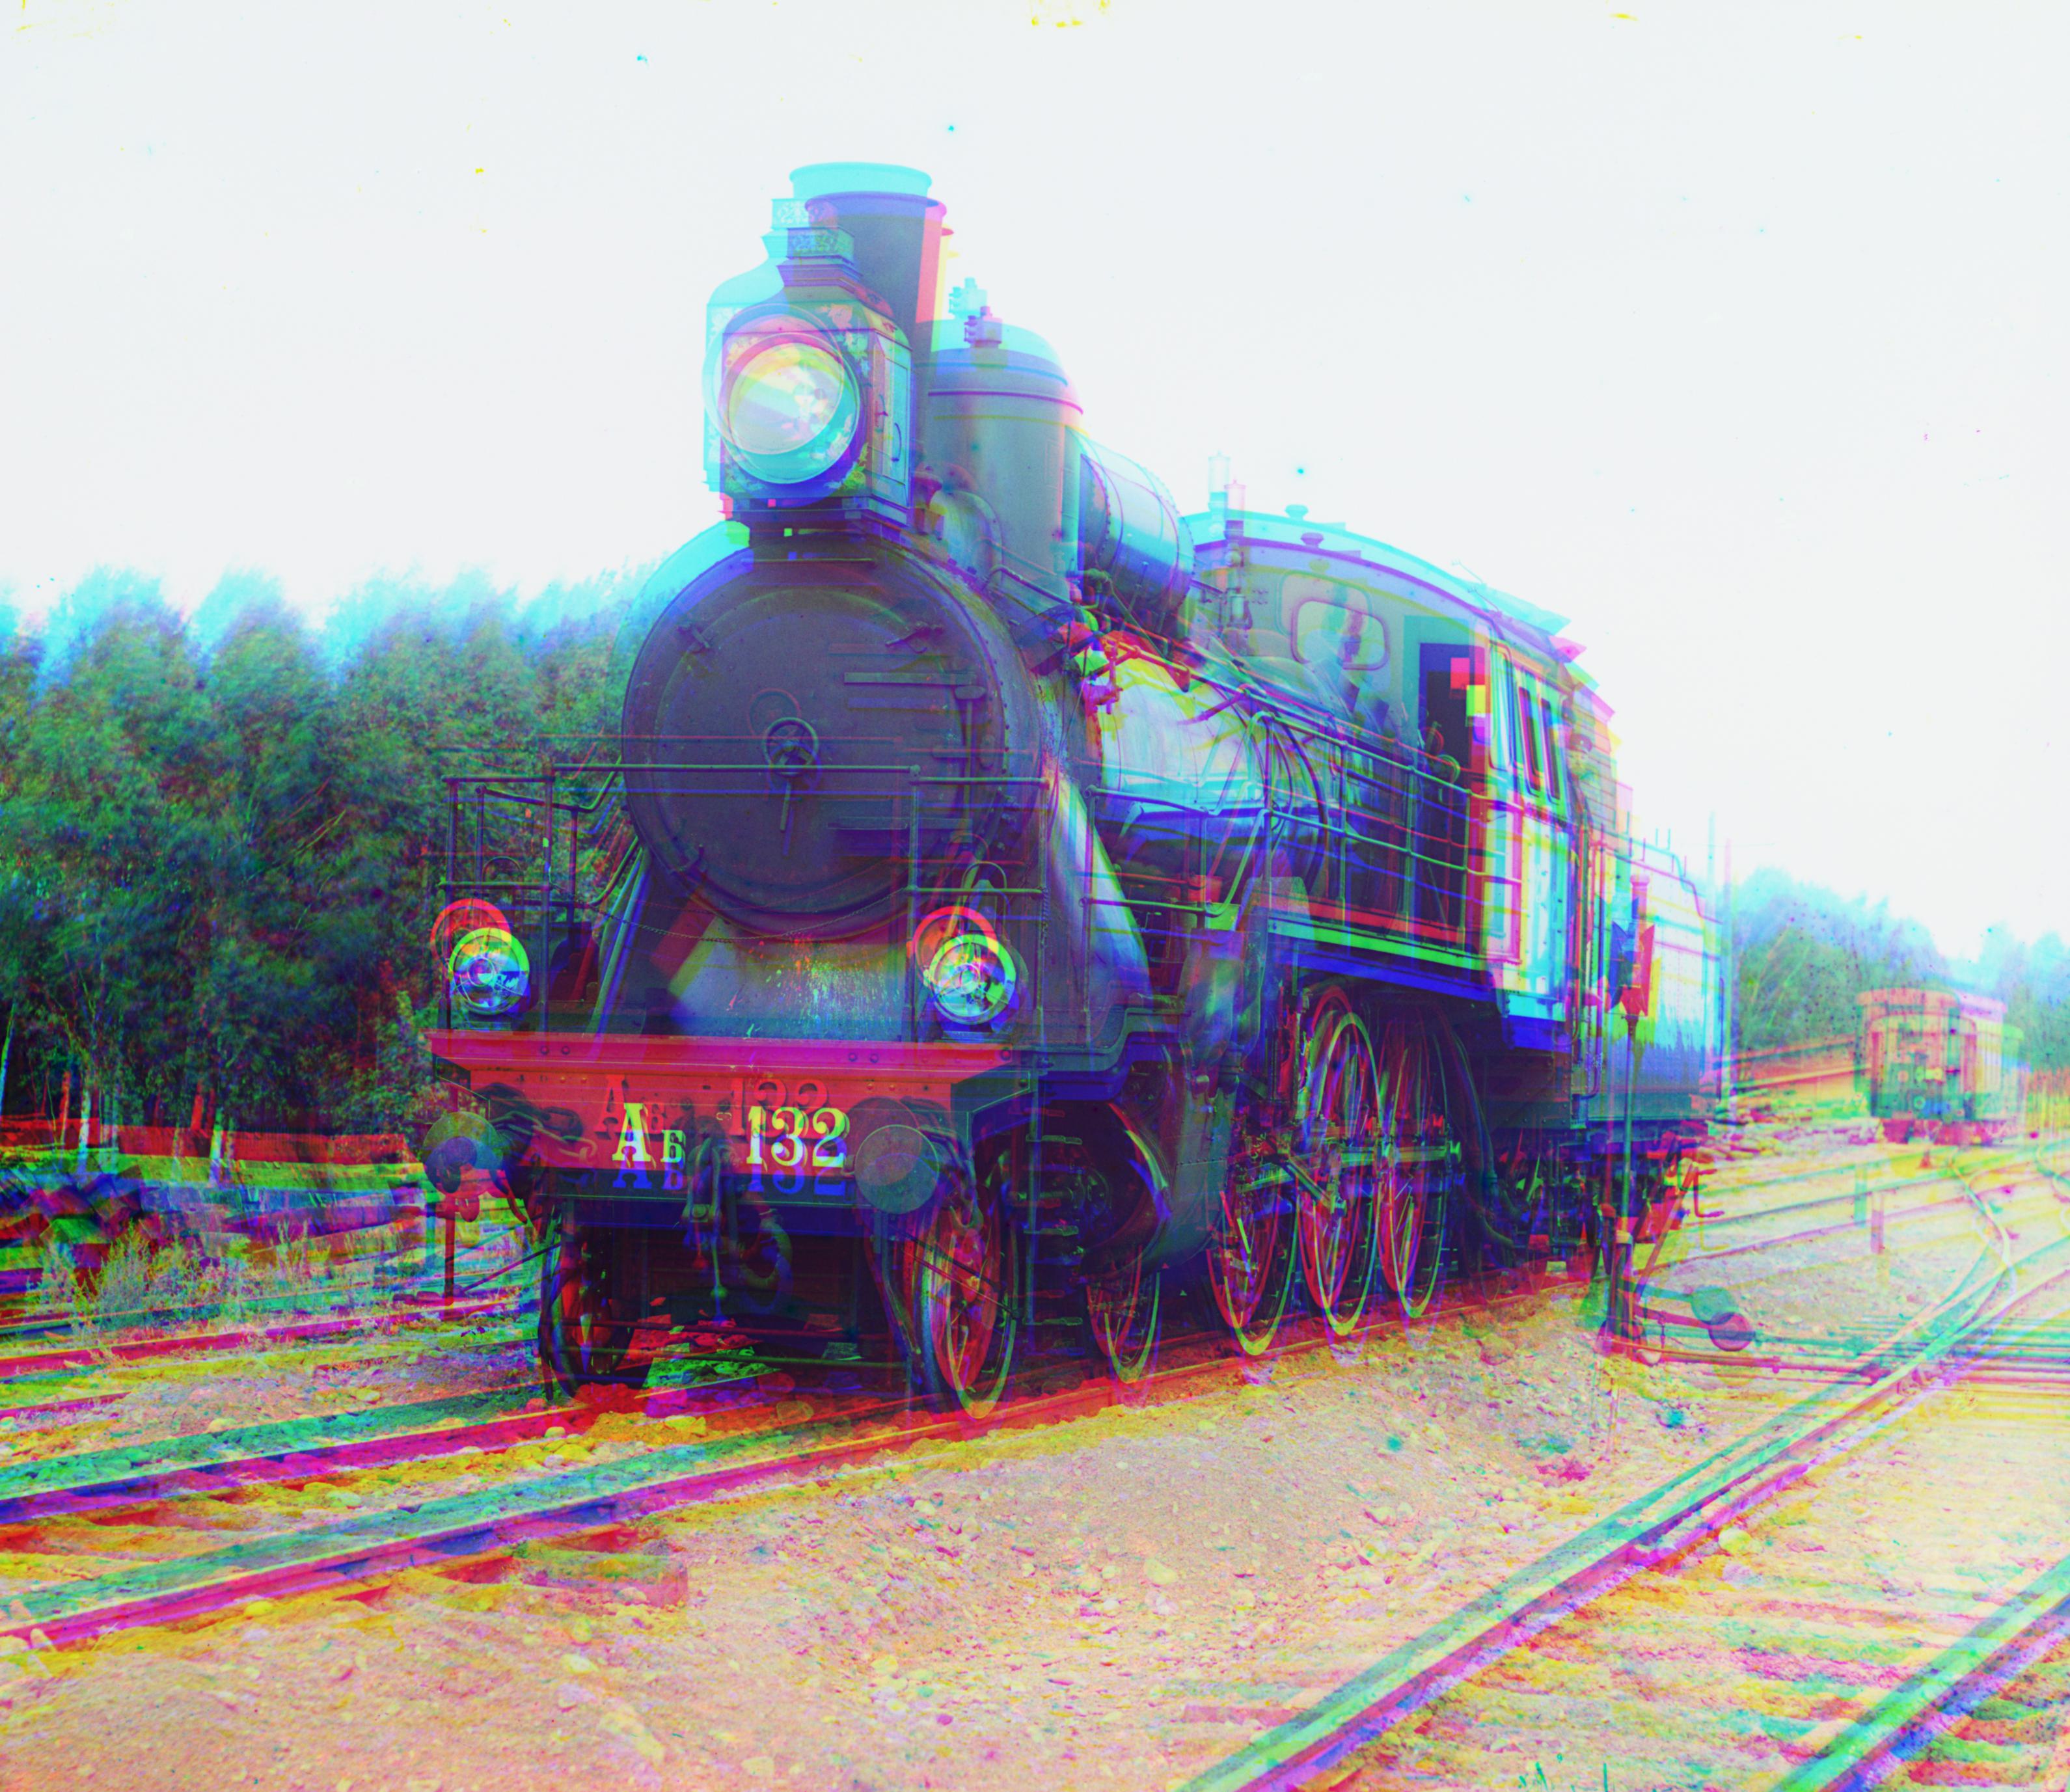
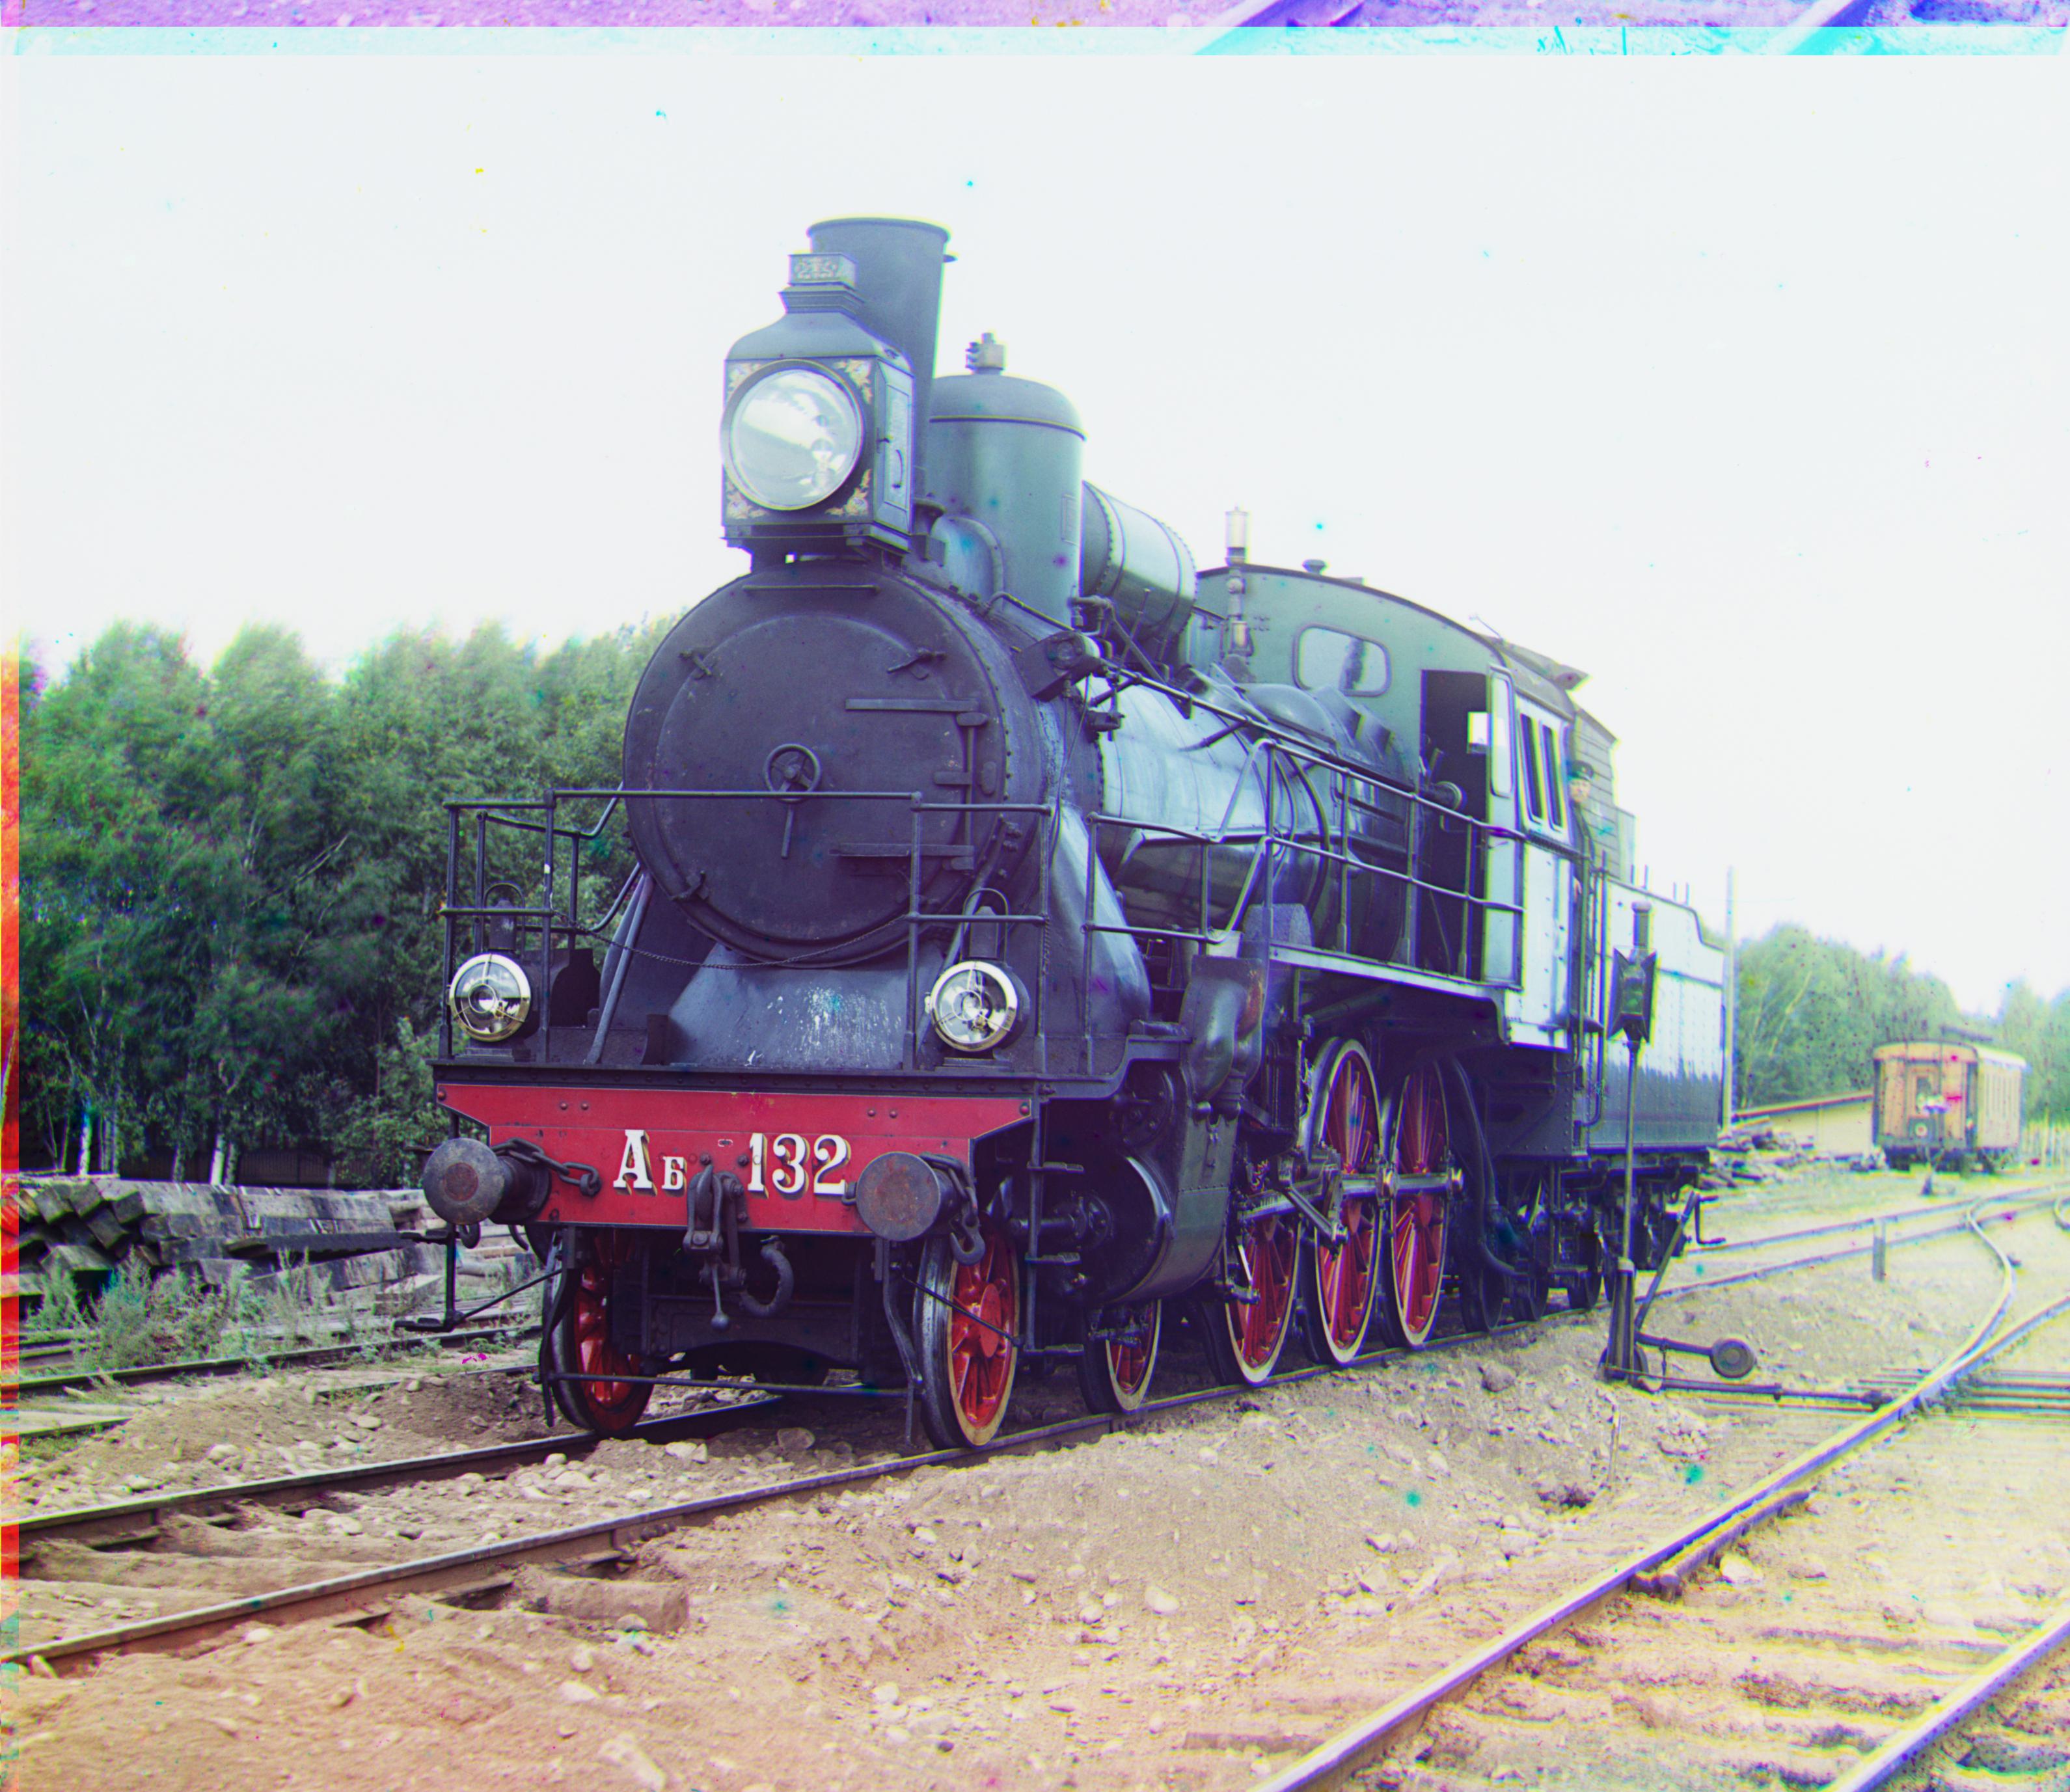
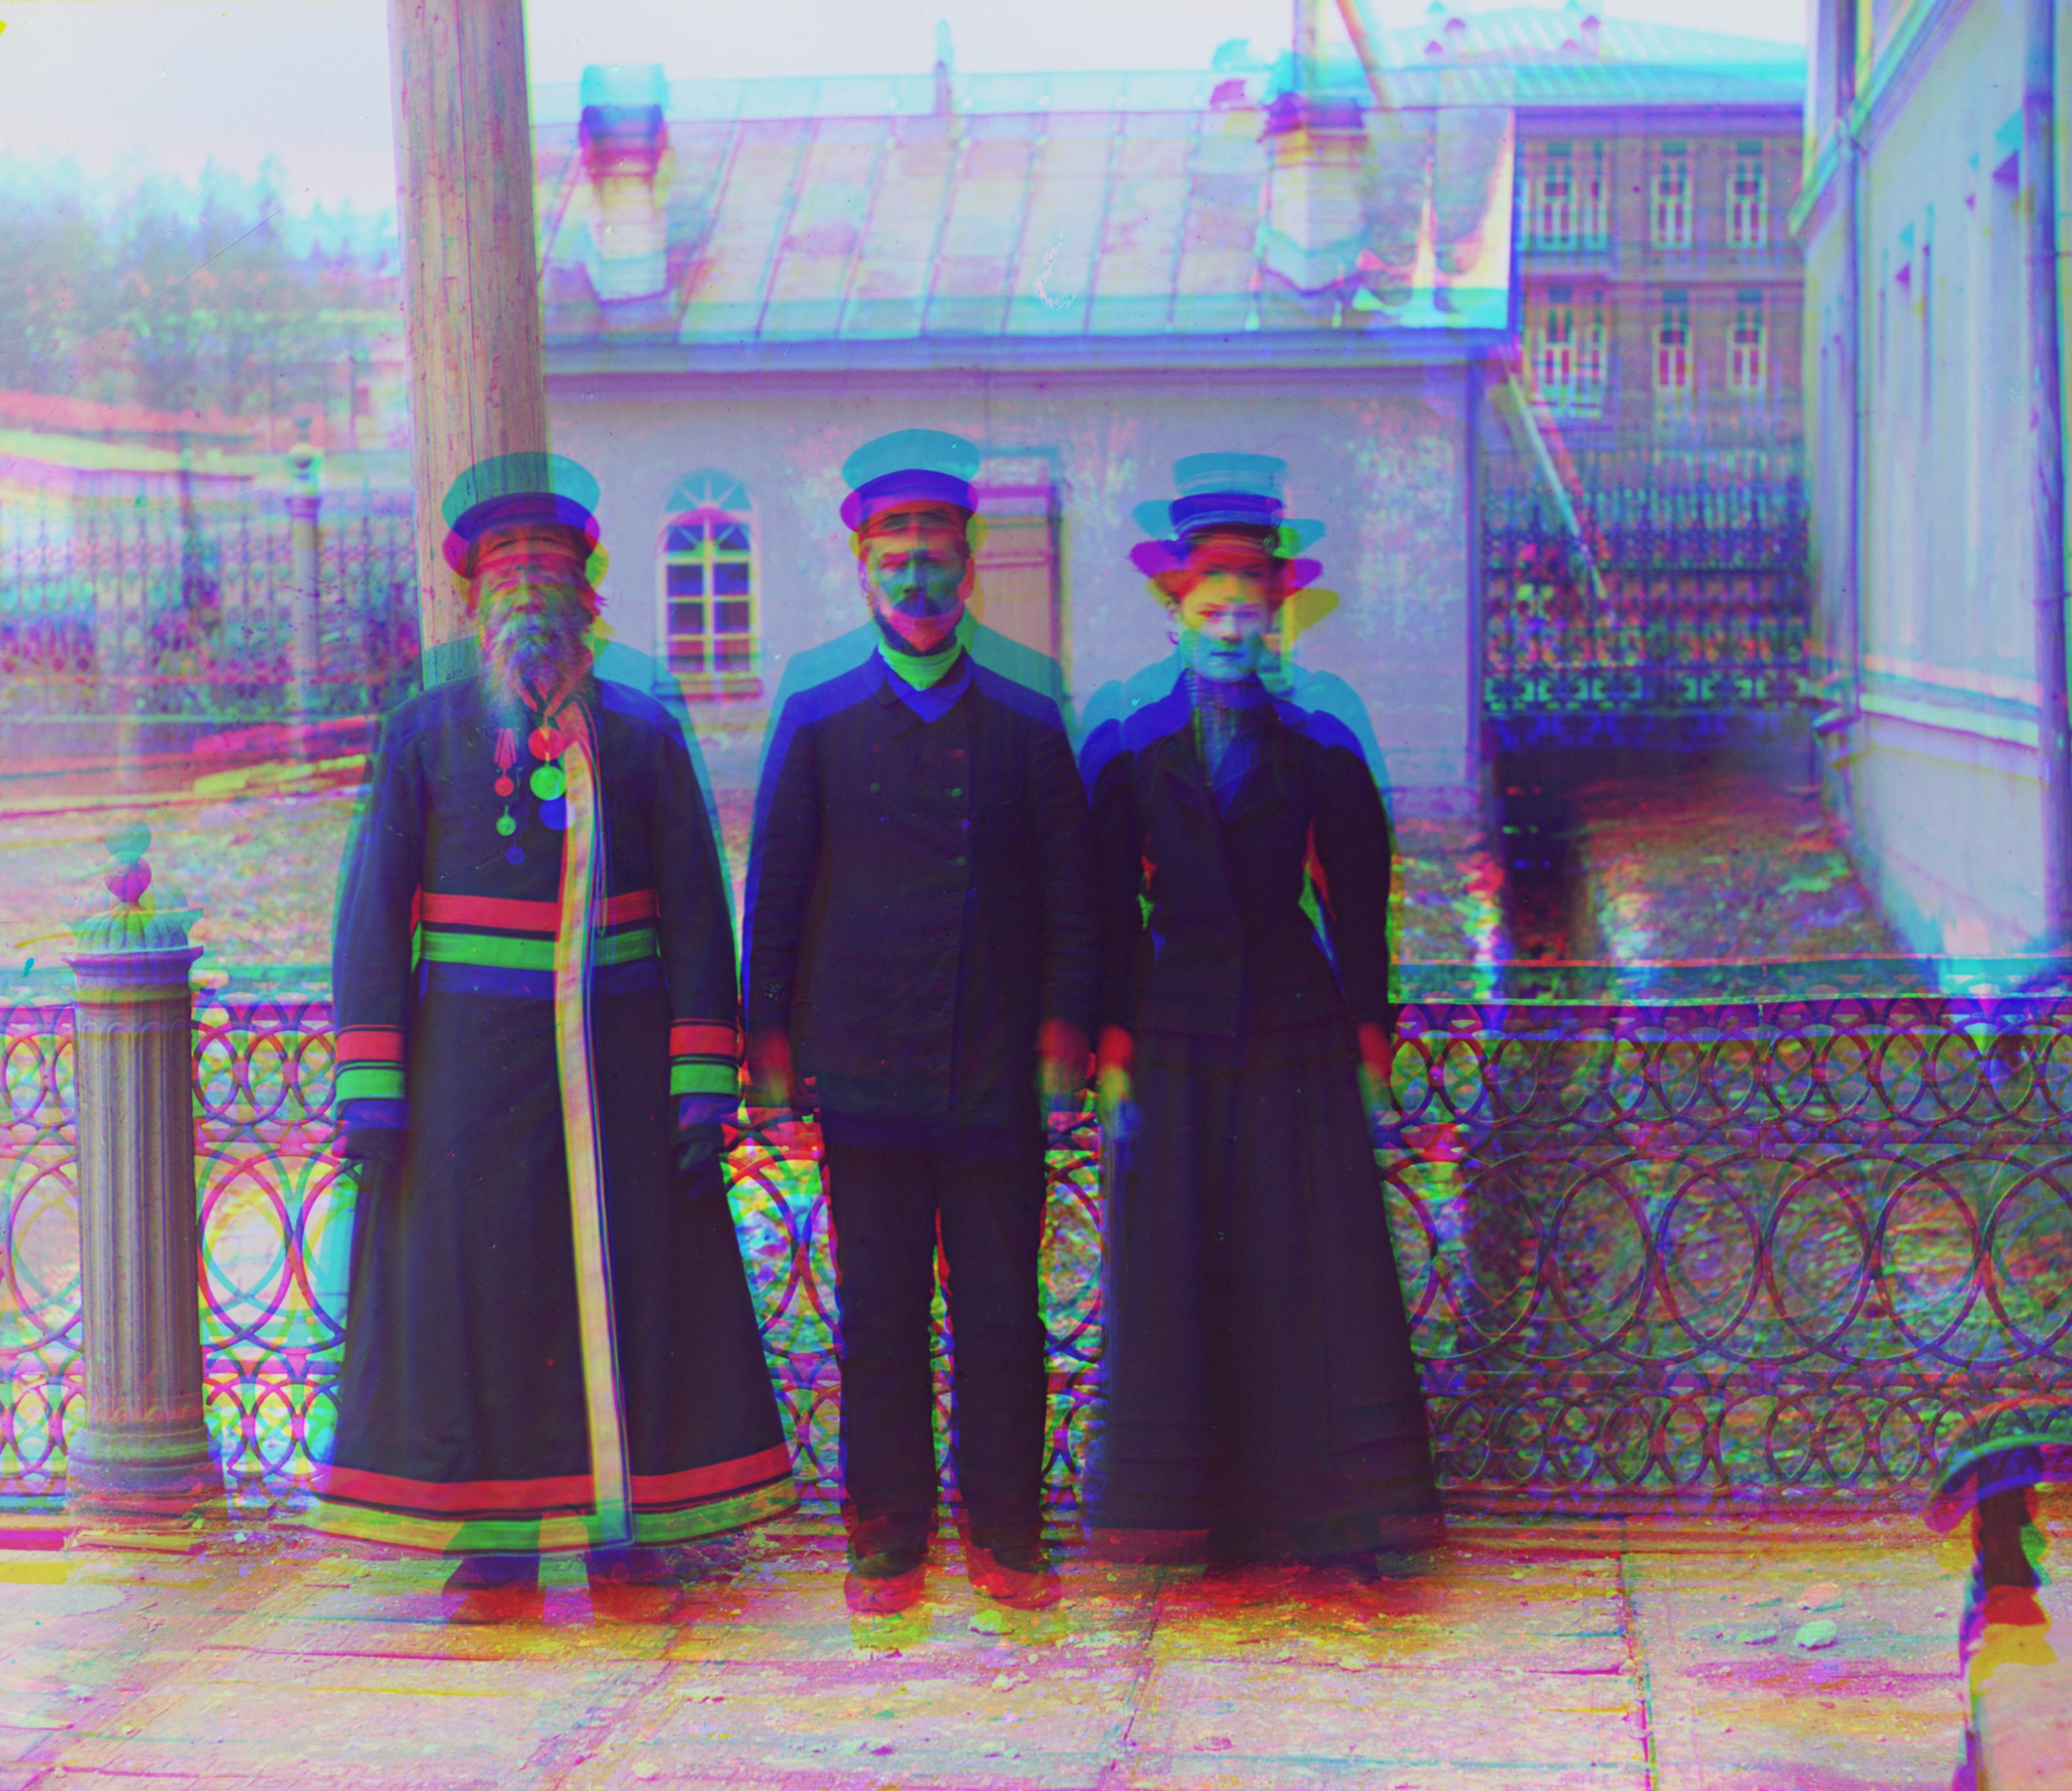
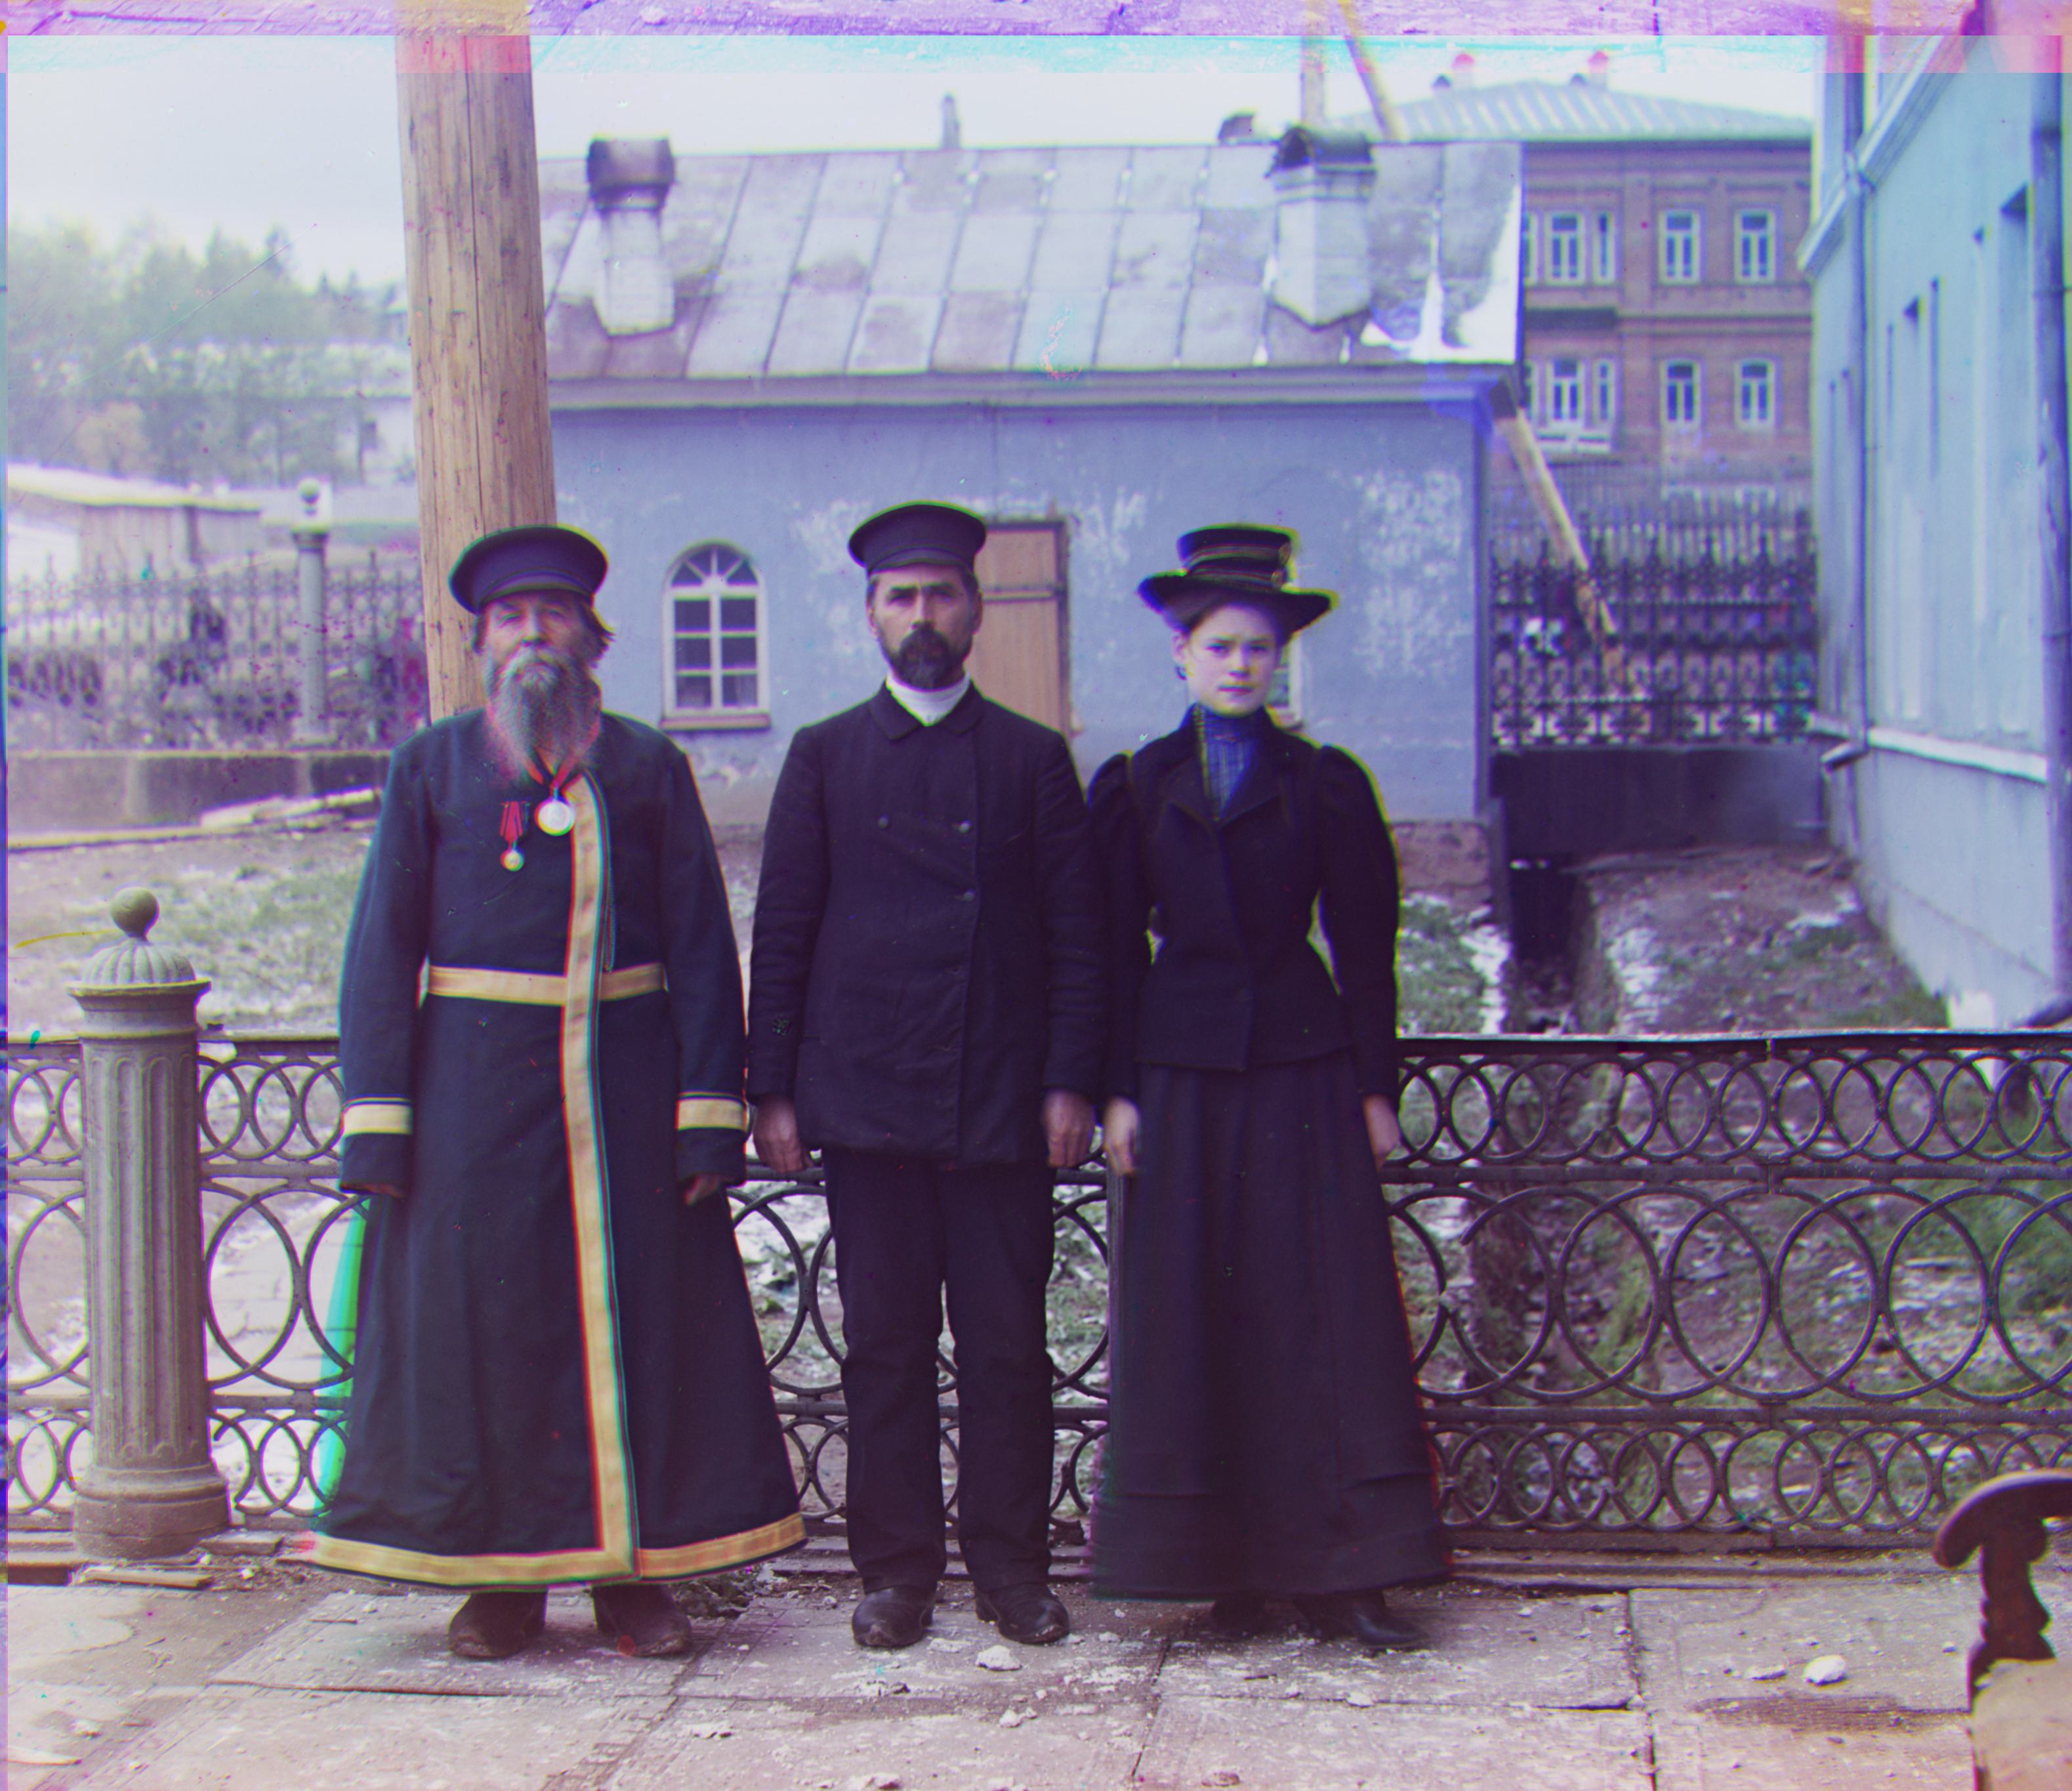
Bells & Whistles
Edge Filtering
In order to avoid the lengthy cost of using SSIM as a scoring metric, I decided to use edge detection filters on each channel before searching for optimal displacements. This way, we don’t have to rely on RGB similarity to match plates, which can cause issues if one plate is severely misaligned from the others. I tested two different filters, the Sobel Edge filter and the Canny Edge filter, with the NCC scoring metric to determine which produces the fastest, most accurate results across all images. With this imageset, the Sobel edge filter in conjunction with the NCC scoring metric achieved the fastest and most accurate results.
Pictured below is an example of an image correctly aligned after applying the Sobel edge filter and the NCC scoring metric.

Auto-Contrast
To improve the visual quality of the image, I apply a variant of adaptive histogram equalization (HE), contrast limited adaptive histogram equalization (CLAHE) to automatically enhance the contrast of the aligned image. In simple terms, HE involves taking a histogram of all pixel values in an image (typically the Luma/brightness channel of an image), and redistributing the intensities to more equally distribute values across the entire spectrum. However, HE is more prone to over-amplifying noise and values on the end of the apt run (very dark and very bright values). Thus, we use CLAHE, which is more robust to noise and can better avoid information loss due to over-amplifying brightness/darkness.
CLAHE works similarly to HE, except it divides the image into small tiles and performs HE on each block. To avoid noise amplification, histogram bins are clipped to a specific threshold, and all values above this threshold are uniformly distributed across all bins.
In this project, we test applying CLAHE with respect to two different color spaces: LAB and YCbCr (used by JPEG), since the Luminance component of the LAB colorspace and the Luma (Y) component of the YCbCr colorspace both effectively store information about the values present in the image. We convert the image to each respective colorspace, apply CLAHE to the L or Y channel respectively, and remerge the image accordingly. As expected, the final results are visually identical, so we stick to applying CLAHE with respect to the YCbCr colorspace, since all images are stored and exported as JPEGs.
Pictured below are some images before and after applying CLAHE:

